How to Dump Your RV Waste Tanks Properly
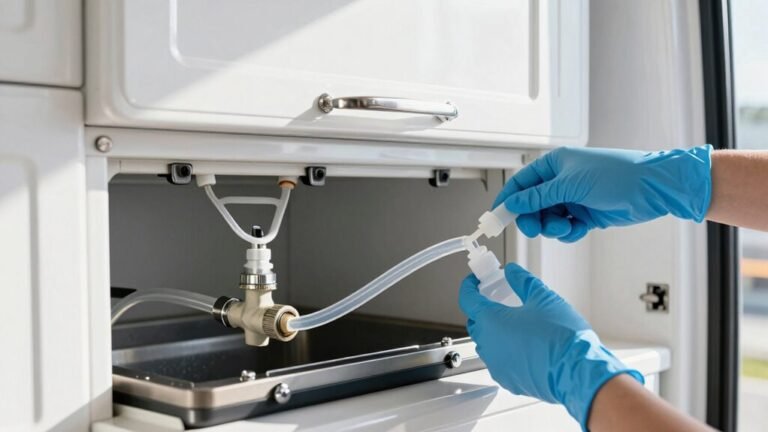
First, hook up your accordion hose with a clear elbow to see things flow—nobody likes surprises. This step ensures you can monitor the waste as it drains, a key part of knowing how to dump your RV waste tanks properly.
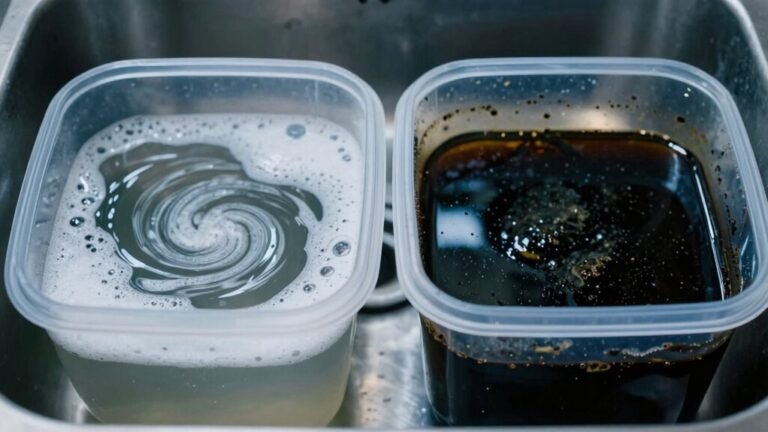
Dump the black tank first and let it drain completely before giving it a good rinse. This helps prevent clogs and keeps the system functioning smoothly.
Follow up by opening the gray tank; the soapy water helps flush out any remaining residue in the hose. Don’t forget gloves and a smile—this isn’t glamorous, but hey, you’ve got this.
Know Your RV’s Waste Tank System
Ever wonder where all the waste goes when you flush your RV toilet?
It heads straight to the black water tank—your mobile sewage vault made of tough polyethylene or ABS plastic.
This tank, usually holding 8 to 31 gallons, catches everything and vents nasty gases out the roof through a 3-inch pipe.
Nearby, the gray water tank stores sink and shower runoff using smaller 1½-inch pipes, often with P-traps to stop stink.
Some rigs have multiple gray tanks if plumbing stretches far.
Both tanks are built strong, molded with thick walls, and meet strict safety standards—so they won’t crack under pressure.
You’ve got sensors telling you when tanks are 1/3 or 2/3 full, and a handy roadside valve for emptying.
There’s even a built-in rinser to clean things up after.
Think of it as your RV’s very own behind-the-scenes plumbing crew—messy, but miraculous!
These tanks are constructed using rotationally molded plastic for durability and odor resistance.
Gather the Necessary Dumping Gear
Grabbing the right gear makes dumping your RV’s waste tanks less yucky and way more efficient.
You’ll want an accordion-style sewer hose—it stretches out like a Slinky and gets the job done.
If the dump station’s a hike, grab extensions (some folks use up to four!).
Toss in a clear elbow fitting so you can aim true and peek at flow.
Don’t forget the seal (aka “doughnut”) to stop leaks—it’s a tiny hero.
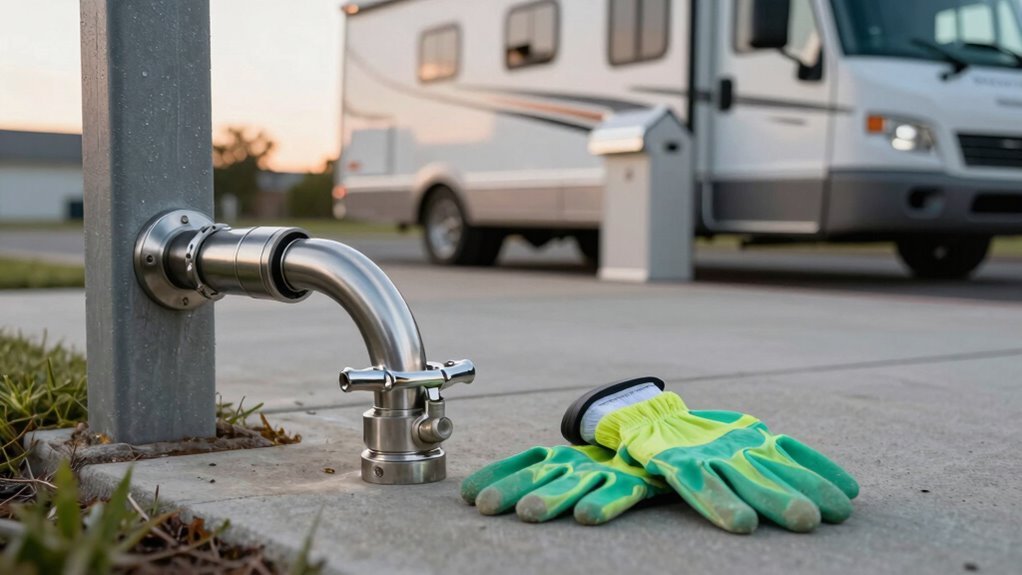
Pack gloves (disposable or RV-specific), safety glasses, and hand sanitizer—because splashes aren’t part of the spa package.
A rinsing wand and black tank hose keep things clean inside, while a spare garden hose handles exterior grime.
Stow it all in order with a Valterra carrier or bumper compartment.
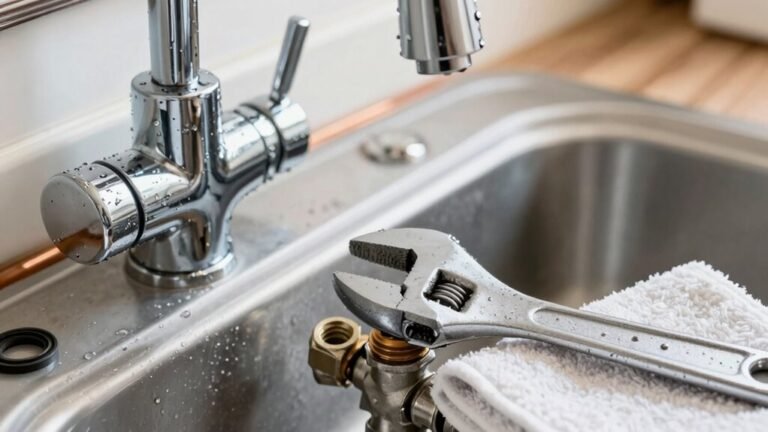
Oh, and toss in a sewer wrench—sometimes things get *way* too tight.
Clear extensions can help when connecting to recessed dump ports, improving fit and reducing spills.
With everything ready, you’ll dump like a pro, not a panicker.
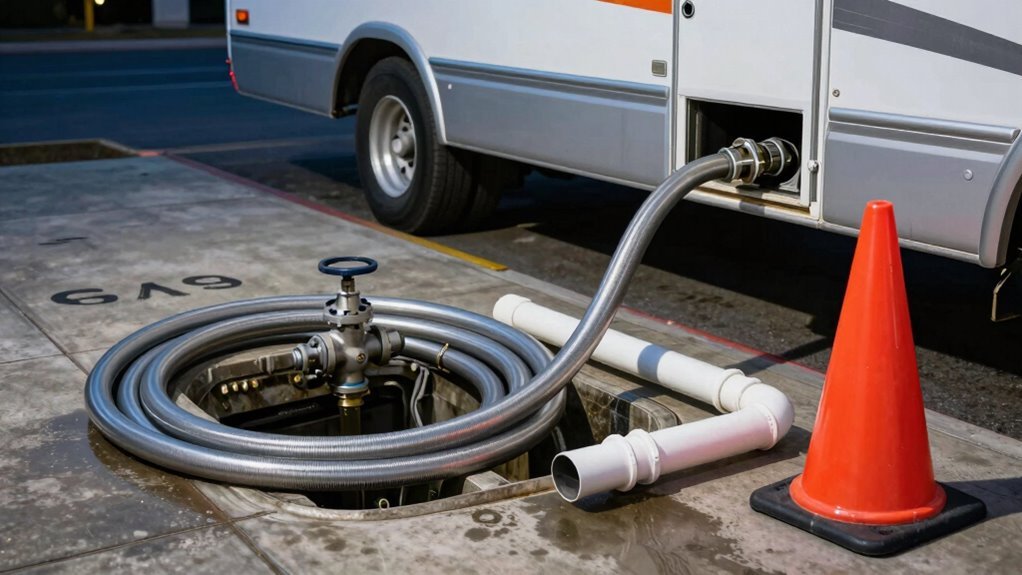
Choose the Right Dump Station
You’ve got options!
Most campgrounds offer dump stations right at your site or in a central spot—often included with your stay.
Truck stops like Pilot or Love’s are road-trip lifesavers, with room for big rigs and quick dump access.
Not all gas stations play along, so check first.
Rest areas, city parks, and even wastewater plants sometimes welcome RVs for a small fee.
Apps like Campendium, Allstays, and iOverlander make hunting stations fun, not stressful—just tap and go.
Look for solid pads, clear sewer inlets, and rinse water.
Skip sketchy setups; you and your tanks deserve better.
Busy season? Plan ahead, because nobody wants a backup (literally).
With the right spot, emptying your tanks becomes no big deal—just part of the adventure!
Make sure your gravity flush toilet is fully closed before disconnecting to prevent spills during the dump.
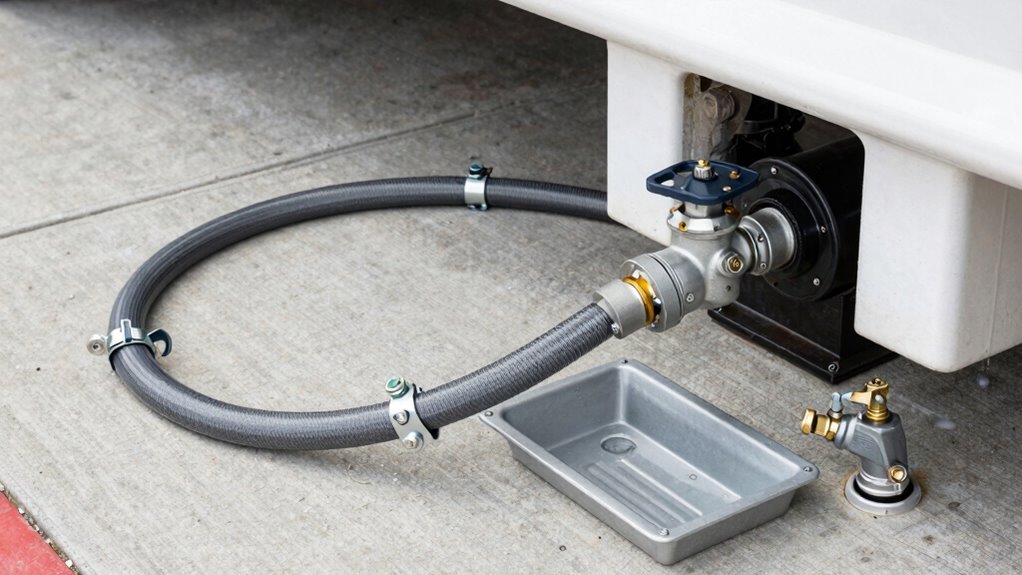
Connect and Empty the Black Tank First
You found the perfect spot to dump—congrats, that’s half the battle! Now, grab your sewer hose and unscrew the cap from your black tank’s spout.
Attach the 45-degree clear connector to your RV’s dumping port, then link the hose securely—make sure it stretches to the dump station without strain.
Pop the 90-degree elbow on the other end and snug it into the ground hookup; use a rock or a cover to hold it if there’s no foot lever.
Ready? Pull and twist the black tank valve open—yes, first! Let ‘er rip and listen to that satisfying rush.
Peek through the elbow to see solids moving.
Wiggle the hose gently if things slow down, and flush the toilet a few times to help scrub the tank.
You’re doing great—this is the gross-but-glorious part of RV life!
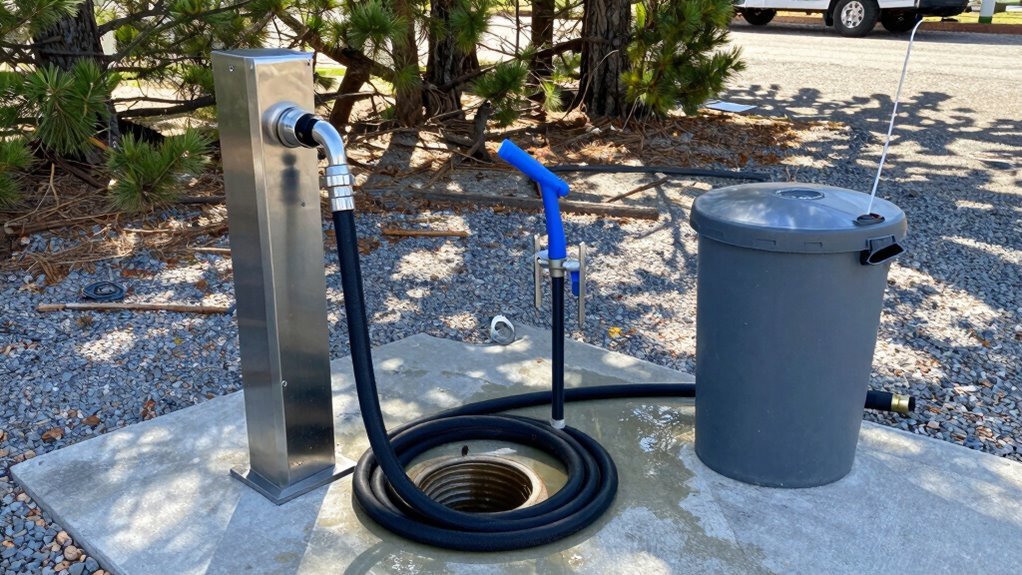
Rinse the Black Tank After Dumping
Once that last bit of sludge disappears down the drain, it’s time to give your black tank the spa treatment it never knew it needed.
Grab your dedicated tank rinser wand or attach a clear elbow to watch the magic happen.
Give it a quick 30–60 second blast, then pause for 20–30 seconds—let the gunk settle like a snow globe.
Repeat if needed.
Keep going until the outflow runs as clear as a mountain stream, not a muddy creek.
If it’s still brown, you might’ve got buildup playing hide-and-seek.
Don’t skip this—even in hot weather, a clean tank means no surprise stink bombs later.
Leave 1–2 gallons in there; think of it as tank moisturizer.
Close that valve tight, add a splash of Happy Campers or Calgon, and let it work its magic.
Your future self will thank you—no slime, no smells, just peace of mind.
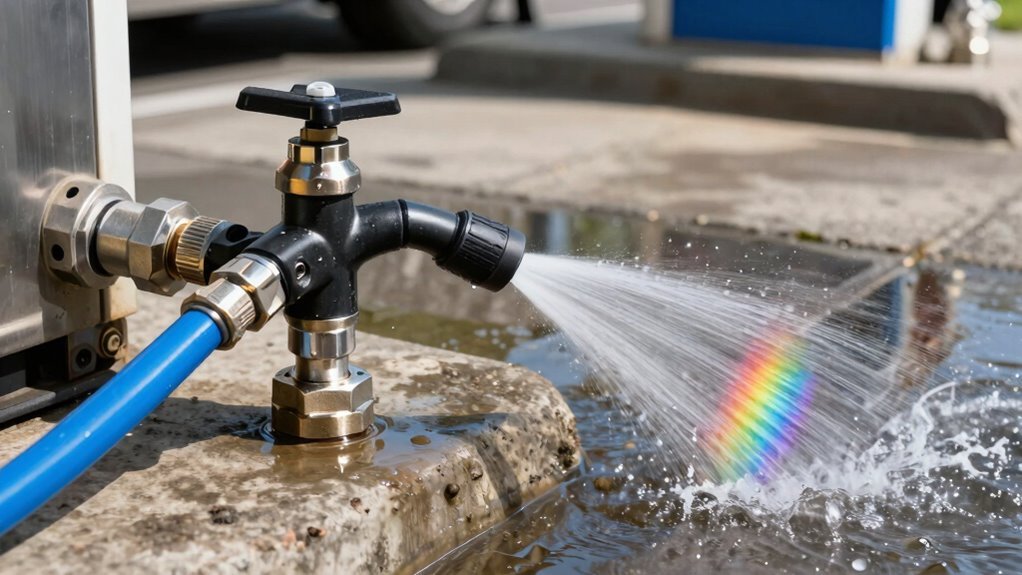
Drain the Gray Tank to Clear the Hose
While your black tank enjoys its post-dump spa day, it’s time to let the gray tank work its magic—clearing out soapy suds, dinner plates’ last stand, and whatever mysterious film that bowl of ramen left behind.
Give that gray valve a slow pull and let the rush begin—your hose is now getting a soapy shower from all that Dawn you poured in earlier.
Listen for the gurgle; it means things are flowing smoothly.
No leaks? Perfect.
Let it drain completely—every last drop.
That gray water is like a rinse cycle, scrubbing away gunk and leaving your hose cleaner than a whistle.
Watch the flow slow to a trickle, then stop.
That’s your cue. Close the valve tight.
You’ve just given your system a spa flush, and it’s gleaming inside.
Job well done, Captain Clean Hose!
Clean Up and Reset for Next Time
Snap that hose back into place and give it a proud pat—round one of RV hygiene is in the bag.
Now, give your tanks some love: close the black tank valve, fill it with water, add a bacteria-based cleaner like Unique Clean-It, and let it soak for up to three days.
After dumping, rinse it 2–3 times until the water runs clear.
Toss in ice, water, and Dawn to clean sensors—then hit the road for 16 hours of sloshing power.
Sanitize your tools, too; soak the wand in bleach water, rinse, and store it clean.
Add treatment and fresh water after each cleanout.
Keep that black tank valve shut between dumps to prevent gunk buildup.
Aim to drain when it’s half to three-quarters full for best flow.
Do a full deep clean every few months if you’re living full-time.
Your RV will thank you—no stinky surprises, just smooth sailing ahead.
Frequently Asked Questions
How Often Should I Dump My RV Tanks?
You should dump your RV tanks every 3 to 5 days during active use, or when the black tank hits two-thirds full.
Waiting a bit helps create a good flush to clear gunk, but don’t push it—nobody wants a surprise backup!
More people or smaller tanks? You’ll dump more often.
Watch for bubbling toilets or slow flushes.
Trust me, your nose will tell you when it’s time!
Can I Use RV Dump Stations for Free?
You bet you can, and it’s like hitting the jackpot without spending a dime!
Washington and Oregon are packed with free dump stations—from rest areas to state parks—where you can unload hassle-free.
Just grab your hose, do the deed, and go.
Some spots even welcome you with open arms, no strings attached.
It’s kind of like a pit stop party for your RV’s plumbing!
Is It Safe to Dump Tanks at Home?
Yeah, it’s safe to dump your tanks at home—if you do it right.
Hook up to your sewer cleanout, not the septic tank lid, and always wear gloves and eye protection.
Avoid dumping too often or using harsh chemicals that mess up your septic system.
Think of it like flushing a really big toilet—cool, but respect the pipes!
When in doubt, go to a dump station.
Your yard (and nose) will thank you!
What Should I Do if the Tank Won’T Drain?
Think of your tank like a clogged drain at a wild party—it’s stuck, but you’ve got tricks up your sleeve.
First, check the valve’s open and listen for gurgles.
Fill the tank halfway, slosh the water to break up gunk, then flush it out.
If it’s still jammed, grab a PEX pipe and gently poke around the toilet to bust up blockages.
Stay calm, you’ve got this!
Can I Dump Waste Into a Regular Sewer?
Yeah, you can dump waste into a regular sewer—if you’ve checked the rules first.
Your local laws might say no, and surprise fines aren’t exactly a fun souvenir.
Always use a proper sewer hose, wear gloves (because, ew), and go slow to avoid messy backups.
Think of it like flushing a giant, stinky toilet—respect the system, and it’ll return the favor.
Conclusion
You’ve done it—dumped like a pro! Think of your RV’s waste system as the ancient Romans thought of aqueducts: essential, brilliant, and not something to ignore. Wrap up by stashing your gear clean and dry, cap those tanks tight, and give yourself a high-five. You’re not just cleaning tanks; you’re keeping the adventure flowing. Now, go enjoy that campfire, you glorious modern-day pioneer, you.
References
- https://www.easternmarine.com/rv-sewer-waste-holding-tanks
- https://www.rv.com/servicing-care/safety-maintenance/understanding-rv-waste-systems/
- https://www.keystonerv.com/owners/essential-guide-to-rv-black-and-gray-tanks
- https://www.youtube.com/watch?v=VKSyyQHVQGI
- https://drainmaster.com/rv/blog/rv-holding-tanks-understanding-the-basics
- https://www.satelliteindustries.com/blog/portable-sewer-tank-for-rv/
- https://recpro.com/rv-tank-accessories/
- https://alliancervowners.com/forum/threads/components-of-the-black-tank-rinse-flush-system.154/
- https://uniquecampingmarine.com/blogs/dumping-rv-holding-tanks-series/proper-care-of-rv-dumping-tools
- https://www.outdoorsy.com/blog/dump-the-black-water-tank