How to Sanitize Your RV Freshwater Tank
To sanitize your RV freshwater tank, start by gathering a funnel, a gallon jug, and some plain bleach. First, completely drain your freshwater tank to prepare it for cleaning.
Next, mix ¼ cup of bleach per 15 gallons of water using the funnel and jug. Pour the solution into the tank, then fill it with fresh water.
Run the bleach solution through every faucet in your RV for a few minutes to fully sanitize the system. Let the solution sit in the tank and pipes overnight to ensure effective disinfection.
The next day, thoroughly flush the system with clean water until no trace of bleach odor remains. This completes the RV freshwater tank sanitizing process, leaving your water system fresh and safe.
Gather Your Supplies
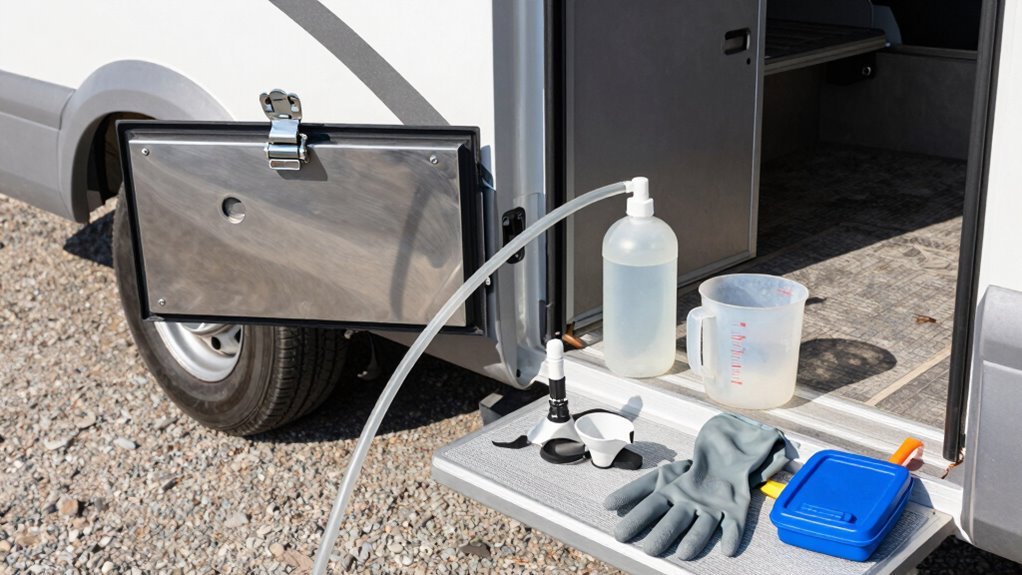
You’ll need just a few key supplies to get started, so grab your gear and let’s make this quick—think of it like assembling a DIY spa day for your RV’s freshwater tank, minus the cucumber slices.
Grab a 5-gallon bucket or half-gallon pitcher to mix things up, and don’t forget a funnel and spout jug for clean pouring.
You’ll use household bleach—¼ cup per 15 gallons of tank space—so keep that measuring handy.
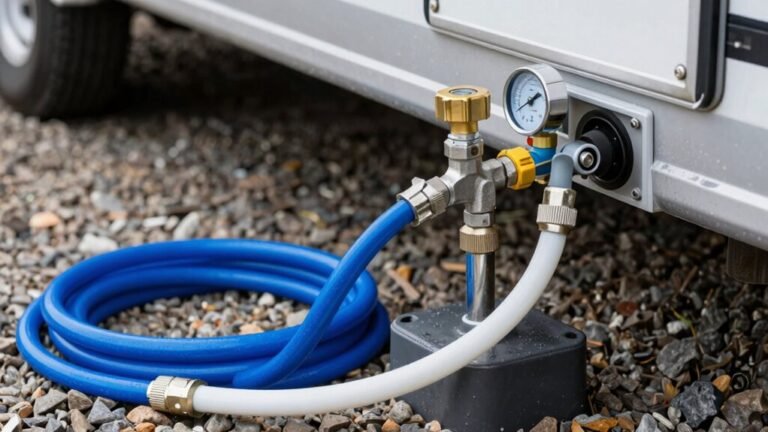
A portable water hose (white or blue, never green!) delivers the mix safely.
Use painter’s tape to mark faucets so you don’t forget where you’ve sanitized.
Need bleach? Stick with the regular kind unless you’re using a commercial RV sanitizer—vinegar works, but only if you love extra steps and warm solutions.
Keep everything potable-grade, and double-check your owner’s manual before trying new products.
This process can be completed in under half an hour, making it easy to maintain your tank regularly with minimal time investment.
Ready? You’re all set to roll!
Drain the Freshwater Tank Completely
Getting that freshwater tank completely empty is your first real win in the sanitation game—think of it as clearing the stage before the main event.
You’ve gathered your supplies, and now it’s time to kick things off right.
Drain smart, drain fully, and you’ll set the tone for a sparkling clean system.
Here’s how to make sure every last drop is gone:
- Open all faucets and flush the toilet—yes, even the outdoor shower—to clear water hiding in pipes.
- Drain the hot water heater separately—turn it off first, then release pressure and let it empty fully.
- Run the water pump until it spits air, pulling out residue so nothing slimy sticks around.
Leave valves open, tilt your RV level, and let gravity do the heavy lifting—because nobody likes a half-empty (or half-drained) tank!
Begin by locating the freshwater tank under the bed, as this under-bed access is critical for reaching drain valves and connections.
Prepare the Bleach Solution
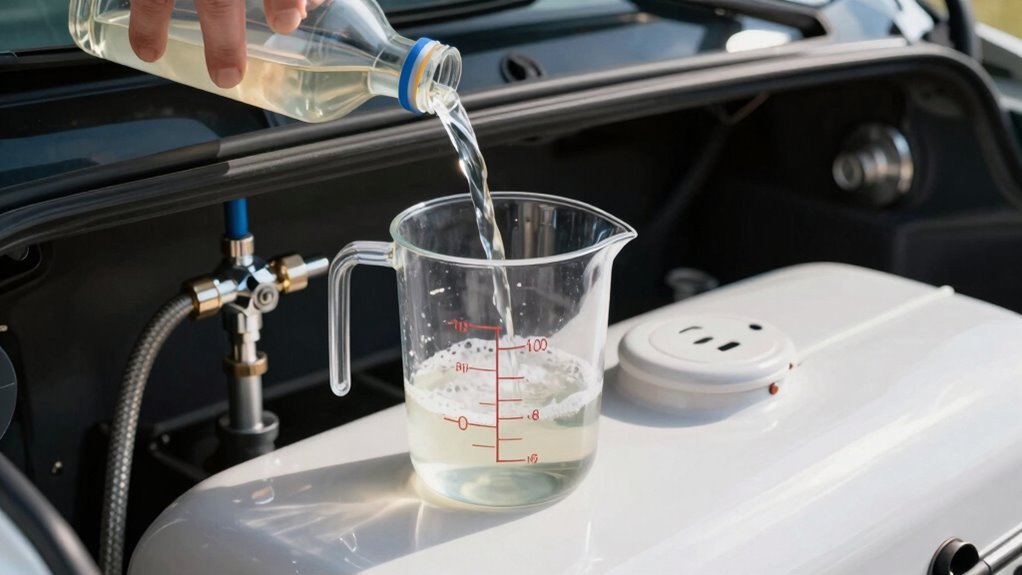
Now that the tank’s dry and ready, it’s time to mix up some cleaning magic—bleach solution, here we come! Grab a clean gallon jug or pitcher, because you’ll never dump bleach straight into the tank—no superhero moves here! For every 15–16 gallons of tank space, use ¼ cup of standard 5% bleach. Got a 40-gallon tank? That’s about half a cup. Mix it with a gallon of fresh water first—think of it as whipping up a spa cocktail, but for your RV. This dilution keeps things safe and effective, hitting that sweet disinfecting zone above 5,000 ppm. Use a funnel or a cut-up water bottle if you’re feeling crafty, and avoid spills like you’d avoid burnt s’mores. Pro tip: distilled water or a rinsed-out juice jug works great for mixing. You’ve got this—your RV’s plumbing is about to feel *refreshed*.
Always use non-scented bleach to avoid introducing harmful residues into your potable water system.
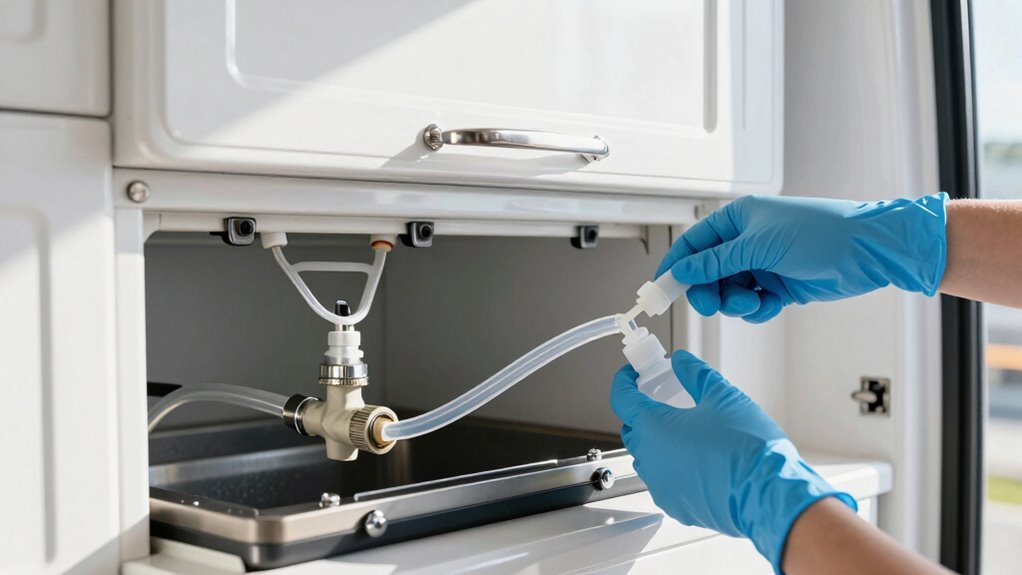
Fill the Tank With the Sanitizing Mixture
Grab that jug of bleach solution you just whipped up—your RV’s freshwater tank is ready for its spa treatment!
Pour it in using a funnel to avoid spills on delicate parts.
Here’s how to nail this step every time:
- Start by filling the tank one-quarter full with water, then add your mix—this helps it flow smoothly.
- Finish filling the tank completely so the bleach spreads evenly; that way, every inch gets sanitized.
- Cap it off and let the solution settle—now your tank’s soaking up freshness like a sponge at a pool party.
You’re not just cleaning; you’re protecting your water system and keeping future trips worry-free.
Think of it as a mini bleach vacation for your RV’s veins!
With the tank full, you’re all set for the next step—rinsing out the magic.
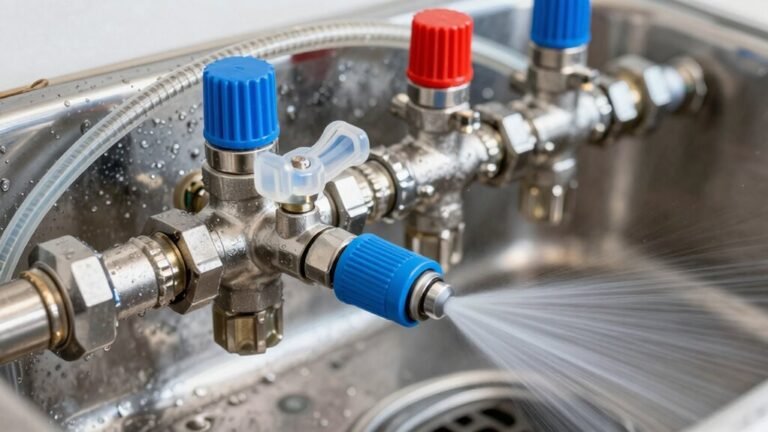
Flush the System Through All Outlets
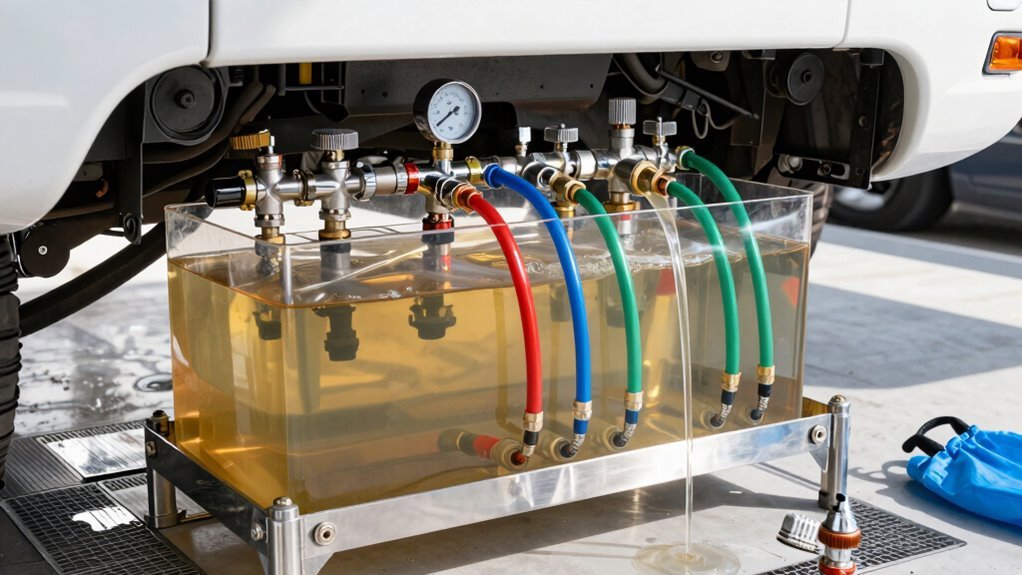
Fire up that water pump and throw open every faucet in the place—yes, even the one in the back bathroom you never use!
Let the water fly from every tap, inside and out, including showers and outside spigots.
Run both hot and cold sides so the bleach mix rushes through every pipe, no corner missed.
Keep things flowing for at least three minutes—this isn’t a quick rinse, it’s a full system splash!
You’ll know it’s working when you catch that sharp bleach smell at each outlet.
If one’s missing the funk, keep running—it’s playing hide-and-seek with the sanitizer.
Shower heads? Yep, they count too!
This flush makes sure the solution hits every nook, so don’t skip a thing.
Think of it as giving your RV’s plumbing a spa day—just way less relaxing for the germs!
Let the Solution Sit for Recommended Time
While the bleach solution zips through your pipes like a hyperactive housecleaner, it’s time to let it put in some serious work—so back away from the taps and give it room to breathe. You don’t need to hover; just let the magic happen. For best results, follow these timing tips:
- Aim for 5–10 hours—this sweet spot kills nasties without hurting your system.
- Overnight is golden, especially if you’re prepping for a trip—set it before bed, rinse in the morning.
- Take a short drive mid-sit to slosh the solution around—think of it as a car wash, but for your tank’s insides.
Most manuals say don’t exceed 10 hours, so set a timer. And hey, no sipping from the tap during this time—grab a bottled drink and chill. Your RV’s water system’s getting a spa treatment, and patience pays off with fresh, clean water.
Rinse the Tank Thoroughly With Fresh Water
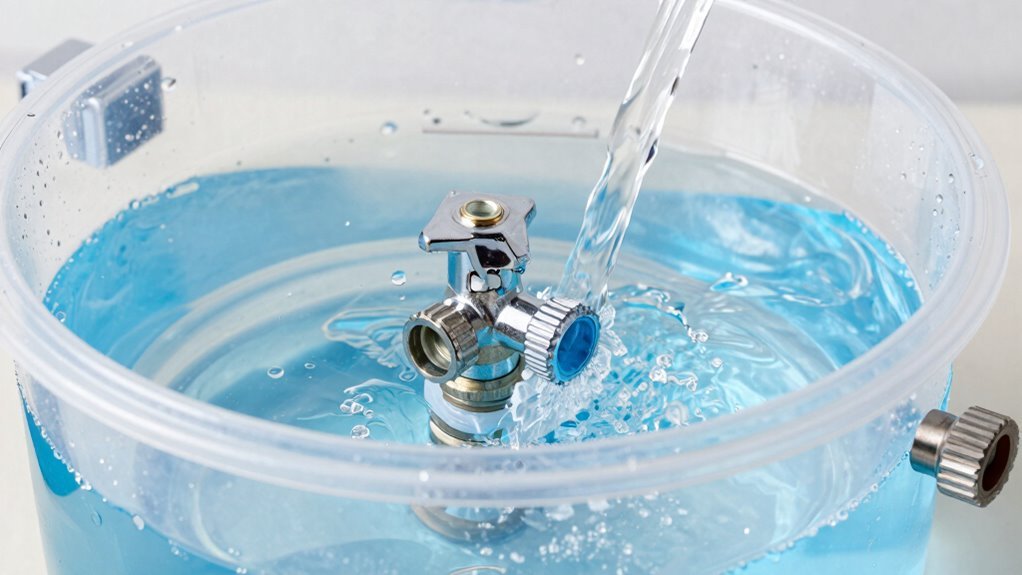
Now that your tank’s had a good long soak and that bleach solution has banished all the lurking funk, it’s time to show it some fresh-water love.
Grab your hose and completely drain the tank using the fresh water drain valve—don’t forget the hot water tank too, if it got treated.
Switch the water heater to bypass mode if you’re skipping sanitizing it.
Refill the tank with clean potable water until it overflows slightly, then run every faucet, shower, and toilet until you smell nothing but clean.
No sneaky bleach fumes allowed!
Drain and refill again if needed—one whiff means you’re not done.
Flush all lines thoroughly, even pumping water into holding tanks.
When everything smells fresh, drain one last time.
Finally, replace filters and reset your water heater.
Boom—your RV’s hydration station is squeaky clean and ready to roll!
Frequently Asked Questions
How Often Should I Sanitize My RV Freshwater Tank?
You should sanitize your RV freshwater tank at least once a year—spring’s perfect for it, especially after winter storage.
If you’re living full-time on the road, knock it out every six months to keep gunk and funk at bay.
Used your RV after a long nap? Yep, time to sanitize.
Saw sketchy water or weird smells? Definitely do it.
Think of it like a spa day for your tank—your faucets will thank you!
Can I Use Vinegar Instead of Bleach to Sanitize?
You bet you can use vinegar instead of bleach—it’s like swapping a knight’s sword for a wizard’s potion from the Middle Ages!
Just heat it to at least 130°F so it zaps bacteria like a tiny power wash.
It’s gentler, safer for sensitive systems, and kinder on your nose.
Follow the same steps as bleach, then flush well.
Your tank’ll be fresh, clean, and vinegar-fresh smelling—no chemistry lab required!
Is It Safe to Drink Water After Sanitizing With Bleach?
Yes, it’s totally safe to drink the water after sanitizing with bleach—promise!
Just rinse well, refill, and drain a couple times.
When the bleach smell’s gone, so’s the residue.
You’re left with clean, safe water, no chemicals lurking.
Think of it like washing dishes—you don’t eat off them dirty, but once rinsed?
Perfect.
Your tank’s no different.
Cheers to fresh, worry-free sips!
What if My Tank Still Smells After Cleaning?
You’ve cleaned, but that stink’s still hanging around?
Don’t panic—bacteria love to hide in sneaky spots.
Check your water heater anode rod; it might be the smelly culprit.
Swap it for an aluminum-zinc one and say goodbye to sulfur smells.
Flush all outlets, even the toilet, and don’t forget the P-traps!
They trap gunk and stink.
A little extra peroxide or vinegar won’t hurt—your RV’s thirsty for fresh vibes!
Can I Sanitize the Tank Without Using a Water Pump?
You bet you can, no pump needed—it’s like giving your tank a bubble bath without the bubbles!
Just pour bleach or vinegar into the water hose as you fill, let it slosh around for hours, even take a short drive to shake things up.
Drain through faucets, then rinse well.
No pump, no problem, and hey, your tank’ll feel fresher than a daisy in spring!
Conclusion
You finish rinsing, fire up the pump, and suddenly—just as you open the faucet—your dog trots by, tongue out, ready for a drink too. You both get a clean, fresh splash at the same time. Laugh, sip, savor the victory. That crisp water tastes like peace of mind, road trips, and summer mornings. You did it—tank’s sparkling, soul’s ready. Now, go fill up and hit the open road!
References
- https://kirklandrvsales.com/sanitize-rv-water-tank/
- https://changinglanesrv.com/rv-water-system-sanitization/
- https://kleentank.com/how-to-sanitize-your-rvs-fresh-water-holding-tank/
- https://www.escapees.com/blog/how-to-sanitize-your-rv-fresh-water-tank
- https://uniquecampingmarine.com/blogs/news/sanitizing-your-holding-tanks-removing-algae
- https://www.youtube.com/watch?v=_eDY_0XC_uQ
- https://www.rvtechlibrary.com/plumbing/sanitizing.php
- https://community.goodsam.com/discussions/rvnewbiesforum-board/-bleach-to-sanitize-fresh-water-tanks/3391226
- https://www.youtube.com/watch?v=0ToaKYcyEI8
- https://www.youtube.com/watch?v=6gN4_mkfU_4