How to Maintain Your RV Water Heater
Knowing your RV water heater type—whether it’s a tank or tankless model, and powered by propane or dual-fuel—is essential for proper maintenance and avoiding cold surprises on the road. Understanding the system ensures you perform the correct care and troubleshooting steps.
Flush the tank annually to remove sediment buildup, which can reduce efficiency and damage the unit over time. Check the anode rod regularly to prevent rust and extend the life of your RV water heater.
Test the pressure relief valve periodically to ensure it’s functioning safely and reliably. Keep the water temperature set around 140°F and address any leaks immediately to maintain performance.
Properly winterize your RV water heater to protect it from freezing temperatures. With consistent care, your RV water heater will provide dependable hot water for showers and cleaning throughout your travels.
Understand Your RV Water Heater Type

Ever wonder why your morning shower feels great one day but turns icy the next?
Well, it all comes down to your RV’s water heater type.
If yours has a tank, it stores 6–10 gallons of hot water, perfect for long soaks—until it runs out.
Tankless models, though tiny, heat water on demand so you’ll never get a cold surprise mid-lather.
Love boondocking? A propane-only heater keeps things hot off-grid with minimal electric use.
Or maybe you’ve got a dual-fuel unit—super handy since it switches between gas and electric, saving propane when you’re plugged in.
And hey, if your RV lacks built-in heat, portable heaters are a budget-friendly, outdoor-friendly fix.
Knowing what you’ve got isn’t just smart—it’s the key to endless hot showers and fewer “why-is-this-cold?!” moments.
Pretty neat, right?
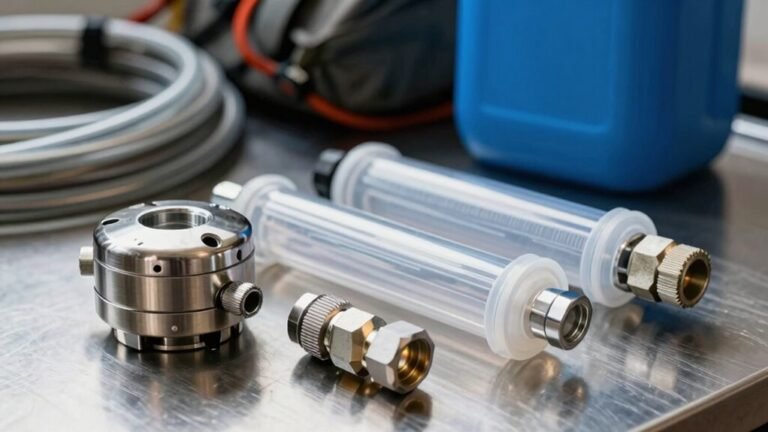
Drain and Flush the Tank Regularly
Keeping your RV’s water heater running smoothly starts with a little regular TLC—namely, draining and flushing the tank before gunk builds up and throws a cold-water tantrum on you.
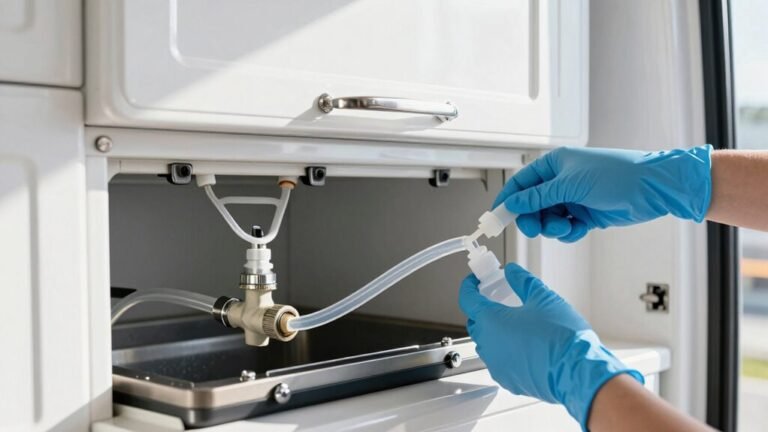
First, turn off the gas and electric power, let the tank cool, then shut off the water supply.
Open a hot faucet and the pressure relief valve to release steam—safety first!
Once it’s cool, pop out the drain plug or anode rod with a 1 1/16-inch socket and let the yucky water drain out completely.
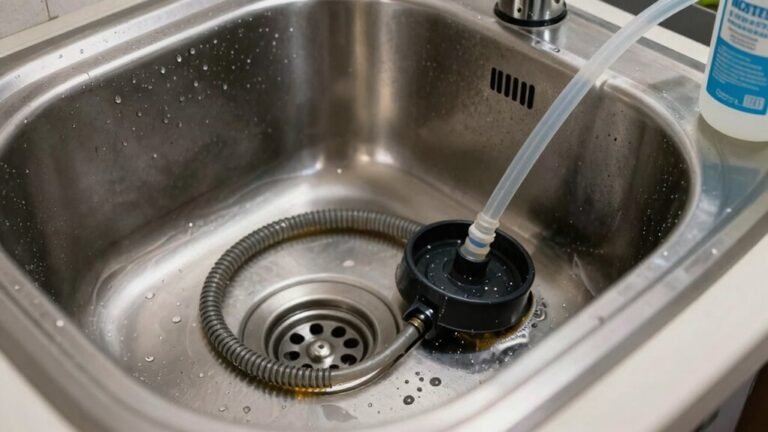
Use a rinser or city water to flush loose crud until the water runs clear—think of it as a spa day for your heater.
For extra grime, vinegar’s your buddy: pour in 3–5 gallons, heat it up, then let it soak overnight.
Drain, rinse, and voilà! Your heater’s fresh, clean, and ready to keep your showers toasty.
Turn on electric heating element to activate the vinegar solution and effectively break down mineral deposits.
Inspect the Anode Rod for Wear
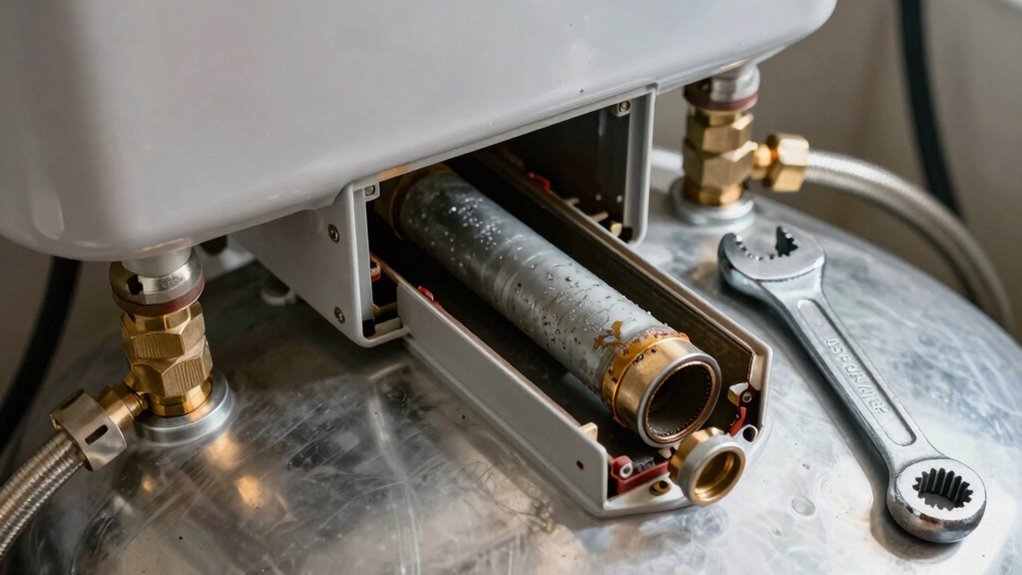
Spying on your water heater’s secret superhero? That’s the anode rod—your tank’s unsung hero.
It sacrifices itself to save your heater from rust, pulling in corrosive stuff so the steel tank stays safe.
Check it at least once a year, especially when you’re winterizing and the tank’s already drained.
If it’s 75% gone or the core wire’s showing, replace it—don’t wait.
Hard water or heavy use? It’ll wear faster.
See lots of calcium gunk or funky smells? Red flags!
Rusty water or odd noises? Your rod’s probably done.
Swap it every 3–5 years to stay safe.
It’s cheap—about $15—and way easier than replacing the whole heater.
Not all heaters need one; skip it if you’ve got an aluminum tank.
Keep this little guardian fresh, and your RV’s hot water will thank you—no capes required!
Regular replacement helps prevent overall longevity issues.
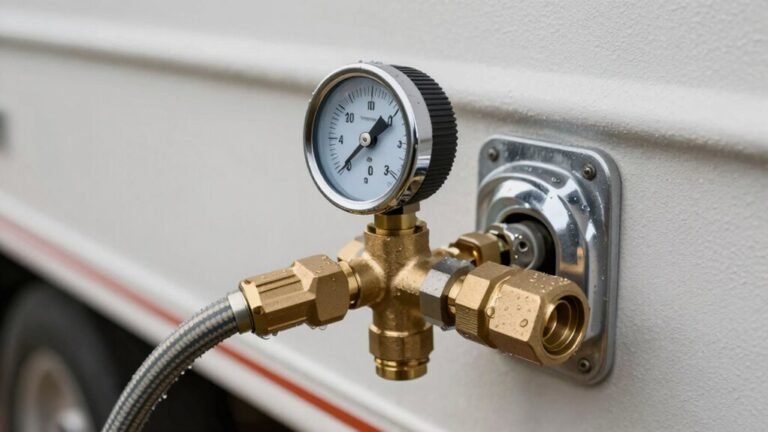
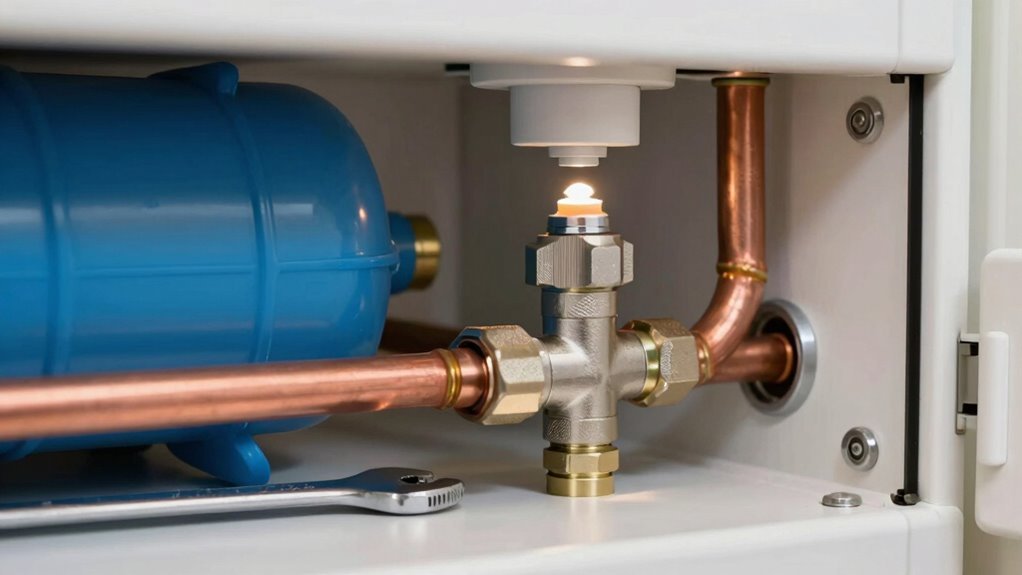
Check and Adjust the Pressure Relief Valve
You just gave your anode rod some well-deserved attention—good move, because now it’s time to check on another key player in your RV water heater’s safety squad: the pressure relief valve. It’s that small but mighty guardian perched near the top front, ready to kick in if things get too hot or pressurized. You’ll want to test it regularly by lifting the little lever and letting water flow out—don’t worry, it’s supposed to spill a bit! Just make sure it snaps back shut tight.
- A quick whooshof steam and water spraying lightly on your hand
- The satisfying click of the lever springing back like a tiny safety seal
- That “ah-ha” moment when you see it’s working, not just leaking like a sad coffee pot
Replace it if it drips nonstop—it’s not being dramatic, it’s failing!
Test the Temperature and Pressure Settings
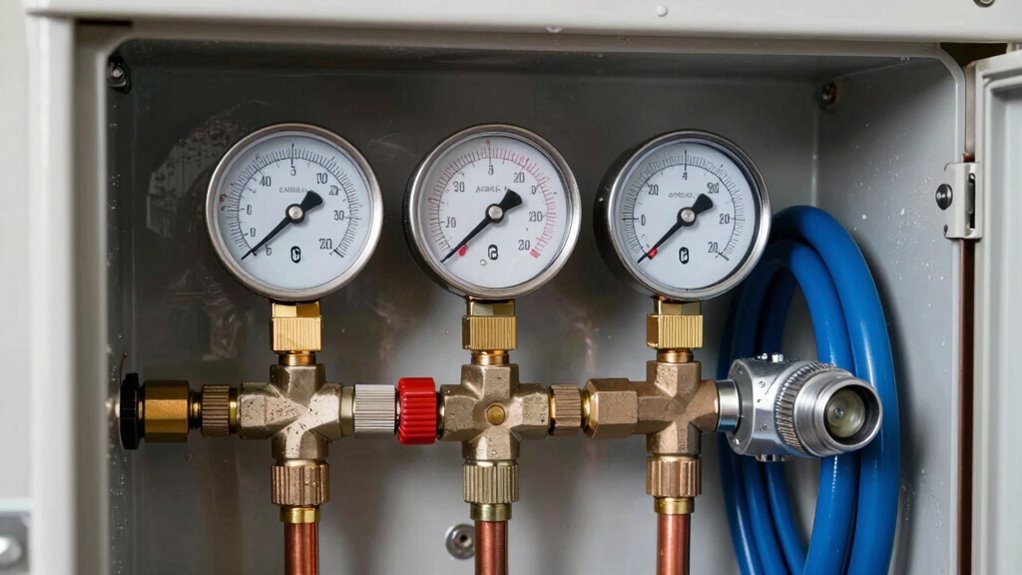
Ever wonder if your RV’s water heater is running hot or just playing it cool? Test those temp and pressure settings to find out!
Pop open the exterior door near the top center and give the T&P valve handle a quick pull—water should flow and stop cleanly, showing it’s working right.
This valve kicks in at 210°F or over 150 PSI, so it’s your water heater’s pressure escape hatch.
Check the rating plate to know its limits—no guessing games.
Your thermostat’s probably set to 140°F from the factory, but that’s often too toasty.
Turn the dial left to crank it up, right to cool it down—perfect for dialing in a comfy shower.
Watch the burner cycle on and off to confirm it’s responding.
With a little tweak and test, you’ll keep things safe, efficient, and just right—no scalding surprises!
Look for Leaks and Corrosion
Grab a flashlight and channel your inner detective—because hunting for leaks and corrosion in your RV’s water heater can be equal parts thrilling and totally necessary.
You’re not just looking for puddles; you’re spotting clues like white calcium spots, dark stains, or drips that shout “something’s wrong.” Check all the usual suspects: valves, fittings, and connections. Tighten what’s loose, and don’t ignore that slow drip—it’s sneaky, but you’ve got the upper hand.
- Bright white crusty spots around a pipe fitting, like salt on a pretzel
- A dark, damp shadow creeping under a cabinet like a stealthy shadow
- A steady plink… plink…drip sound in an otherwise silent RV
Stay sharp, stay dry, and keep your water heater running clean—because nobody likes surprise showers that don’t involve actual showers.
Winterize the System Properly
How does your RV stay frost-free when Jack Frost is knocking at the door?
You drain the water system completely—turn off the heater, let it cool, then empty the fresh tank, water heater, and low-point drains.
Don’t forget to flush the black and gray tanks too!
Bypass the water heater using the valve or add a kit so you save antifreeze and skip filling the tank.
Next, pump non-toxic RV antifreeze through all lines—hit every faucet, shower, and even the toilet until pink liquid flows.
Pour a cup down each drain to protect p-traps, and shoot antifreeze into the city water inlet.
Close everything up, switch off the heating element, shut propane off, and yank the batteries for safe storage.
Your RV’s now cozy, protected, and ready to ride out winter like a champ—sweet dreams, buddy!
Schedule Professional Inspections When Needed
While you’ve got the basics down and your water heater’s running like a champ, there’s no shame in calling in the cavalry when things get tricky—some jobs are just better left to the pros.
If you smell gas, see leaks, or your heater keeps playing dead, don’t play detective—call a certified tech.
Annual check-ups catch sneaky issues early, and if you live full-time on the road, twice-yearly visits keep things humming.
Think of it like a spa day for your RV—with experts handling the messy flushes, anode swaps, and pressure valve tests you’d rather avoid.
- A pro kneeling beside your RV with tools ready, calmly diagnosing a silent malfunction
- Steam gently rising as a technician safely tests the pressure valve on a crisp morning
- A shiny new anode rod being slid into place, shielding your tank like a superhero’s shield
Frequently Asked Questions
How Often Should I Replace the Anode Rod?
You should replace your anode rod every 1–3 years, especially in an RV—don’t wait, or your tank might throw a tantrum!
Check it twice a year like you’re peeking under the hood of your favorite road-trip buddy.
If it’s thin, crusty, or looks like a chewed-up pencil, swap it out.
Soft water, heavy use, or hard minerals? Then you’re dodging corrosion bullets.
Stay proactive, and your heater’ll thank you with years of hot showers—no swamp juice included!
Can I Use Regular Household Cleaning Products on My RV Water Heater?
Nope, you can’t use regular household cleaners on your RV water heater—95% of them contain chemicals that’ll wreck the system.
Stick to safe options like diluted bleach or vinegar.
They’re gentle, effective, and won’t turn your hot water into a science experiment.
Your RV will thank you, and you’ll avoid a messy, costly disaster.
Keep it simple, smart, and skip the kitchen sink—literally!
Is It Safe to Run the Water Heater Without Water in the Tank?
Nope, don’t ever run your water heater without water—it’s a fast track to trouble!
You’ll overheat the tank, wreck the heating elements, and maybe even start a leak.
Think of it like running a blender empty; things just ain’t built for that!
Save yourself a repair headache and always check the tank’s full before firing it up.
Your RV will thank you—no drama, just hot showers!
What Causes a Sulfur Smell in My Hot Water?
You’ve got a stink bomb in your hot water tank—well, kinda!
Bacteria team up with your anode rod to create smelly hydrogen sulfide gas, especially after sitting too long.
That rotten egg smell? It’s only in hot water because heat wakes those tiny troublemakers up.
No cold water funk?
Then it’s not your whole system.
Flush it out, zap the bacteria, and maybe swap that rod to stop the stink fest!
Can I Upgrade My Current Water Heater to a Tankless Model?
Yeah, you can totally upgrade to a tankless model—many RVers do it for more hot water and less bulk.
Just check your RV’s make, model, and power setup first.
Most tankless units fit right where your old heater sat, thanks to retrofit kits.
You’ll likely keep the same space but gain efficiency, endless hot showers, and maybe even impress your camping buddies.
Sweet upgrade, right?
Conclusion
You’ve got this, captain of your cozy RV kingdom! Think of your water heater as the heart that keeps warm hugs flowing. Tend to it like a garden—with love, a little sweat, and wintertime naps under snug covers. Flush, check, smile at the anode rod like an old friend, and laugh when the pressure valve sneezes. Stay sharp, stay warm, and may your showers always run steamy—no surprise ice baths allowed!
References
- https://www.heatso.com/ultimate-rv-water-heater-buying-guide-for-beginners
- https://www.bluettipower.com/blogs/news/types-of-rv-hot-water-heater
- https://blog.campingworld.com/learn-to-rv/how-to-choose-a-water-heater-for-your-rv/
- https://www.lippert.com/blog/types-of-rv-water-heaters
- https://www.youtube.com/watch?v=nT3yY3Bd0HM
- https://furrion.com/blogs/rv/electric-vs-gas-rv-water-heaters
- https://bowlus.com/blog/tips/understanding-your-rvs-hot-water-heater/
- https://www.rvhabit.com/post/cleaning-flushing-and-descaling-an-rv-water-heater-how-to-clean-and-maintain
- https://www.youtube.com/watch?v=PXr-zGuNAkc
- https://www.youtube.com/watch?v=zpyS2ERp3cs