How to Upgrade Your RV Lighting to LEDs
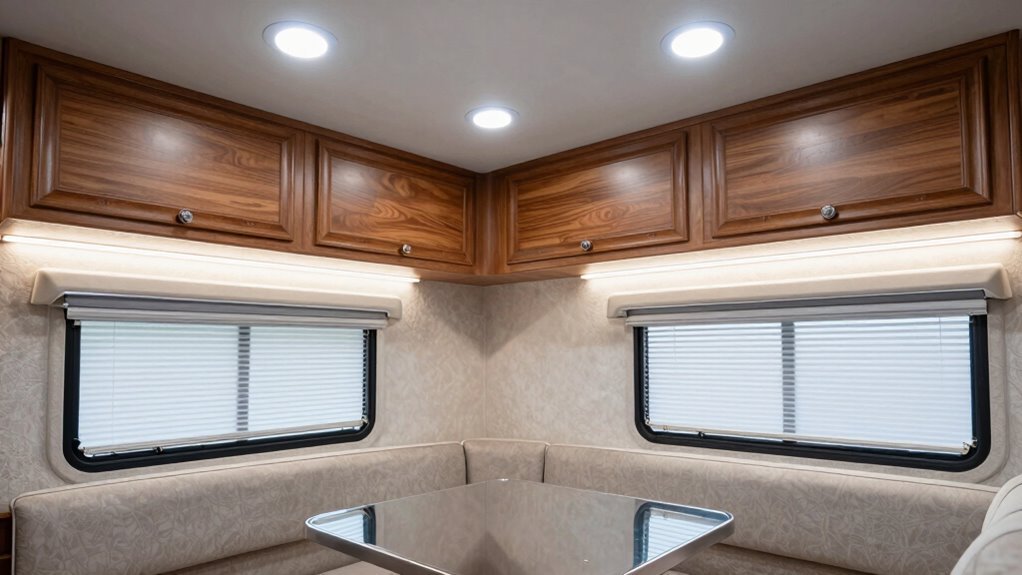
Upgrading your RV lighting to LEDs is a simple and effective way to enhance both efficiency and comfort on the road. You’ll love how easy it is to swap your old RV lights for LEDs—just turn off the power, pop out the old fixtures, and plug in your shiny new LEDs.
Pick the right size LED fixture to match your existing cutout and ensure vents stay clear for proper heat dissipation. Secure them snugly to withstand vibrations from bumpy rides and avoid loosening over time.
LEDs use less electricity and stay cooler than traditional bulbs, making them ideal for extended off-grid travel. To prevent flickering, check your voltage and consider adding surge protectors to safeguard the system.
Keep lenses clean to maintain optimal brightness and inspect all bulbs before hitting the road. Counting them ahead of time helps avoid dark surprises during nighttime stops.
Oh, and there’s a pro tip or two you won’t want to miss later.
Why Switch to LED Lighting in Your RV
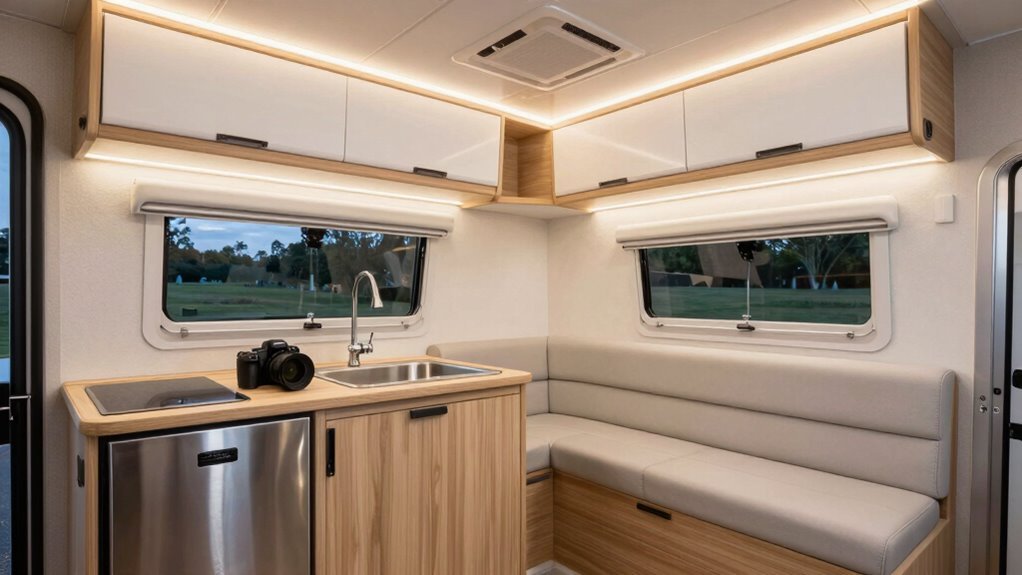
Ever wonder how you could make your RV brighter, more efficient, and easier to live in—without breaking a sweat?
You’ve got better lighting right at your fingertips—switch to LEDs.
They sip power instead of guzzling it, using up to 80% less energy than old-school bulbs.
That means longer boondocking trips and happier batteries.
Plus, they last years—like, up to a decade—so you’re not crawling around swapping burnt-out bulbs.
LEDs stay cool to the touch, so no more cooking your hand or overheating your rig.
They fire up instantly, shine bright like daylight, and won’t fade your curtains.
Yeah, they cost a bit more upfront, but think of all the time, money, and hassle you’ll save.
It’s a win-win: your RV feels safer, comfier, and way more modern—no magic required, just smarter bulbs doing the heavy lifting.
And with Motion-sensitive lighting, you gain an extra layer of security by automatically deterring intruders and illuminating any nighttime activity around your RV.
Understanding RV Lighting Types and Sizes
Shining a light on your RV’s cozy nooks just got a whole lot easier—welcome to the world of LED lighting types and sizes, where brightness meets brains.
You’ve got options: slim strip lights stick under cabinets like magic tape, while linear lights brighten closets without hogging space.
Dome and pancake lights fit snug in ceilings, dishing out warm, welcoming glows perfect for chilling out.
Need to read a map at midnight? Wall-mounted or reading lights have your back—literally.
Bulb bases come in handy shapes like mini wedge or G4, so swapping old bulbs is a cinch.
Size matters, but don’t sweat it—most LEDs slide right into existing spots.
With lumens ranging from soft ambient to bright task lighting, and color temps from warm to cool, you’re in control.
Just match the fit, brightness, and vibe you want—and suddenly, your RV feels like home, only brighter.
These lights operate efficiently on a 12-volt DC power source, making them ideal for RV electrical systems.
Choosing the Right LED Fixtures for Your Space
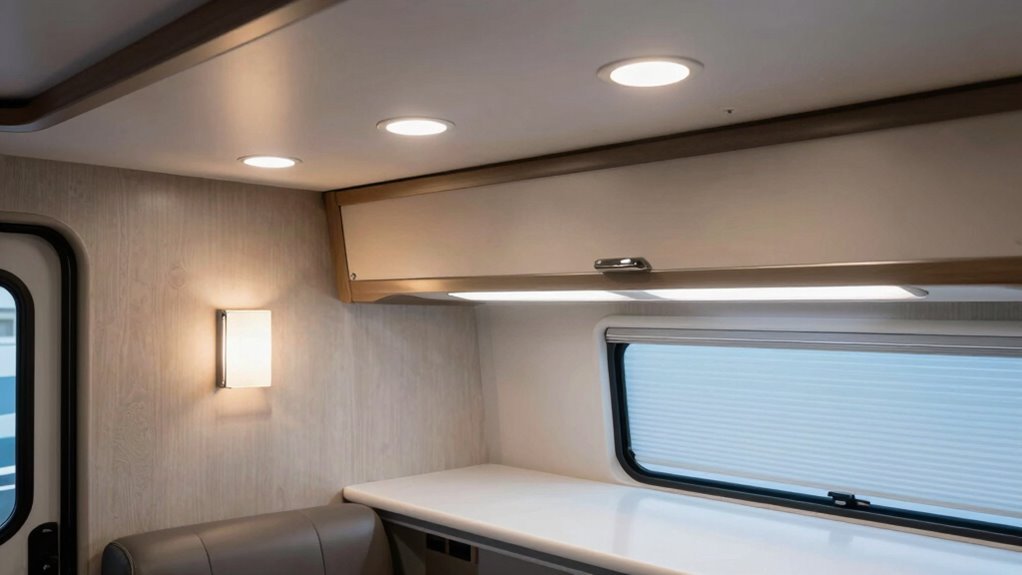
You’ve already got the hang of what kinds of LED lights are out there and how they fit your RV’s setup—now it’s time to pick the perfect ones for each spot.
Choose recessed or dome lights for cozy ceilings, puck lights for closets, and surface mounts for quick wins.
Love ambiance? Go dimmable or 3000K–4000K for a warm, inviting glow.
Need task lighting? Flexible spotlights or under-cabinet strips work wonders—and hey, no more reading in the dark!
For awnings or outside, waterproof strips and bright 6000K LEDs keep things clear without flickering dramas.
Match your 12V system, check the IP rating for damp zones, and embrace low wattage—your batteries will thank you.
With LEDs lasting up to 60,000 hours, you’ll spend less time replacing and more time relaxing.
It’s like giving your RV a glow-up that actually saves power.
Energy efficiency is a key benefit of LED lighting, helping to extend your RV’s battery life during off-grid adventures.
Bright idea, right?
Tools and Materials You’ll Need for the Upgrade
Chances are, you already have most of the basics stashed in a junk drawer somewhere—time to gather your gear and get ready to glow!
Grab a screwdriver set, especially a #2 square bit for those sneaky RV panel screws, and keep a flathead handy for popping off puck covers without a wrestling match.
You’ll need wire cutters, strippers, and needle-nose pliers to tame those wires like a pro.
Don’t forget wire nuts, crimpers, and electrical tape—your new best friends for safe, snug connections.
Bring out the voltage tester first (safety’s cool, right?), plus a flashlight so you’re not working in the dark—literally.
Pack zip ties, extra screws, and a few fuses just in case.
And of course, your shiny new LEDs—grab at least 24, with warm or cool light to match your vibe.
With this crew, you’re not just upgrading bulbs—you’re sparking a glow-up!
Turning Off Power and Removing Old Fixtures
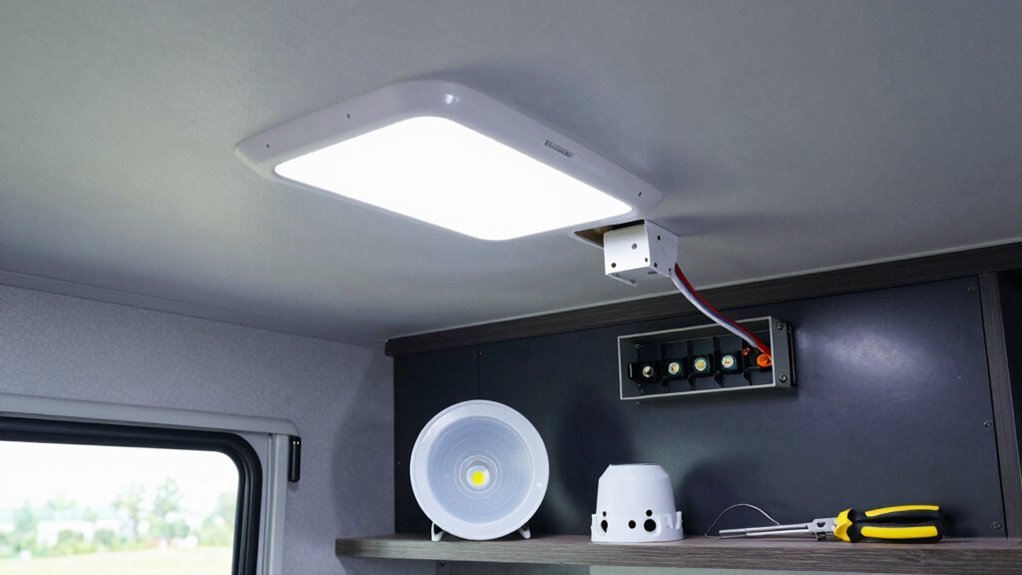
Getting those old lights out starts with playing it safe—because no one wants a shocking surprise.
First, unplug your shore power and disconnect the RV battery—don’t skip this, even if you’re in a hurry.
Double-check that the 12V DC system is truly off, since most RV lights run on low-voltage current.
Turn off the lights and let them cool—those incandescent bulbs get hotter than a July afternoon!
Once you’re sure the power’s out, grab a screwdriver and start removing dome covers by unscrewing or sliding them free.
Check if you’ve got ceiling mounts, sconces, or something else—each comes off a little differently.
Count your bulbs (some RVs have 24 or more!) and unscrew or twist them out gently.
Wrap old bulbs in paper before tossing—they’re not recyclable and can pop like mini firecrackers if crushed.
Label everything, clean the sockets, and pat yourself on the back—you’ve just cleared the first big hurdle!
Installing Your New LED Lights Step by Step
Now comes the fun part—bringing your RV into the bright side of life with sleek new LED lights.
You’ve already killed the power and cleared out the old bulbs, so let’s shine.
Start by cleaning surfaces with alcohol—no dust, no drama.
Press those flexible LED strips firmly into place; they’ll stick like they mean it.
Pop them into aluminum channels for a clean look and tuck wires out of sight.
Use solderless connectors—because who wants to solder on vacation?
Match wires (white to white, black to black), crimp tight, and seal with shrink wrap.
Daisy-chain tubes with modular connectors and link them to a hub—up to eight per hub works like a charm.
Mount underbody lights with brackets, route wires neatly, and drill only when absolutely necessary.
You’re not just installing lights—you’re crafting glow, one bright step at a time.
Testing and Adjusting Your New Lighting Setup
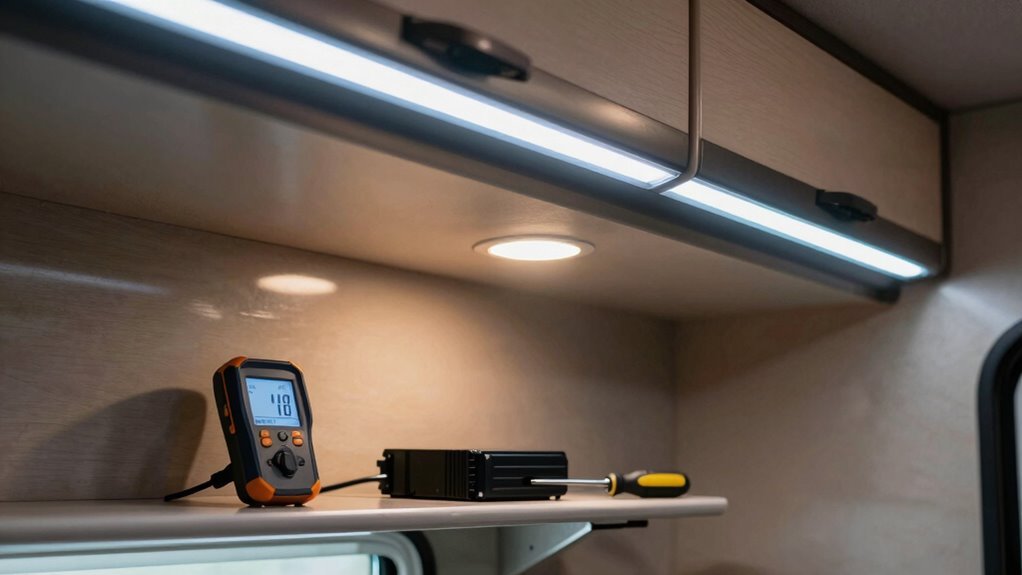
You’ve wired it, you’ve tucked it, and now all that shiny new LED magic is just waiting to burst into action—so let’s fire it up and see what it’s made of!
First, check your battery—pop the hood, peek for corrosion, and test the voltage; no juice, no lights, plain and simple.
Make sure all connections are snug and clean, and give those fuses a quick once-over; a blown one’s sneaky, but easy to fix.
Grab your multimeter: test the power supply output and use diode mode to check individual LEDs—switch the leads if needed, LEDs can be picky about polarity.
Apply 12 volts and watch your lights blaze to life—tug gently on crimps to be sure they’ll stay put.
Adjust color temp now, while you can still reach the controls.
Spot any dark LEDs or flickering? Track down the culprit and nix the night’s worst surprise—ghostly glow or none at all!
Tips for Maintaining LED Lights on the Road
Ever wonder why some RVers brag about lights that stay bright for years while others are stuck swapping bulbs every season?
You can join the first group—with a little care!
Wipe fixtures with a soft, dry cloth to dust them off; grit dims your glow over time.
Skip wet cloths on 12-volt lights—water’s a no-go.
Check wiring often for cracks or loose ends, and tug-test crimps to keep connections snug.
Slather dielectric grease on contacts to block corrosion—it’s like sunscreen for your wires!
Make certain vents around fixtures stay clear so heat escapes easily, and peek at drivers and voltage to dodge flickers.
Clean lenses and panels regularly so your lights shine bright, not dim.
Pop in surge protectors, count all 24 bulbs before hitting the road, and align fixtures after bumpy rides.
With these easy habits, your LED lights won’t just last—they’ll dazzle mile after mile.
Frequently Asked Questions
Can I Install LED Lights in My RV Myself?
You bet you can install LED lights in your RV yourself—it’s easier than threading a needle in a breeze!
Grab a screwdriver, some wire strippers, and follow the color-coded wires.
Pop in 12V LEDs, connect positive to positive, negative to negative, and bam—bright, shiny light!
No electrician needed, just a little grit and maybe a snack.
You’ve totally got this, champ!
Are LED Lights Dimmable in RVS?
Yes, you can dim LED lights in your RV, and they’ll cozy up your space like fireflies at dusk.
Most 12V dimmable LEDs play nicely with RV-specific dimmers, so flicker-free mood lighting’s yours.
Touch, slide, or switch dimmers give you control without rewiring.
Warm to cool tones stay true, even when battery dips.
Just match your dimmer to the LED—think of it as a lighting handshake.
Easy, efficient, and way more fun than squinting under a fluorescent buzz.
Do LED Lights Work With Solar Power?
Yeah, LED lights work great with solar power—they’re like peanut butter and jelly, perfect together!
You’ll love how they sip energy instead of guzzling it, letting your solar-charged batteries last way longer.
They’re built for 12-volt systems, so they play nice with your RV setup. Just hook ’em up, and boom—bright, cheerful light all night, even off-grid.
It’s like your RV throws a rave, powered purely by sunshine!
Will LED Lights Drain My RV Battery?
Nope, your LED lights won’t drain your RV battery like old bulbs did—they’re super efficient!
You’d need to leave them on for days to make a dent.
Sure, they use a tiny bit of power, but even combined with the water pump, it’s nothing crazy.
Just don’t forget to turn them off, or you’ll come back to a sleepy battery and a very dark bathroom!
Can I Mix LED and Incandescent Bulbs?
You can mix LED and incandescent bulbs, but you shouldn’t—they’re like roommates who just don’t get along.
Incandescents hog power and can make LEDs flicker or fail.
On shared circuits, it’s a no-go; keep them separated if you must blend them.
But honestly, why split up when LEDs save power, run cooler, and last forever?
Go all-in—you’ll love the upgrade!
Conclusion
You’ve done it—your RV now shines brighter than a disco ball from the future! Switching to LEDs saves power, boosts mood, and makes midnight snacks way more glamorous. Plus, you’ll love how little upkeep they need, even on bumpy backroads. Congrats, modern-day Thomas Edison, your cozy rig just got a lightning-fast upgrade that’ll outlast a VHS collection. Light on, traveler!
References
- https://www.jwspeaker.com/blog/education-center/benefits-of-fitting-your-rv-with-external-led-lighting/
- https://rvshare.com/blog/7-things-need-know-rv-led-lights/
- https://www.rvupgradestore.com/upgrade-your-rv-lights-to-led-s/1190.htm
- https://www.michiganrvandcampgrounds.org/making-the-switch-to-leds-in-your-rv/
- https://www.benweilight.com/info/the-benefits-and-drawbacks-of-adopting-led-lig-77893869.html
- https://www.ledunderbody.com/blog/benefits-of-million-color-slimline-rv-lights-when-youre-camping/
- https://www.etrailer.com/faq-5-reasons-to-convert-rv-to-led-lights.aspx
- https://www.itc-us.com/news/rv-sustainability-led-benefits
- https://www.kohree.com/blogs/buyers-guides/best-rv-interior-light-buying-guide
- https://www.etrailer.com/dept-pg-RV_Interior_Lights.aspx