How to Properly Wash and Wax Your RV
To properly wash and wax your RV, start by gathering your microfiber cloths, a two-bucket wash system, and a high-quality cleaner like Griot’s or Bugs N All. Park your RV in the shade on flat, legal ground to ensure safe and effective cleaning.
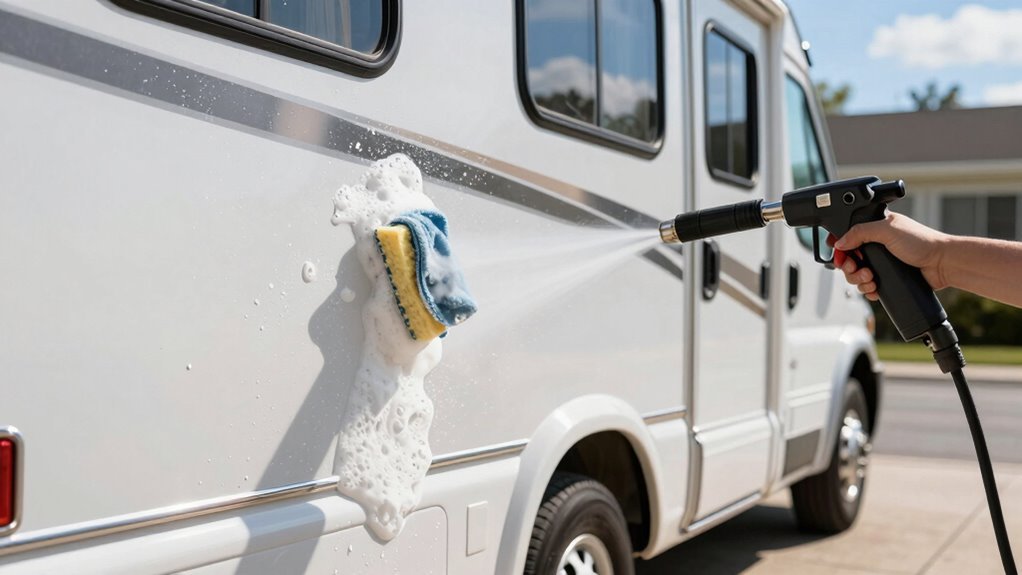
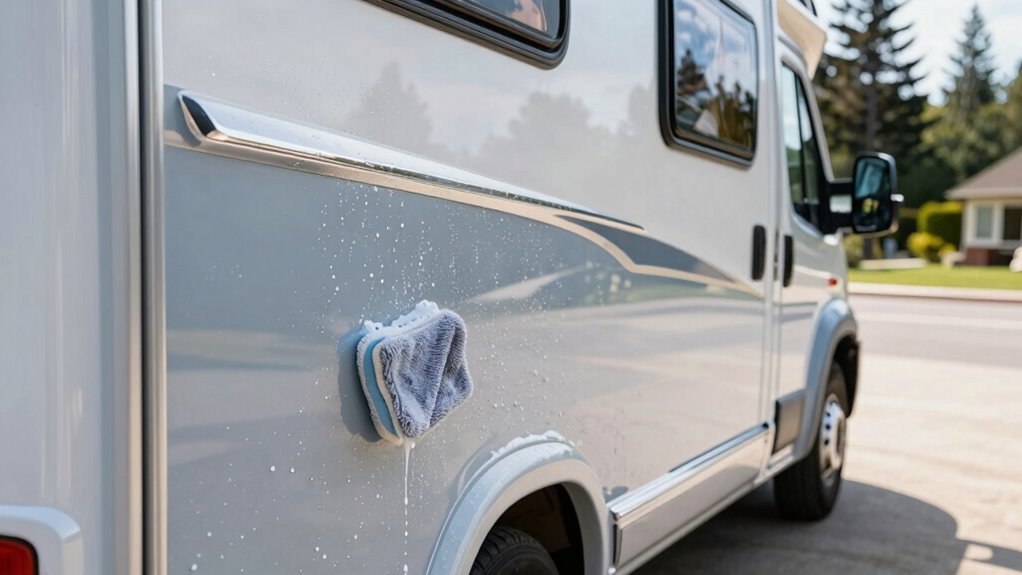
Rinse your RV from the roof down to remove loose dirt and debris before applying soap. Use a wash mitt on a mop stick to gently scrub the surface, working from top to bottom to avoid swirls and streaks.
Never let soap dry in the sun, as this can damage the surface and make rinsing harder. Always clean in shaded areas to maintain control over the suds and achieve a thorough finish.
Wax your RV with a polymer or ceramic sealant to create a slick, shiny layer that resists UV rays, bugs, and grime. This protective barrier enhances appearance and extends time between washes.
Gather the Right Cleaning Supplies
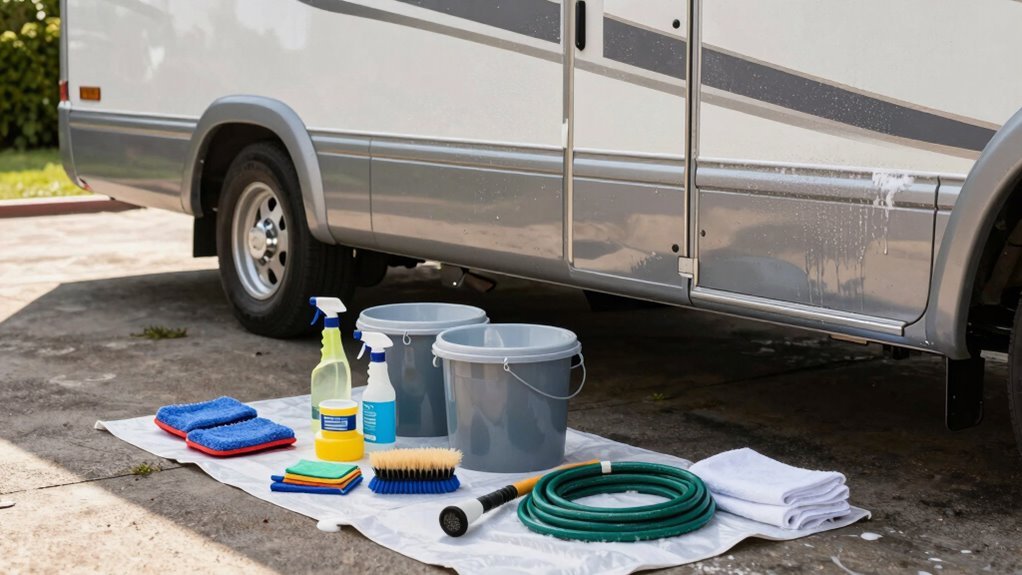
Before you get into washing your RV, let’s make sure you’ve got the right gear—because using the wrong supplies is like scrubbing a pancake with a snow shovel: messy and totally ineffective.
Grab microfiber cloths and a non-scratch sponge—you’ll love how they protect your finish.
Toss in a microfiber wash mitt and a mop stick kit so you can reach high spots without a circus act.
For cleaning, mix white vinegar, lemon juice, and warm water for a gentle clean, or grab Bugs N All to crush bugs and streaks.
Use Griot’s Car Wash for the exterior and an all-purpose cleaner like Mrs Meyers inside.
Don’t forget gloves to save your hands, a squeegee for streak-free drying, and a trusty step ladder.
Throw in some Clorox wipes and 303 Sealant, and boom—you’re ready to roll. Always avoid bleach-based products to preserve tank seals and prevent leaks, as using harsh chemicals can lead to costly damage over time (avoid bleach) .
Choose a Suitable Washing Location
You’ve rounded up all the right cleaning gear—congratulations, your RV’s about to get the spa day it deserves—so now let’s talk location, because scrubbing down a giant vehicle isn’t exactly a bathroom-sink kind of job.
Pick a spot that’s allowed, stable, and smart.
You don’t want muddy mishaps or angry campground hosts!
- Avoid scorching sun that dries soap too fast and leaves spotty regrets
- Find solid, flat ground so your ladder stays put (and your pride too)
- Park near a water source—dragging hoses is no one’s idea of fun
- Choose shade to stay cool and keep suds slick longer
- Pick a legal spot—because nobody likes a surprise no-wash rule
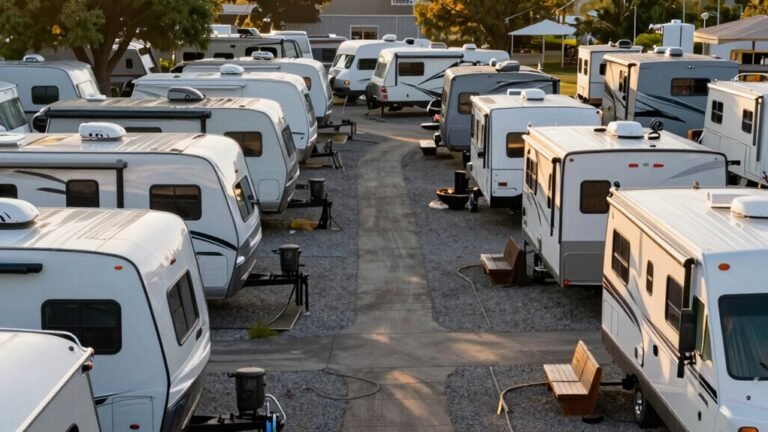
Many campground laundry facilities are located near utility hookups, making them convenient spots to wash and rinse without overloading your freshwater tank.
Your RV—and your back—will thank you!
Pre-Rinse and Remove Heavy Debris
While your RV may look like it’s just asking for a good scrub, jumping straight into soapy suds is a surefire way to invite tiny scratches and big regrets—so let’s start smart.
Grab your garden hose with an adjustable nozzle or a pressure washer on low—nobody wants dirt rocketing into the paint!
Begin on the roof and work your way down, gently rinsing loose gunk before it becomes a scrubbing nightmare.
Use an extension wand to reach high spots without playing acrobat.
Give sticky bugs and road grime a heads-up with a quick pre-soak, letting it sit a few minutes to loosen up.
Keep it shaded so it doesn’t dry too fast, and always test new products first.
Skip dry wiping—it’s like sandpaper on your finish!
Keep the spray gentle, close vents, and rinse often.
Your RV’s paint will thank you later—no surprises, just shine.
This step helps prevent scratches and swirl marks.
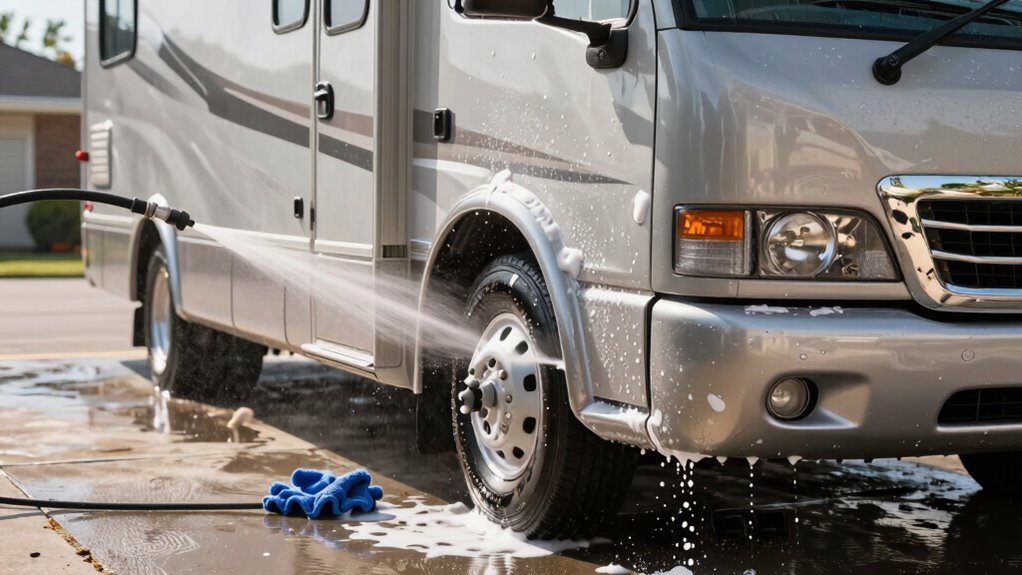
Wash From Top to Bottom
Once you’ve rinsed away the loose junk, it’s time to dive into the real cleaning action—starting right on top, where gravity wants to sabotage your hard work.
By washing top to bottom, you keep dirty runoff from mucking up clean surfaces, so your RV shines streak-free.
Use a two-bucket system and an extendable brush to safely reach the roof without wiping grime back down.
Soap up in straight lines, rinse as you go, and watch the dirt disappear like magic.
- You’ll feel proud seeing sparkling clean streaks instead of muddy messes
- Your RV will look professionally cleaned, no swirl marks in sight
- You avoid scratching the finish—those tiny grit bits stay in the rinse bucket
- Cleaning becomes satisfying, not stressful, as soap rinses cleanly away
- You catch roof cracks early, saving yourself from rainy-day surprises later
Apply Wax for Long-Term Protection
Think of wax as your RV’s superhero cape—shielding it from sunburn, bugs with bad intentions, and the occasional bird “gift” from above.
You’ve got options: go with paste wax for a thick, long-lasting shield you’ll apply once a year, or grab a spray-on for quick touch-ups between deep treatments.
Liquid sealants fight swirls and last six months, while polymer kinds like Revival Premium protect for up to a year.
And if you’re feeling fancy, ceramic coatings offer high-tech defense—with UV light showing where you’ve covered.
Always wax a clean, dry surface, using a wool pad on a buffer at 80% speed or a trusty pole for faster work.
Let it haze for 15–30 minutes, then buff gently with two microfiber towels.
Your RV isn’t just shiny—it’s armored, happy, and ready to cruise with pride.
Dry and Inspect for Missed Spots
You’ve buffed on that wax and given your RV its shiny superhero costume—now it’s time to make sure everything’s squeaky clean and spotless.
Grab your favorite microfiber towel and get to work, because drying isn’t just about looks—it’s your final defense against water spots and sneaky grime.
You’re this close to perfection, so don’t cut corners now!
- Glide a soft chamois down the sides like you’re giving your RV a spa day—it loves the attention.
- Use a squeegee from top to bottom for streak-free shine that’ll make neighbors jealous.
- Dry the awning completely—trapped moisture means mildew, and nobody likes funky smells.
- Wipe windows with a lint-free cloth so they sparkle like fresh snow.
- Peek at seals and wheels; if they’re not spotless, give ‘em one more pass—you’ve got this!
Frequently Asked Questions
How Often Should I Wash My RV?
You should wash your RV two to three times a year at minimum, but hey, once a year still counts if it’s tucked in the garage.
If you’re out there chasing adventures, you’ll need more washes—dust and bugs love hitching rides!
Every six months, don’t forget the roof; it’s like flossing, nobody loves it, but it keeps things healthy.
Pair washes with detailing, and boom—your rig stays shiny and protected year-round!
Can I Use Car Shampoo on My RV?
Yes, you can use car shampoo on your RV—don’t overthink it, “same vehicle, same soap” works often!
Mild shampoos like Meguiar’s or Chemical Guys are safe and effective.
Just avoid harsh detergents.
They’ll clean without hurting your finish or stripping wax.
For tougher grime, go for RV-specific formulas like Poli Wash—they’re tougher on dirt but still gentle on your rig.
Keep it sudsy, rinse well, and your RV’ll shine like a freshly popped disco ball!
Is It Safe to Pressure Wash an RV?
No, it’s not safe to pressure wash your RV without caution—you could damage seals, peel decals, or force water inside.
But don’t panic!
You *can* use a pressure washer if you’re smart: keep it low pressure, fan out the nozzle, and stay 12+ inches away.
Skip the roof AC and windows, wear goggles (because, ouch!), and never blast cracks or old caulk.
Think gentle rain, not fire hose—it’s your RV’s spa day, not a power battle!
Should I Wax My RV in Direct Sunlight?
No, you shouldn’t wax your RV in direct sunlight—trust me, it’s a hot mess waiting to happen.
The sun bakes the wax on too fast, making it hard to spread or buff out.
You’ll end up with streaks, uneven coverage, and a finish that’s more “meh” than “wow.”
Instead, find some shade or wait for a cool, cloudy day.
Your RV will thank you with a shiny, smooth, head-turning glow!
What’s the Best Time of Year to Wax an RV?
You should wax your RV in spring and late fall—it’s perfect timing, really.
Spring cleaning wipes away winter’s mess and preps for sunshine, while fall waxing shields your ride before hibernating under a cover.
Think of it like sunscreen and a winter coat for your rig!
Twice a year keeps it shiny, protected, and ready to roll.
Don’t skip it—your RV will thank you with fewer regrets and zero midlife crisis meltdowns.
Conclusion
You’ve done it—your RV shines like a million stars! Did you know a proper wax job can boost your RV’s resale value by up to 25%? So all that elbow grease? Totally worth it. Treat your rig right, and it’ll thank you with years of road-trip magic. Now go park proudly under the sun, because *damn*, that’s a good-looking camper. Who knew cleaning could feel this fun?
References
- https://www.winnebago.com/lifestyle/winnebagolife/gear/in-depth-guide-for-an-rv-spring-cleaning-check
- https://seekingthervlife.com/cleaning-an-rv/
- https://rvshare.com/blog/rv-spring-cleaning/
- https://olivertraveltrailers.com/forums/topic/5073-the-simple-rv-preparation-checklist/
- https://firesidervrental.com/cleaning-checklist/
- https://blog.goodsam.com/wp-content/uploads/2020/03/Good-Sam-RV-Cleaning-Checklist.pdf
- https://www.outdoorsy.com/blog/how-to-rv-wash-near-me
- https://blog.campingworld.com/learn-to-rv/the-rvers-guide-to-doing-laundry-on-the-road/
- https://poliglow.com/blogs/news/the-ultimate-rv-wash-guide
- https://www.harvesthosts.com/blog/tips-washing-rv