How to Clean and Maintain Your RV Awning
Cleaning and maintaining your RV awning is essential for extending its lifespan and keeping it looking great. Start by extending the awning fully and sweeping off any leaves or debris.
Grab a bucket, gloves, and a soft brush to begin cleaning. Use mild soap or a vinegar solution to gently scrub the fabric, focusing on stained or dirty areas.
For mold or mildew, use a magic eraser or a specialty RV awning cleaner to treat affected spots. Avoid harsh chemicals or abrasive tools that could damage the material.
Rinse the awning gently with a hose, making sure not to use a pressure washer. Let it air-dry completely before retracting to prevent moisture buildup.
Inspect the fabric for rips, fraying, or signs of wear while it’s extended. Store the awning loose and dry to maintain its condition.
Regular cleaning and maintenance of your RV awning help prevent damage and ensure it’s ready when needed. Keep up with these steps, and you’ll wonder what else your RV’s been hiding.
Gather the Right Cleaning Supplies
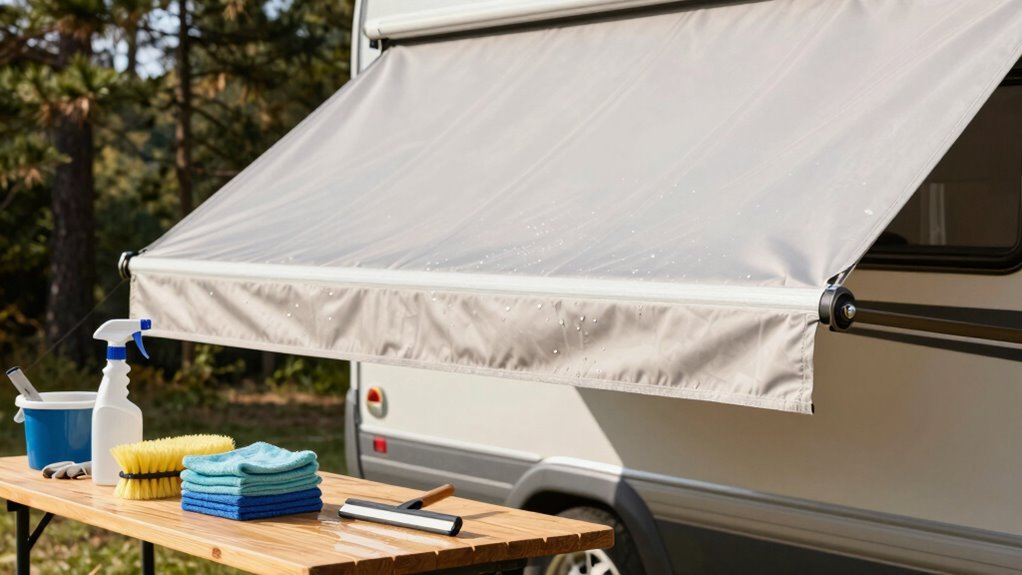
Grabbing the right cleaning supplies is your first step to keeping that RV awning looking sharp and lasting for seasons to come.
You’ll need a 5-gallon bucket—perfect for mixing up soapy solutions and easy to carry around.
Toss in a measuring cup to get the dish soap just right: about 1/4 cup per bucket keeps it effective without residue.
For tough spots, a spray bottle with vinegar (one part to four parts water) works wonders, or try Bio-Kleen—just 6 ounces per gallon.
A soft-bristle brush or sponge mop gently lifts dirt without scratching.
Need reach? Grab a telescopic handle—some stretch over 90 inches!
Don’t forget rubber gloves; your hands will thank you.
And hey, unless you want a slippery circus tent, skip the silicone on Sunbrella fabric.
Trust us, suds are fun, but slippery slides aren’t.
Using the right cleaning solutions helps prevent mold and mildew buildup, which can degrade fabric over time.
Prepare Your Awning for Cleaning
- Extend your awning fully to reveal every nook—cleaning blind spots isn’t part of the fun.
- Check for rips, mold, or worn fabric while it’s out; catching damage early saves big headaches later.
- Position your ladder securely underneath—because face-planting into soap suds isn’t the splash you want.
- Power awning users, high-five your future self—those buttons make prep a breeze.
- For best results, clean your awning about once a month during camping season, especially if you’re in dusty or windy areas.
Now you’re set and ready to shine—literally.
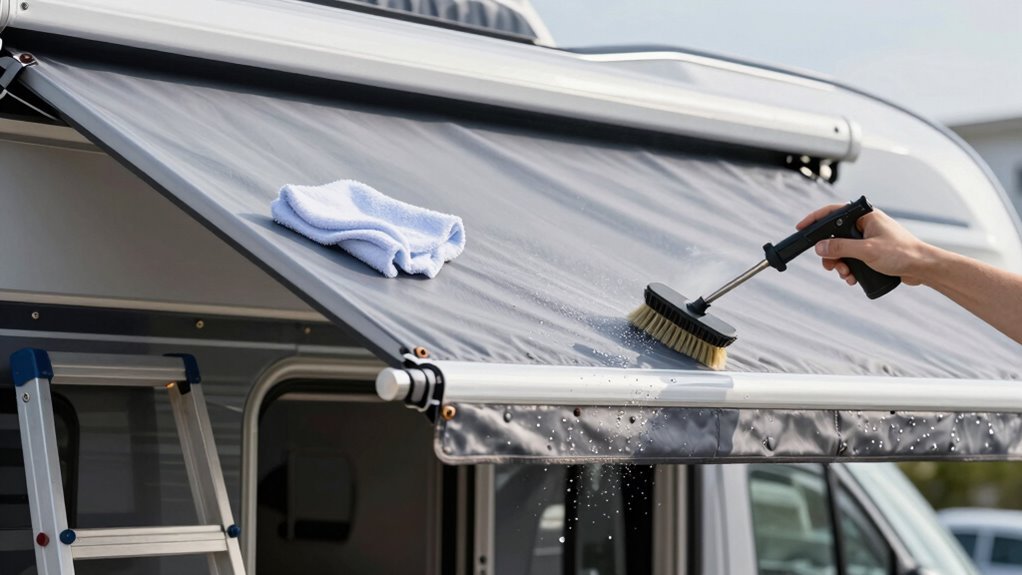
Remove Dirt and Debris Safely
Now that your awning’s stretched out and you’ve given it a once-over for damage, it’s time to get rid of all that gunk collecting up there. Start by brushing off leaves, sticks, and surprise bird souvenirs with a dry broom—nobody likes scrubbing debris into a paste.
Stand underneath and gently poke the broom up from the bottom, working from the center outward like you’re tickling a grumpy cat. Make sure your awning’s fully extended so you don’t miss any sneaky dirt hideouts.
Use a soft-bristle brush or broom; you’re cleaning, not sanding! Knocking off loose junk first keeps things from turning into mud monsters once water hits. It’s way easier (and less yucky) to sweep gunk away dry than to chase it around with soap.
Think of it as flossing before the dentist—gross but necessary. Quick, easy, and your future scrubbing self will say thanks! For tougher grime, a Dawn + baking soda mix can help lift stains without harsh chemicals.
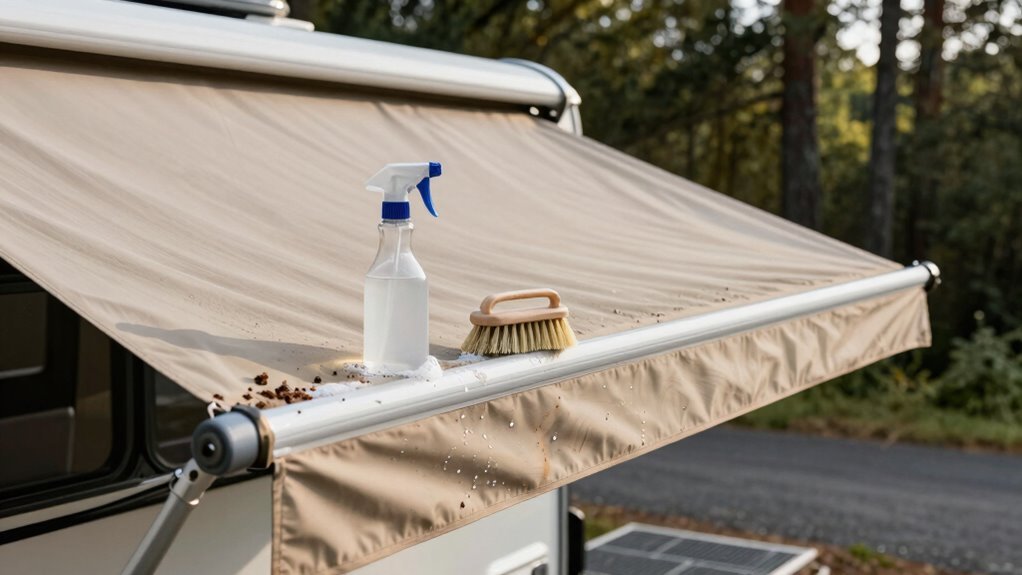
Treat Mold and Mildew Stains
If you’ve ever peeked at your awning and thought, “Did something die up there?” you’re not alone—mold and mildew love sneaking in after damp adventures.
The good news? You’ve got plenty of options to kick those gross spots to the curb without wrecking the fabric:
- Try vinegar first: Mix it with water, give it a gentle scrub, and watch mildew vanish—safe for most awnings and tough on grime.
- Use bleach *only* on vinyl: Combine it with Dawn and water, spray, roll it up, then scrub—but skip it entirely if you’ve got acrylic.
- Grab commercial cleaners like RMR-86 or Starbrite: Spray, rinse, and marvel at how fast they obliterate stains.
- Break out the Magic Eraser: Dampen it, wipe away black spots, and rinse—like magic, but real.
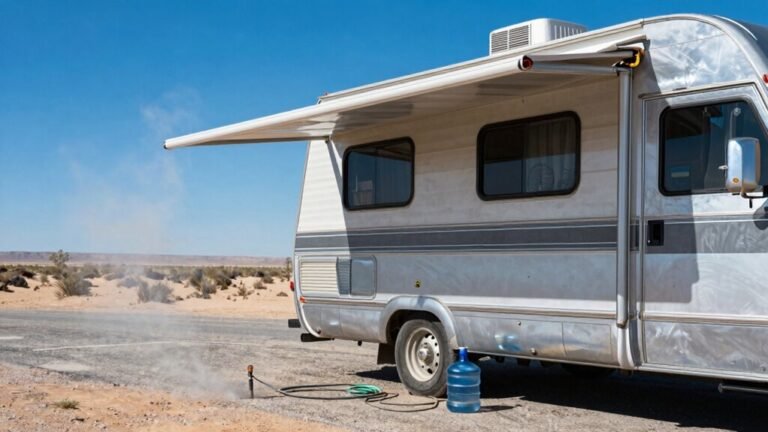
Rinse and Dry Thoroughly
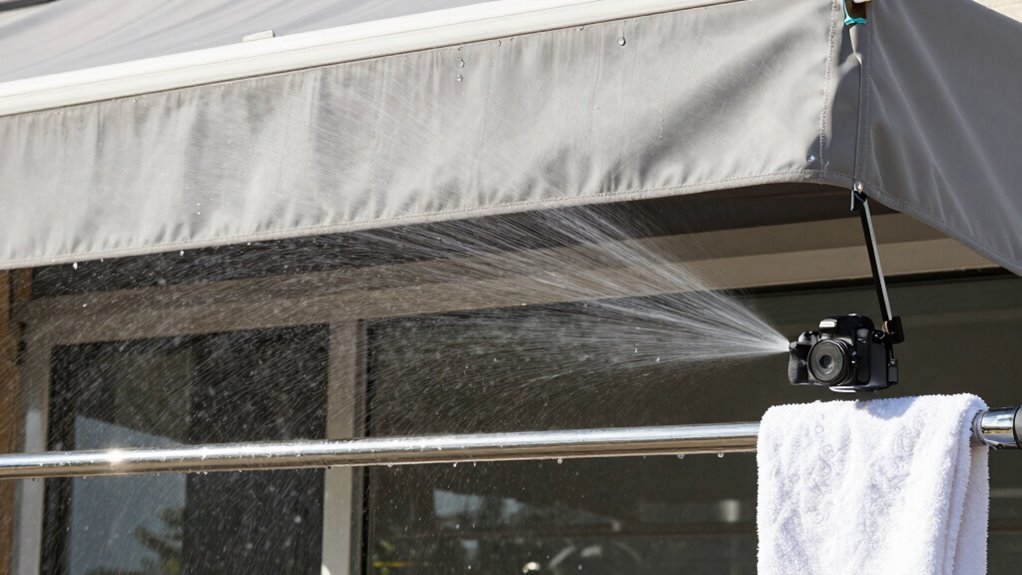
How’s this for peace of mind: knowing that one solid rinse can save your awning from streaks, gunk buildup, and surprise mold parties later? Grab your garden hose—fresh, clean water is your best friend here.
Spray both the top and underside of your fully extended awning, making sure you wash away every trace of soap; leftover suds can cause streaks and ruin protective coatings.
When clear water drips off the edges, you’re golden. Skip the power washer unless you’re gentle—those fibers aren’t indestructible.
Once rinsed, let it air-dry completely before rolling it up; a damp awning is basically a mildew welcome mat.
Trust me, mold throws the worst housewarming parties.
Pro tip: give it a quick monthly rinse, especially in hot, sticky weather, to keep dirt from digging in. It’s like a spa rinse—simple, invigorating, and totally worth it.
Inspect for Damage and Wear
Grab a flashlight and get up close with your awning—because a little detective work now can save you a world of trouble later.
Think of yourself as a awning archaeologist, uncovering clues to its health before the next big adventure.
Check for these red flags:
- Holes, rips, or fraying edges — even tiny pinholes can turn into leaks the size of Texas.
- Faded, chalky, or mildew-stained fabric — sun damage and gunky growth mean it’s crying for help.
- Separated seams or damaged corners — stress points wear out fast, especially where fabric meets metal.
- Wobbly brackets, rusty bolts, or a bent roller tube — if parts are loose or bent, your awning mightn’t stand strong.
Catching issues early keeps your shade shelter safe, sturdy, and ready for fun—not flops. Fix small stuff now, or say “sayonara” to stress-free camping later!
Store Your Awning Properly

Roll up your sleeves and get ready to tuck that trusty awning in for a cozy nap—because storing it right is the ultimate act of RV self-care.
First, extend your awning fully and let it dry completely; no one likes moldy surprises later.
Spot-clean stains with a premium cleaner that fights UV rays and bird bombs—it’s like sunscreen for your fabric!
Once it’s squeaky clean, retract it slowly, holding tight to tame that spring action.
Squeeze the arms together, click them into place with the plastic catch, and snug up the knob.
Make sure it rolls up smoothly and seals tight.
Store your RV in a covered spot or use a breathable cover—tarps are cool if legal.
Toss anchors into a handy storage bag, and voilà!
Your awning’s all set for a long, drama-free snooze.
Sweet dreams, baby!
Frequently Asked Questions
How Often Should I Clean My RV Awning?
You should clean your RV awning every few months if you’re using it regularly, but at least once a year to keep it fresh.
If you’re camping often or parked under trees, bump that up to monthly—nature’s “gifts” like sap and bird droppings aren’t doing it any favors.
In dusty or humid spots? Clean it more often.
Spot clean stains quick, and always rinse and dry it fully.
Your awning’s got your back, so return the favor!
Can I Use a Pressure Washer on My Awning?
Yeah, you can use a pressure washer, but only if you’re gentle—think garden shower, not fire hose.
Set it to low pressure, keep the nozzle far enough to feel safe, and let the soap do the work first.
Spray at an angle, not straight on, so you don’t shred the fabric like last year’s beach towel.
Rinse well, dry fast, and your awning’ll thank you—no drama, just chill vibes.
Is It Safe to Leave My Awning Extended During Rain?
Nope, you shouldn’t leave your awning out in the rain—especially if it’s anything more than a light sprinkle.
Heavy rain pools on the fabric, causing sagging, strain, or even collapse.
Think of it like leaving your umbrella upside down in a storm—bad idea!
Manufacturers like Dometic and Carefree say, “Retract it!”
What Temperature Is Too Cold to Extend My Awning?
You shouldn’t extend your awning if it’s below 32°F—plain and simple.
Cold temps make the fabric and arms brittle, and nobody wants a snapped arm on a chilly morning!
The built-in sensors usually block extension anyway, so don’t fight it.
Wait ‘til it warms up a bit, grab a hot cocoa, and be patient.
Your awning’ll thank you, and you’ll avoid a frosty fiasco!
Can Tree Sap Damage My RV Awning Fabric?
Yeah, tree sap can definitely damage your RV awning fabric if you ignore it.
It starts sticky but turns rock-hard fast, bonding tightly and inviting mildew to party on your vinyl.
Plus, scrubbing too hard or using harsh stuff can ruin the coating or fade the color.
Deal with sap ASAP using gentle tricks like oil or vinegar, and your awning’ll stay spiffy and strong for way more adventures!
Conclusion
Now you’re ready—cleaning your RV awning isn’t just chores, it’s like giving your home-on-wheels an invigorating spa day! With the right supplies and a little elbow grease, you’ll keep it looking crisp and lasting longer. Don’t forget to peek for rips or wear—catch small issues before they become big headaches. Roll it up snug and dry, and your awning will stay ready for sunshine, starlight, and s’more adventures!
References
- https://www.carefreeofcolorado.com/blog/how-to-clean-rv-awnings/
- https://www.lippert.com/blog/how-to-clean-rv-awning
- https://www.goldeagle.com/tips-tools/how-clean-your-rv-awning-remove-stains-seal-and-protect/
- https://rvshare.com/blog/canopy-cleaning/
- https://www.biokleen.com/awning-cleaner.html
- https://www.rvsupplywarehouse.com/rv-maintenance-repair/rv-cleaning-supplies/
- https://www.carefreeofcolorado.com/blog/how-to-clean-rv-exterior/
- https://www.campbrood.com/post/how-to-clean-your-rv-awning-cleaning-hacks
- https://www.cruiseamerica.com/trip-inspiration/rv-awnings
- https://beachtruckrvcenter.com/blog/how-to-clean-and-maintain-your-rvs-awning