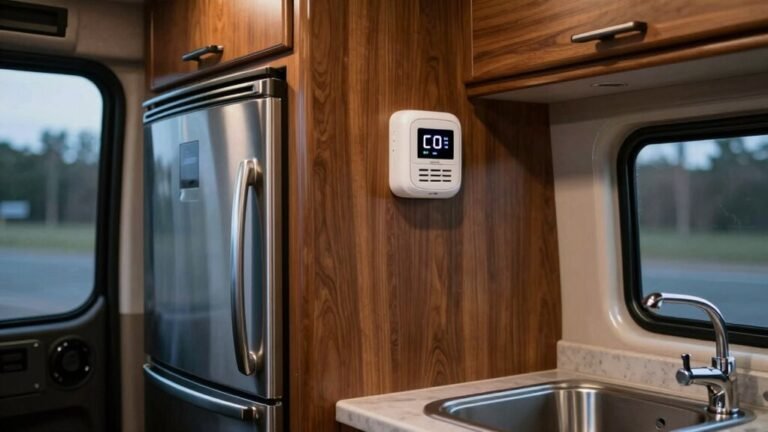
How to Use a Convection Microwave in an RV
You’ve got a convection microwave in your RV, a compact powerhouse that combines microwave speed with convection cooking for better results. Use microwave mode to reheat snacks quickly or switch to convection mode for crispy pizza and golden roast chicken.
Preheat the convection microwave using the CONVEC button to ensure even cooking. Use Pyrex or metal-safe pans, but avoid metal when using microwave mode to prevent sparks or damage.
Cut cooking time by about 20% compared to a standard oven by using the convection setting. Try combo modes that merge microwave and convection heat for faster, tastier meals—even brownies come out perfectly.
Keep your convection microwave clean by steaming a bowl of water inside, then wiping with a damp cloth after each use. This compact appliance holds a whole kitchen’s worth of tricks—unlock its full potential on every adventure.
Understanding the Dual Functions of Your Convection Microwave
Ever wondered how you can bake crispy cookies and reheat last night’s pizza in the same compact microwave?
You’ve got two cooking powers in one: microwave and convection.
Use microwave mode to quickly defrost leftovers or warm soup using electromagnetic waves—no waiting around.
Just pick a preset like “reheat” or “popcorn,” and you’re golden.
When you’re craving something crunchy, switch to convection mode.
Hot air circulates all around, giving your cookies that perfect golden edge and your chicken a juicy, browned finish.
It’s like a tiny oven built for your RV kitchen!
Just remember to preheat it first—your food’ll thank you.
With 10 power levels and 10 temperature settings, you’re the boss of how fast or gentle things get.
Whether you’re baking or blasting, this combo makes cooking easy, fast, and kinda fun.
Who knew RV meals could feel this gourmet?
This appliance also supports combo cooking mode, letting you use microwave and convection together for faster, crispier results.
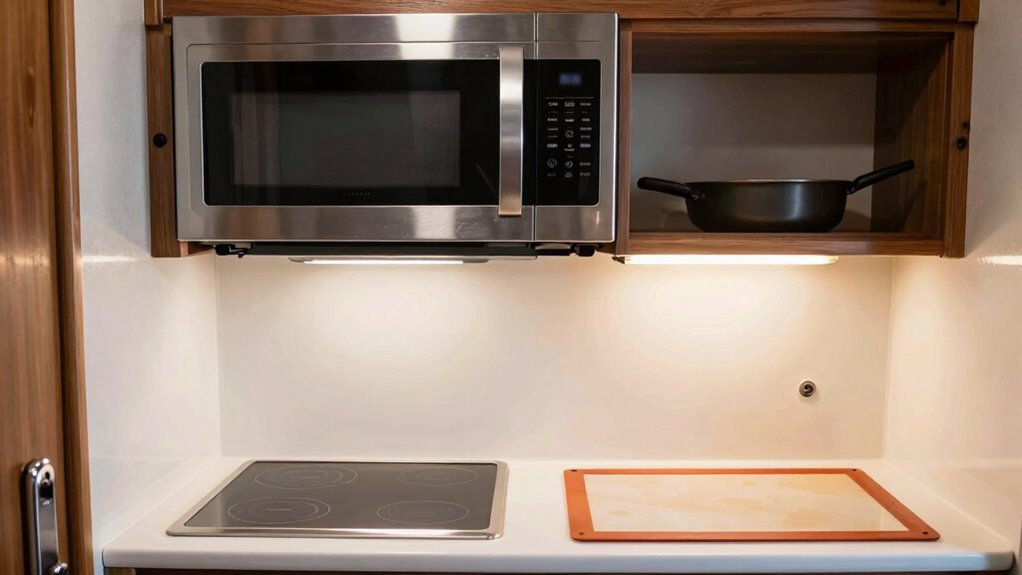
Choosing the Right Cookware for Convection Cooking
You’re already rocking the microwave and convection modes like a pro, so now let’s talk about the unsung heroes of great RV meals—your pans and dishes.
When you’re baking cornbread or roasting veggies in convection mode, grab your cast iron, metal pans, or Chicago Metallic 8044—yep, metal’s totally cool here!
Just avoid using them when the microwave function kicks in, unless you want a mini lightning show.
For combo cooking, stick with Pyrex or other heatproof glass to play it safe.
Pick lightweight, durable sets like Joseph 45001 or Rachael Ray 52410—they’re easy to handle and tough enough to survive bumpy roads.
Plus, non-stick means cleanup’s a breeze, even if your RV kitchen feels like a shoebox.
Toss in a steamer basket for healthy meals, and you’re golden.
Just remember: hand wash when possible, because your gear works hard—treat it kindly!
The Joseph 45001 set includes a reversible lid that doubles as a microwave plate for added convenience.
Preheating Your Microwave for Best Results
When your mouth’s watering for golden-brown garlic bread or a perfectly risen cobbler in your RV, don’t skip the prep step that makes all the difference—preheating.
Hit the “CONVEC.” button, pick your temp—say 350°F—and press “Start.”
Boom, you’re on your way. The display shows little lines crawling across like a cooking race, and in about 3 minutes, *beep!* That flash of the temp and the happy little chime? That’s your cue.
“PREH” stops flickering, and it’s showtime.
Open the door fast before the heat escapes, plop your food in the center, and go.
Skipping this step is like hiking without boots—possible, but why risk it?
Preheating means crispy cookies, fluffy biscuits, and no sad, soggy surprises.
Your RV oven’s fan and heat work together like a dream, giving results like a full-size kitchen.
Trust the beep. Your taste buds will thank you.
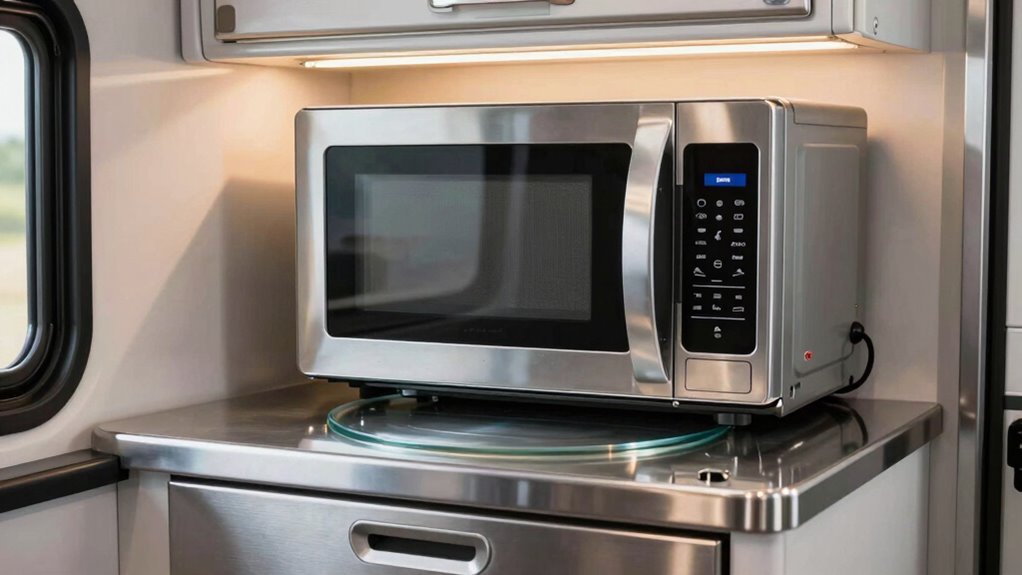
Make sure the glass turntable is in place before starting, as it ensures even cooking through consistent rotation.
Adjusting Cooking Times and Temperatures
How do you turn a good meal into a great one without burning your biscuits—or your patience?
You tweak time and temp like a pro.
Since convection microwaves circulate hot air, they cook faster—so drop the temperature by 25% and shorten cooking time by about 20%.
Got a recipe calling for 375°F? Try 350°F instead.
Need 45 minutes? Start checking at 36.
Use preset buttons—like #7 for 350°F—or punch in your temp after hitting convection bake.
Always preheat a bit higher; the temp dips when you open the door.
Enter time as minutes plus two zeros—3000 for 30 minutes—so you’re not stuck with 30 seconds!
Check food halfway, toss in an oven thermometer, and trust doneness over the clock.
Your chicken’s done at 165°F, even if the timer swears otherwise.
Using Combination Cooking Modes Effectively
Mastering your RV’s convection microwave just got a whole lot tastier with combination cooking modes in your corner.
Use Combi Bake for frozen pizza, cakes, or bread—just set the temp with the number keys and hit Start.
It mixes microwaves and hot air to give you a crisp top and a moist inside—no sad, soggy pizza nights!
For roast chicken or veggies, switch to Combi Roast; it cooks faster than convection alone and keeps things evenly browned.
The roast mode usually runs at 30% microwave and 70% convection, but you can tweak the power to fine-tune.
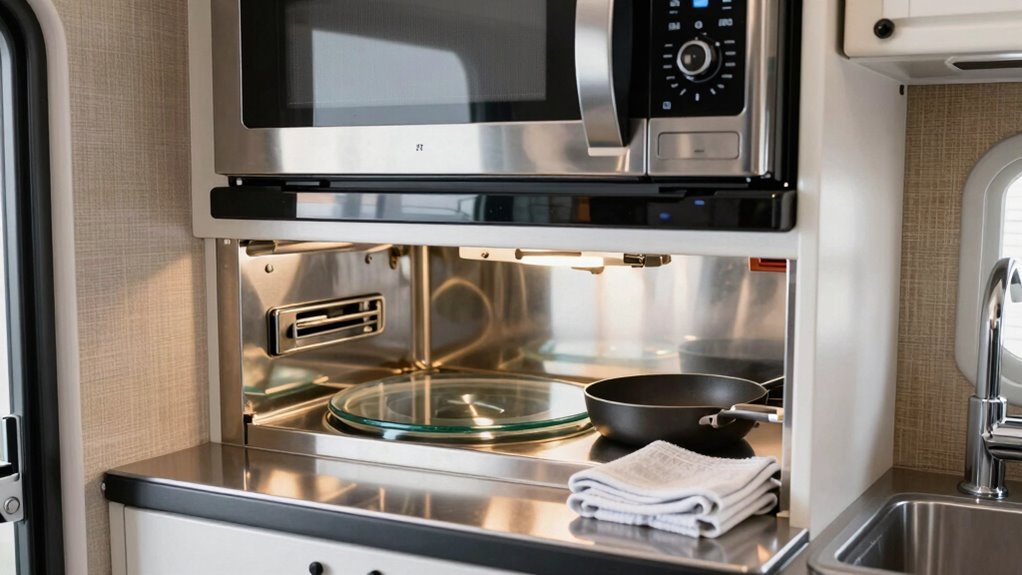
Stick to Pyrex or non-metal cookware, pop in the rack for airflow, and skip the cast iron here.
And hey, let the pizza preset do the work—because who doesn’t love a lazy chef success?
Tips for Baking in a Convection Microwave
Why settle for a sad, dense muffin when your convection microwave can whip up golden, bakery-worthy treats on the open road?
You’ve got the power to bake like a pro, even with trees passing by your window.
Just tweak your routine a bit and let hot air work its magic.
- Lower the temp by 25°F—you’ll avoid burnt edges and keep cookies soft inside.
- Preheat like you mean it: wait for the beep, use the metal rack, and let it stabilize.
- Give your baked goods room to breathe—crowding means soggy bottoms and sad crusts.
- Peek early and often; add time in 30-second bursts so cakes don’t collapse on you.
With the right pan, steady heat, and a little airflow, your brownies will be fudgy, your muffins lofty, and your campsite the envy of the park. Happy baking, chef!
Roasting Meats and Vegetables on the Road
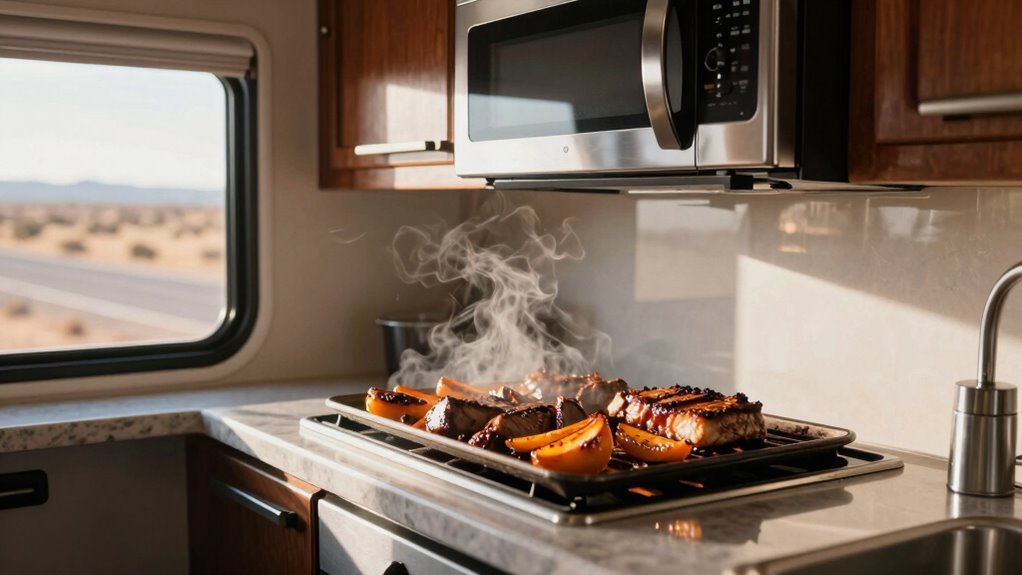
Who knew your RV kitchen could turn out juicy roasts and caramelized veggies that smell as good as they taste?
With your convection microwave, you’re not just cooking—you’re roasting like a pro on the road. Just lower the temperature by about 25% and trim 20% off the time—so a 375°F recipe becomes 350°F, and dinner finishes faster.
Chicken pieces? Done in 12–25 minutes.
Steaks get that perfect sear when you reverse sear them right on the rack.
Toss veggies like asparagus on a shallow tray, and watch them caramelize beautifully.
The air circulates evenly, so nothing burns and everything browns just right.
Use the combo mode for extra crispness, and don’t forget to rest your meat—it keeps it juicy.
And yes, even potatoes and pizza rock on the rack (just catch the drips!).
Your RV oven finally works like it should—no more burnt bottoms or sad, pale tops!
Reheating Food Without Drying It Out
Ever pulled a leftover casserole out of the microwave only to find it drier than a desert snack?
Don’t worry—you can reheat meals in your convection microwave without turning them into dust.
First, skip full power; use 50–70% so food warms gently and keeps its juiciness.
Cover dishes with a damp paper towel or lid to trap steam—your secret moisture weapon!
Spread food out evenly, don’t pile it high, and let air circulate by using shallow, oven-safe containers.
The turntable and metal rack? Leave ‘em in (just keep metal 2 inches from walls)—they help heat flow evenly.
- That first perfect bite—hot, moist, and just like dinner time
- No more sad, soggy edges with crispy centers
Leftovers that taste like you just made them
4. Less waste, more yum—every scrap disappears
Cleaning and Maintaining Your Unit While Traveling

You just zapped last night’s pasta to gooey, delicious perfection—congratulations, microwave maestro!
Now, don’t let leftover splatters crash your clean kitchen vibe.
After unplugging, wipe spills fast with a damp cloth and mild soap—lazy cleanups prevent nasty buildup.
For stubborn gunk, heat a cup of water for three minutes, let it steam five, then wipe away the mess with a plastic pad.
Or, try vinegar-water mix heated five minutes—gloves on, remove the hot bowl, then scrub with a textured cloth.
Use baking soda for stainless interiors, or Cerama Bryte for shiny finishes.
Avoid harsh cleaners—they’ll ruin your ride’s finish.
Clean vents with a brush attachment, wash filters, and don’t forget those sneaky silicone feet on racks.
Wipe the control panel gently—no sprays!
A clean microwave isn’t just shiny—it’s safer, smarter, and ready for your next road meal.
Frequently Asked Questions
Can I Use My Convection Microwave While Driving?
You really shouldn’t use your convection microwave while driving—safety first!
Bumps and turns can turn lunch into a mess or worse, a hazard.
Plus, power spikes or legal limits might zap your plans.
Save the cooking for when you’re parked—it’s safer and way less messy.
Think of it like snacking on the go: easy, quick, and way smarter when the wheels aren’t spinning!
Is It Safe to Use Aluminum Foil Inside?
Yes, you can use aluminum foil safely, but treat it like a campfire—use it carefully or things get wild fast.
Flatten it smooth, keep it away from walls, and never let it crumple like junk mail.
Keep it under 30 seconds, avoid acidic foods, and skip broiling mode.
Think of it as a shield, not a wrap.
When in doubt, toss a microwave-safe lid instead—your dinner won’t turn into a science experiment!
How Much Power Does a Convection Microwave Use?
You’re looking at 900 to 1,500 watts depending on the mode—microwave mode sips power, but convection baking guzzles it like it’s got a thirst.
When you crank the heat, your unit might pull 12–15 amps, and yes, it’ll make your electrical system go, “Whoa, slow down!” Just don’t run it with the AC and hair dryer unless you enjoy tripping breakers at parties.
Can I Install a Larger Unit in My RV?
You can’t just swap in a bigger convection microwave like trading hats, ’cause most RV cabinets are as snug as a bear in a hammock.
Your new unit’s gotta fit the space, and nine times out of ten, larger models won’t squeeze in.
Measure twice, buy once—unless you wanna turn your kitchen into a puzzle nobody can solve.
Does Altitude Affect Cooking Times in a Convection Microwave?
Yeah, altitude totally messes with your cooking times—don’t let it sneak up on you!
Since air’s thinner up high, water boils faster and foods dry out quicker.
In a convection microwave, you’ll need to tweak things: bump the time by a few minutes for veggies or soups, watch baked goods closely, and maybe lower the temp a bit.
It’s like cooking with a moody meteorologist—stay alert, have fun, and taste as you go!
Conclusion
You’ve got a kitchen wizard in your RV—treat it right! Mastering your convection microwave is like unleashing a superpower: crisp roasts, fluffy bakes, and warm leftovers that taste fresh, not forgotten. Just pick the right dish, tweak time and heat, and let that fan work its magic. Clean it fast, keep it cool, and you’re golden. Bon voyage—and bon appétit!
References
- https://recpro.com/rv-convection-and-air-fryer-microwave-stainless-steel-1-0-cu-replaces-high-pointe-and-greystone/
- https://furrion.com/products/furrion-15-cuftotr-convection-microwave-ovengen2-15-cf-otr-microwave-gen-2
- https://www.rvupgradestore.com/blog-best-rv-microwaves-s/1343.htm
- https://www.youtube.com/watch?v=_pMLwMOWpZo
- https://shop.shedwindowsandmore.com/furrion-convection-microwave-oven/
- https://elkhartrvparts.com/en-ca/products/furrion-over-the-range-convection-rv-microwave-oven-1-5-cu-ft-black-fmcm15a-bl-2022007897
- https://www.etrailer.com/RV-Microwaves/High-Pointe/HP94ZR.html
- https://factoryrv.com/products/rv-microwave-1-0-cf-stainless-convection-air-fryer
- https://rvsuperstorecanada.ca/microwave
- https://www.youtube.com/watch?v=8YvoPHxnQvQ