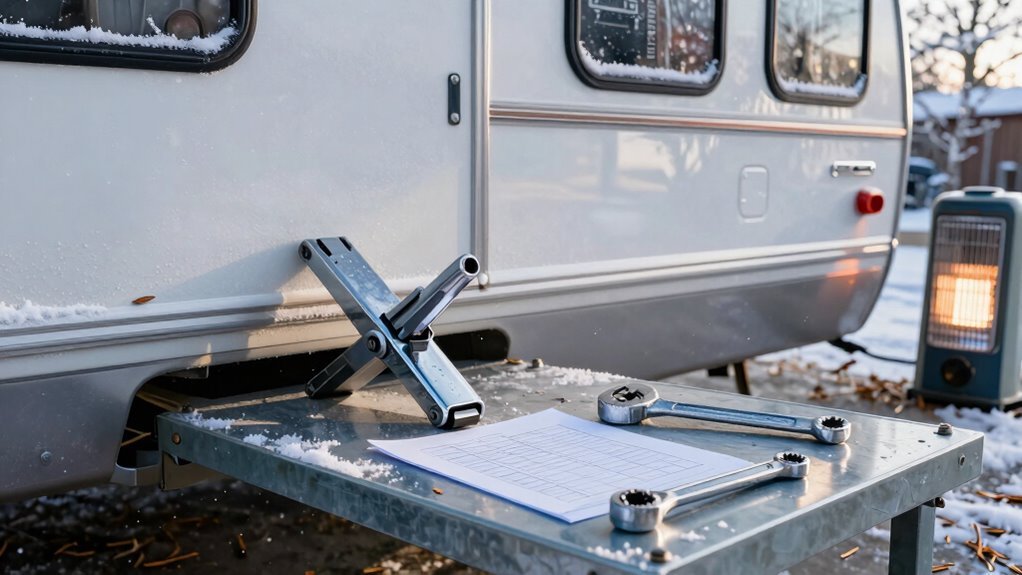
Winter RV Maintenance Checklist
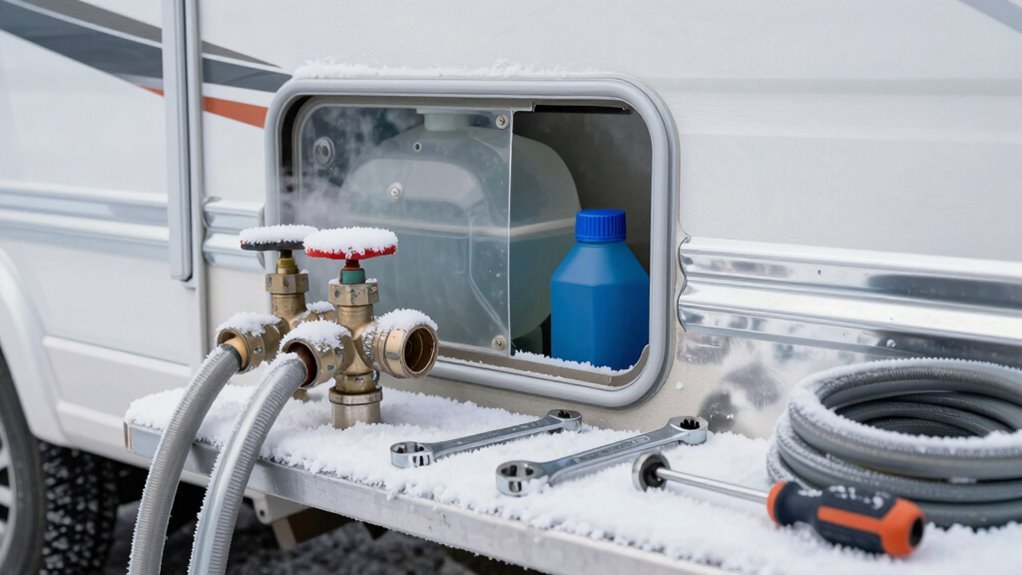
Drain your tanks, blow out the lines with air, and add RV antifreeze to keep pipes from freezing and turning into plumbing nightmares. Winter RV maintenance starts with protecting the plumbing system to avoid costly damage.
Disconnect the battery, charge it fully, and store it indoors where temperatures are stable. This helps preserve the battery’s life throughout the cold season.
Seal up windows and doors to lock out cold air and critters—nobody wants a squirrel roommate. Proper sealing is a key part of winter RV maintenance to ensure the interior stays protected.
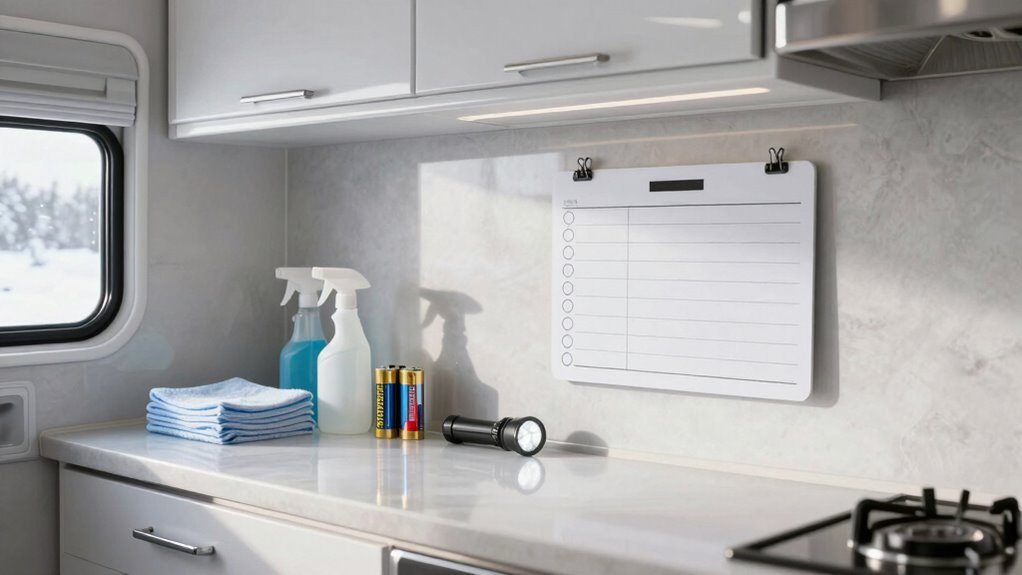
Clean the inside thoroughly, leave cabinet doors open, and place moisture absorbers inside to prevent mold growth. Staying ahead of dampness helps avoid musty odors and mildew issues.
Cover your RV with a breathable cover, protect the tires, and park it on a dry, level surface. These final steps in winter RV maintenance help keep your rig in top shape until spring.
Drain and Winterize the Water System
Let’s start by getting all that water out of your RV before Jack Frost turns your pipes into icy time bombs.
Open your freshwater tank’s drain valve and let it all pour out—don’t forget the black and gray tanks, too, after giving them a good flush.
Pop off those low-point drain caps under the RV to free any trapped water, and use compressed air (keep it under 30 PSI) to clear the black tank flush line.
Check stickers or your manual to find those sneaky drain spots.
Shut off the water heater, let it cool, then drain it safely—don’t skip opening the pressure relief valve!
Install the bypass kit now so antifreeze doesn’t fill the tank later.
Disconnect from shore power, remove water filters, and get ready to blow out the lines with air.
Work from top to bottom, opening every faucet till they’re bone dry.
You’re doing great—almost there!
Be sure to use RV non-toxic antifreeze to protect your plumbing system, as automotive antifreeze is poisonous and not safe for potable water systems.
Protect the Plumbing From Freezing
- Use air + antifreeze combo for full coverage
- Install heat cables on exposed pipes and tanks
- Add insulation to boost warmth and efficiency
Using both methods ensures that all water is expelled or protected, minimizing the risk of damage from frozen water expansion.
Now your plumbing’s partying in the cold—without the cracks!
Disconnect and Store the Battery

Grab your gloves and a fully charged battery—your RV’s power source is ready for a winter nap.
First, charge it to 100% to prevent nasty sulfation, using a 10-amp charge until it hits 95%, then trickle down with 2 amps for a day.
Keep each battery separate so they charge right—no cheating the system!
Once full, disconnect *everything*—yes, even those sneaky LED lights and sensors that sip power like straws.
Leave it in? It’ll die in days.
Pull it out and store it indoors, away from icy floors and freezing temps.
Set it on wood, not cement, and keep it cozy in a dry, temp-controlled spot.
Aim for 50–80% charge for long-term happiness, check voltage monthly, and pop it on a tender if needed.
Your battery will wake up ready to roll—no coffee required.
Discharge to 50–80% SOC for storage to help maintain battery health and prevent over-discharge risks.
Inspect and Seal Windows and Doors
Keep an eye out for sneaky gaps and grumpy seals—your RV’s windows and doors are begging for a little TLC.
A solid seal keeps cold, moisture, and uninvited bugs out during winter.
Run your fingers around windows and doors to find soft spots or drafts, and check for cracked caulking, bubbling wallpaper, or water stains that scream “leak!”
Don’t forget door locks, corner seals, and storage compartments—weak spots love to hide there.
- Inspect all seals for cracks, gaps, or shrinking—especially around windows, doors, and slides.
- Look for water damage clues like peeling flooring or warped walls near openings.
- Reseal with RV-safe sealant or replace damaged rubber and butyl tape as needed.
A little care now saves a ton of headache later—your cozy winter rides depend on it!
Clean and Prepare the Interior
Step into your RV’s interior with the energy of someone who just found a clean sock in a laundry disaster — it’s time to freshen things up!
Grab your supplies and start by tossing out old food—you’re not running a science experiment.
Vacuum every inch, including under seats and cushions, then mop the floors for that squeaky-clean shine.
Wipe down all surfaces with disinfectant, from cabinets to shelves, and don’t forget to dust ceiling fans (yes, they collect more than just dust bunnies).
In the kitchen, clean the fridge, microwave, and oven, dry the fridge thoroughly, and prop its door open.
Tackle cabinets—toss expired snacks and scrub countertops.
In the bathroom, disinfect the toilet, sink, and shower, check for leaks, and wipe down floors.
Vacuum upholstery, wash linens, and toss worn-out towels.
Clean windows inside and out, wash vent covers, and wipe light fixtures.
Toss in a moisture absorber—because mold isn’t on your guest list.
Check and Maintain the HVAC System
Even if your RV’s HVAC system has been snoozing through the seasons like a bear in hibernation, now’s the time to wake it up and give it some love.
A little TLC now keeps cold air (or warm air) flowing smoothly when you need it most.
Don’t wait for a mid-winter meltdown—stay ahead with these quick wins:
- Swap or clean the air filter—a clogged filter strains your system and cuts efficiency, so check it monthly and replace it every six months (or sooner if it’s grimy).
- Inspect the roof-mounted AC cover and shroud—climb up and make sure the cover’s snug and crack-free to block rain, snow, and sneaky debris.
- Clean coils and fins—gently wash the evaporator and condenser coils, and straighten any bent fins so your AC cools like a champ.
Your HVAC will thank you with strong, steady performance all season long.
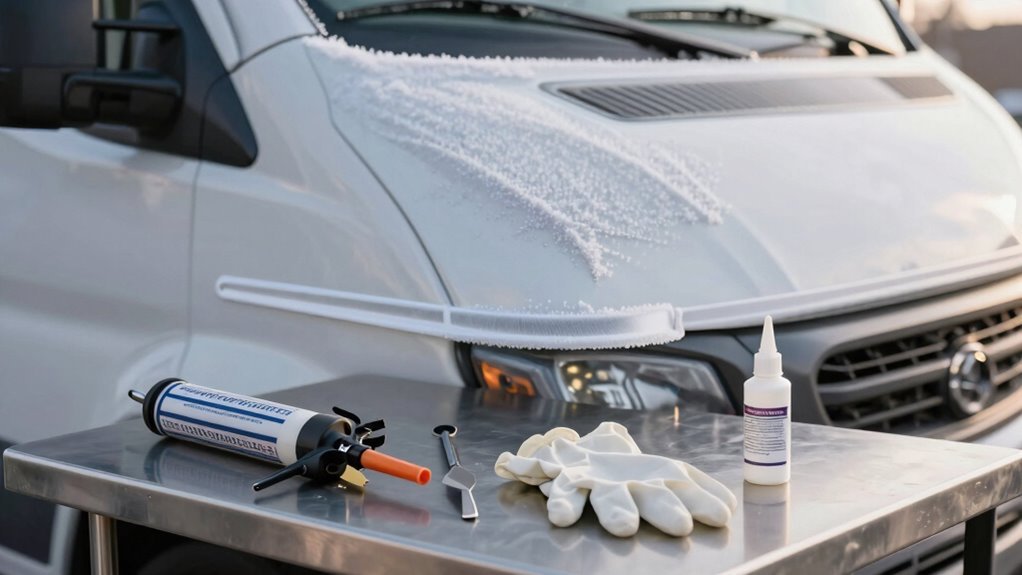
Service the Exterior and Roof Seals
Now that you’ve given your HVAC system a wake-up call and made sure it’s ready to keep you comfy no matter the weather, let’s head outside—way outside—right up to the top of your rig.
Grab your flashlight and take a good look at your roof vents, skylights, AC unit, and seals—cracks, bubbles, or peeling mean trouble.
Check seams, edges, and where the roof meets the walls—those spots love to leak.
Don’t forget the little guys like antennas and roof fixtures.
On the outside, inspect window and door seals—they shouldn’t look like wrinkled potato chips!
Clean everything with alcohol, no grime or old goo allowed.
Use self-leveling sealant up top, non-sag for corners, and apply it smooth.
Reapply coatings every few years, or whenever Mother Nature throws a tantrum.
A little sealant now saves a soggy interior later—because nobody likes a wet surprise!
Cover the RV and Protect Tires
Shielding your RV and giving your tires some TLC isn’t just smart—it’s your rig’s best defense against surprise breakdowns and ugly wear.
Sunbaked tires crack faster than stale crackers, and winter’s chill can leave rubber brittle.
Don’t count on your big RV cover to do all the work—tires often get left out in the cold (literally).
Go the extra mile with proper protection that actually sticks around.
- Slap on tire covers – Use UV-resistant, light-colored ones (or even *gasp* clean white trash bags in a pinch) to block sun damage and ozone harm.
- Clean ’em first – Hose down tires, scrub gently with 303 Cleaner, and dry well so you’re not trapping moisture like a sweaty sneaker.
- Support the weight – Use tire cradles or boards, and shift position every few months, because flat spots aren’t just for pancakes.
Your tires will thank you when spring rolls around—no drama, just road-trip-ready rubber!
Store With Proper Ventilation and Pest Control
You’ve wrapped your RV snug in its cover and your tires are rocking their little sun hats—great job!
Now, don’t let your cozy camper turn into a moldy mouse motel.
Close those roof vents tight to keep snow and damp air out, especially if you’re facing blustery, snowy winters.
In humid spots, toss in moisture absorbers or run a solar fan to keep air moving.
Leave cabinet doors a crack open and pop some RV antifreeze in the pipes so things don’t freeze or stink.
Skip the plastic tarps—they trap moisture like a sweaty gym sock.
Instead, use breathable covers.
Fight pests with cedar blocks or mothballs, but check them monthly—mice love an uninvited winter stay!
Store indoors if you can, or pick a dry, level spot away from trees.
Your RV’s winter nap should be peaceful, not a horror story!
Frequently Asked Questions
Can I Use Regular Antifreeze to Winterize My RV?
No, you can’t use regular antifreeze—it’s toxic and dangerous for your RV’s water system.
Stick with pink RV antifreeze; it’s safe, non-toxic, and made just for this job.
Pour it through your lines after draining, and it’ll protect down to -50°F.
Your pets and pipes will thank you—nobody wants a frozen faucet or a sick pup!
It’s easy, effective, and kind of fun—honest!
Should I Leave Cabinets Open During Winter Storage?
Yep, you should definitely leave those cabinets wide open—it’s like giving your RV a big, deep breath before its long winter nap.
Trapped air turns funky fast, and you’ll come back to a moldy, musty mess that smells like forgotten gym socks.
Open them up, let humidity escape, stop mold in its tracks, and keep pests from throwing secret snack parties.
Your future self will high-five you when spring rolls around!
How Often Should I Check Tire Pressure in Winter?
You should check your tire pressure monthly in winter—cold temps drop pressure fast, and you can lose up to 1 psi per month.
If you’re hitting the road, always test before driving.
For cold readings, check after your RV’s been parked for 3+ hours.
Don’t forget the spare!
Aim for the psi on the door sticker, not the tire wall, and keep a digital gauge handy.
Your tires will thank you—or they’ll go flat on the coldest day!
Is It Safe to Use Space Heaters in Stored RVS?
No, it’s not safe to use space heaters in stored RVs—you shouldn’t take the risk.
They can overheat circuits, trip fuses, or worse, spark a fire, especially when no one’s around.
Even low-watt heaters pose dangers if the electrical system’s outdated or compromised.
Instead, unplug everything and keep the RV dry and ventilated.
Trust us, your stored RV will nap safer without a heater running.
Let it dream in peace!
Do I Need to Winterize if I Live in a Warm Climate?
You don’t *have* to winterize if you’re parked in sunny bliss, but think of your RV like a cactus—it still needs a little care, even in warmth.
A short shower of freezing temps can sneak up like uninvited frosty breath, so blow out lines, add antifreeze to traps, and skip the full freeze prep.
You’ll laugh at Jack Frost’s failed surprise attack—and your pipes will thank you come spring.
Conclusion
You’ve nailed winter prep, and now your RV’s ready to nap through the cold. Remember, “an ounce of prevention is worth a pound of cure”—so skip the spring headaches! Seal it, drain it, tuck it in tight. Soon, you’ll be cruising into warmer days, worry-free. Sweet dreams, road warrior—your cozy home on wheels is safe, sound, and waiting. Adventure’s just a season away!
References
- https://www.keystonerv.com/owners/winterize-your-rv-plumbing-system-with-compressed-air
- https://www.thecopelandgroup.com/the-ultimate-guide-to-winterizing-your-rv/
- https://lifelanes.progressive.com/how-to-winterize-an-rv/
- https://www.youtube.com/watch?v=3xN2-ahkL5g
- https://americasrvwarranty.com/winterize-your-rv-a-step-by-step-guide
- https://www.youtube.com/watch?v=e8SY7P8Fm5I
- https://rollinontv.com/how-to-de-winterize-and-sanitize-the-rv-water-system/
- https://roadtrippers.com/magazine/winterization-tips-rv-antifreeze/
- https://heatline.com/ideas/how-to-keep-rv-pipes-from-freezing-in-winter/
- https://www.mygrandrv.com/threads/best-winterizing-method-compressed-air-vs-rv-antifreeze-for-plumbing.1449394/