How to Install Solar Panels on Your RV
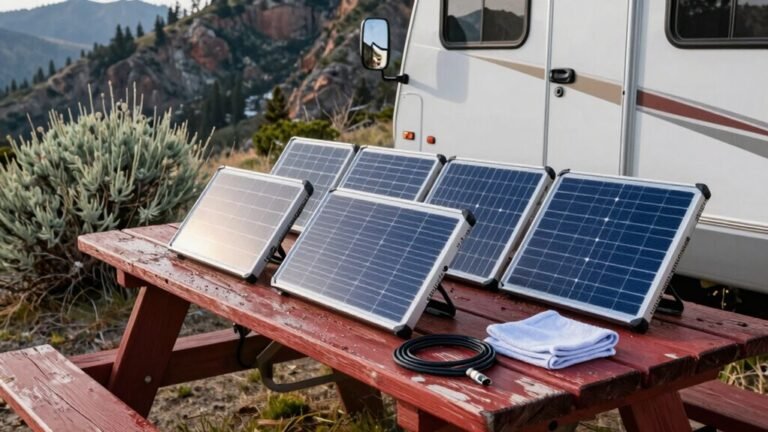
To install solar panels on your RV, start by choosing efficient monocrystalline solar panels. These are sleek, powerful, and ideal for limited roof space.
Clean the RV roof thoroughly to ensure a strong bond when mounting. Position the panels in a central location where they’ll receive maximum sunlight exposure.
Secure the panels using durable brackets or high-strength VHB tape. Make sure they’re firmly attached to withstand wind and vibrations while driving.
Use UV-rated cables and MC4 connectors to wire the system, adding fuses for safety. Proper wiring protects against surges and ensures reliable performance.
Connect the charge controller to your RV’s battery with correct polarity. Double-check all connections before powering on to avoid damage.
Once set up, your RV solar panels will keep your power running independently. You’ve just turned your vehicle into a self-sustaining power island.
Choosing the Right Solar Panels for Your RV
Thinking about turning your RV into a sun-powered adventure machine? You’ve got options!
Monocrystalline panels are your best bet—super efficient (up to 25.4%) and great in low light, they sip sunlight like a pro.
They’re sleek, powerful, and perfect if you hate running out of juice mid-stream.
Poly panels cost less but pack slightly less punch, though prices have nearly caught up.
If you’re into lightweight, bendy panels, thin-film’s flexible but only hits 10–12% efficiency—kind of like bringing a solar-powered spoon to a knife fight.
Flexible monocrystalline panels? Yes, please—23–25% efficiency and no roof drilling!
Rigid ones are beefier, ideal for off-grid die-hards.
Need serious power? Grab 200W–400W kits with MPPT controllers.
Your RV, your rules—just don’t let cloudy days rain on your solar parade!
Some flexible models weigh as little as 10.8 lbs, making them ideal for lightweight setups.
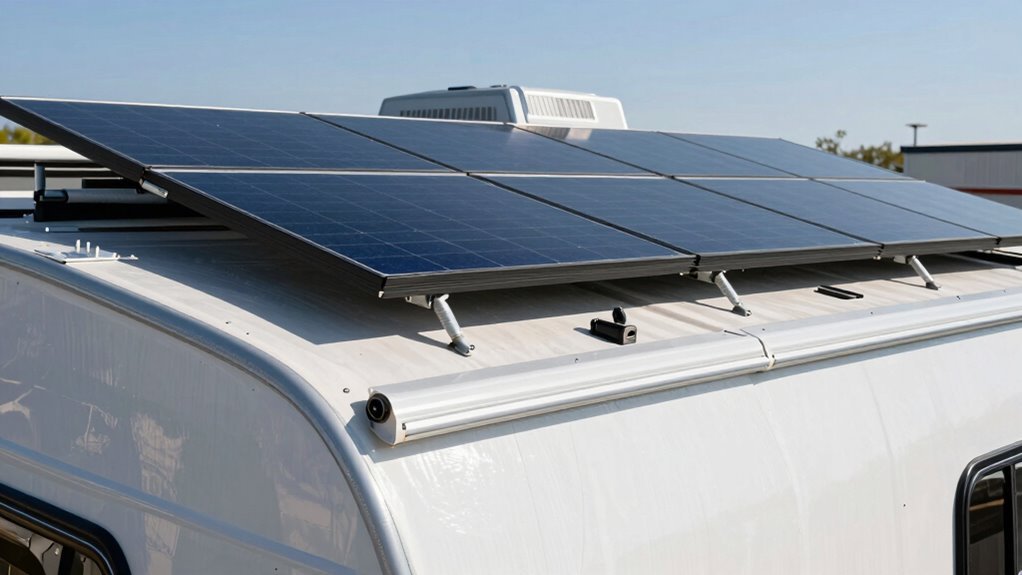
Mounting Solar Panels on Your RV Roof
Getting your solar panels snug on the RV roof is where the magic starts to happen—and where you’ll want to get things just right.
Clean the roof with alcohol first so nothing messes with your sealant or tape.
Lay the panels out dry to check spacing, keeping them centered and clear of vents or shadows.
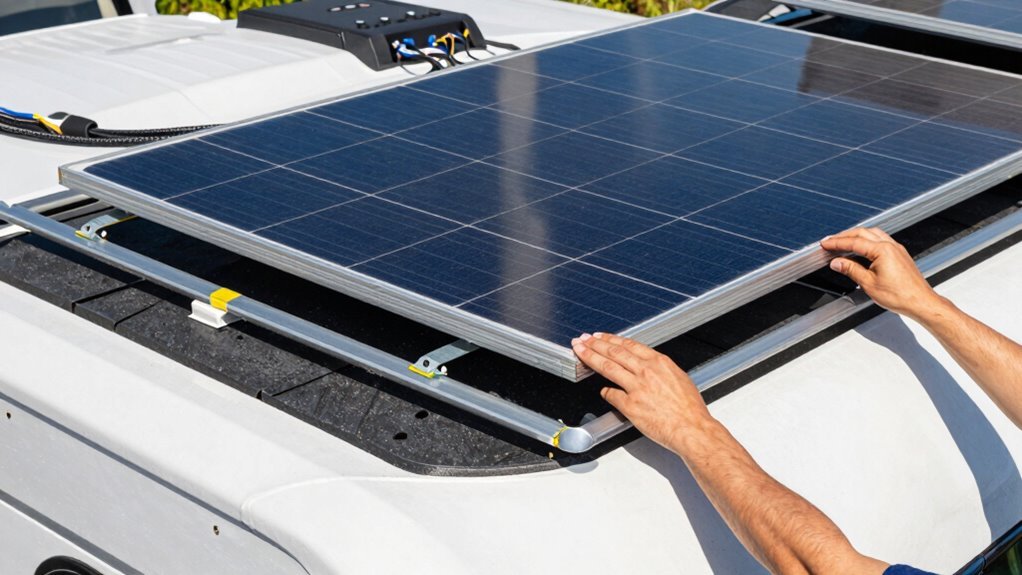
If you’re using Z-brackets, screw them onto the panels on the ground—it’ll save your back and speed things up.
Align them with the roof’s trusses, drill pilot holes, then prop panels up to slather on Dicor sealant underneath.
Snug them down without over-tightening, or you’ll regret it when the next bump turns your roof into a漏水 experiment—yikes!
Use strong VHB tape for drill-free options, especially on curves.
Seal every screw and edge like you’re wrapping a present—neat and tight.
And hey, no silicone caulk; it’s a one-way ticket to sticky regret.
Monocrystalline panels are ideal for maximizing power in limited roof space due to their highest efficiency.
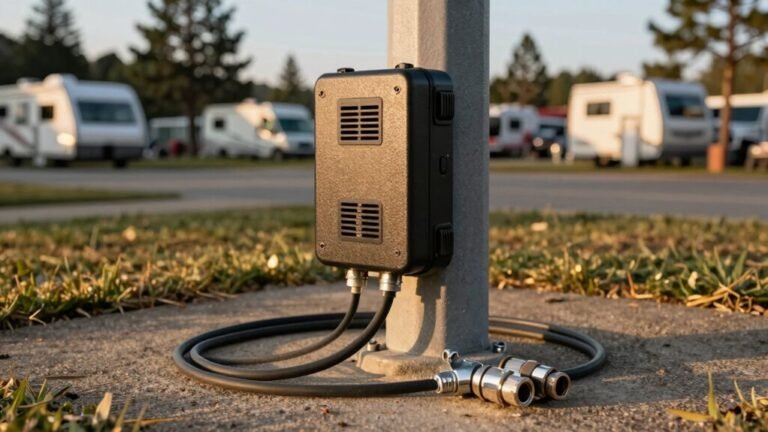
Wiring Your Solar System Safely
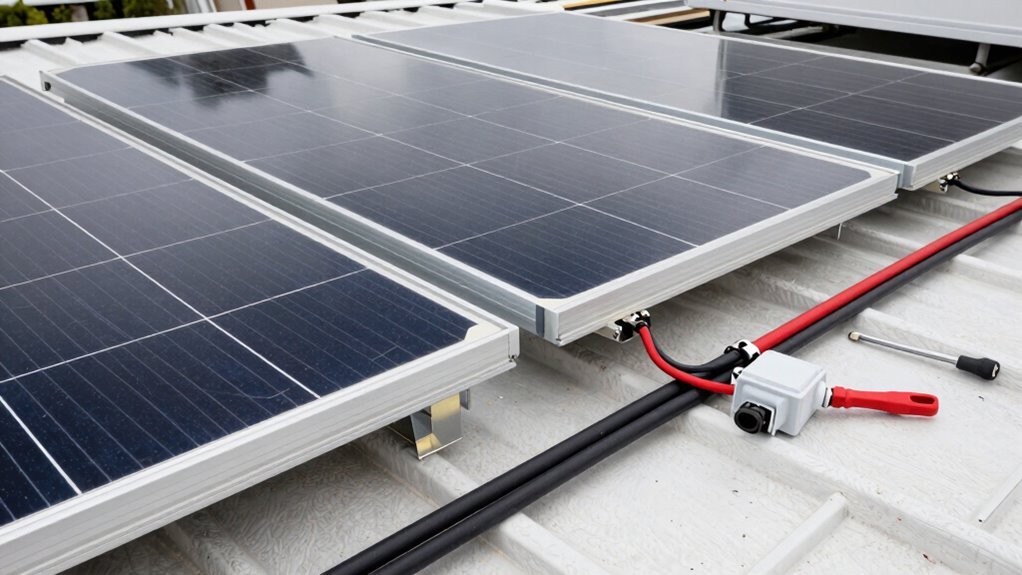
While your panels soak up the sun, it’s time to get those wires humming like a well-tuned campfire guitar.
Use PV-rated or USE-2 wire—it laughs at UV rays and heat like a true road warrior.
Pick the right gauge to keep power loss low, and run it through UV-resistant PVC or HDPE conduit for extra armor.
MC4 or XT60 connectors snap together tight, shrugging off rain and dust like tiny superheroes.
Wire panels in series to boost voltage, or parallel if your roof gets patchy shade—just don’t fry your controller!
Secure lines with UV clips under rails, never zip-tying to flimsy gutters that quit mid-journey.
Add fuses near the battery and a DC breaker between panels and controller—safety’s no joke when volts run wild.
Label positives and negatives clearly, check polarity with a multimeter (twice—it’s free insurance), and test voltage before celebrating.
Avoid water ingress by sealing all connections with waterproof caps and using conduit rated for outdoor use.
Your RV’s ready to shine—wires and all!
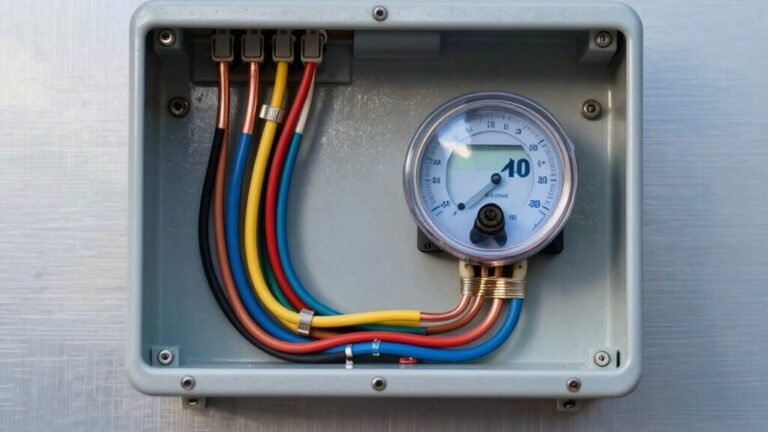
Connecting the Charge Controller and Batteries
Ready to bring your solar setup to life?
First, disconnect the negative battery terminal—safety first!
Put on gloves and eye protection, and cover your panels so they’re not cooking up power while you work.
Mount the charge controller close to the batteries in a cool, ventilated spot, avoiding heat sources that could mess with performance.
Use screws or brackets to secure it, leaving space around for airflow.
Now, connect the battery to the controller before anything else: match positive to BAT+, negative to BAT−, and tighten those terminals snug.
Double-check polarity with a multimeter—wouldn’t want to spark things up backward!
Install fuses on the positive lead, ground the controller to your RV chassis, and only then power it on.
If the LEDs light up happy and the display wakes up, you’re golden—sun-powered adventures await!
Testing and Maintaining Your Solar Setup
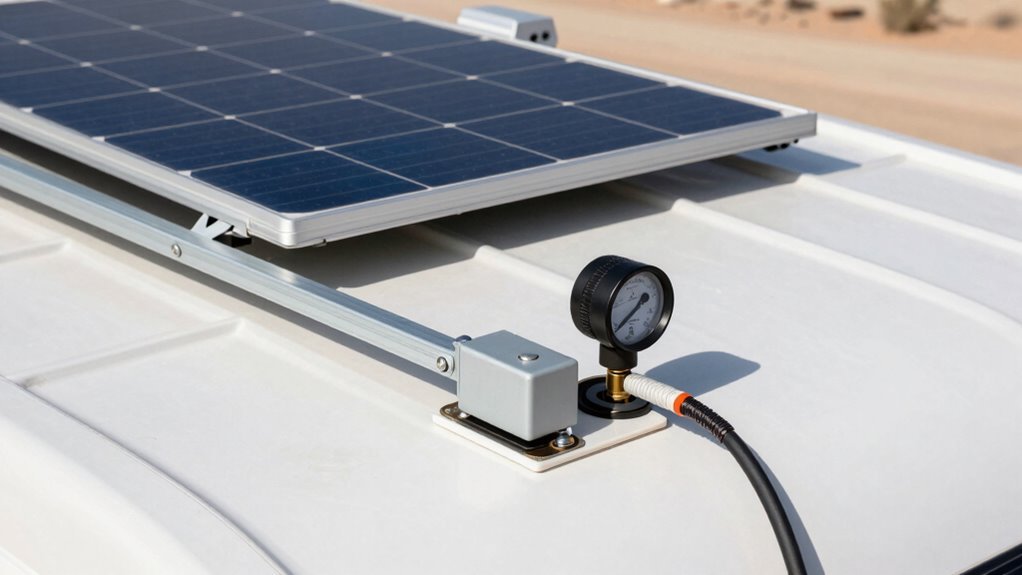
How’s your solar system feeling today—sun-kissed and spry, or a little worse for wear? Give your panels a quick once-over after every trip—look for cracks, loose brackets, or sneaky roof leaks.
Clean them every six months (or more if you’re dodging bird bombs or pollen storms) with soapy water and a soft sponge—no pressure washers, please! Check all connections regularly, especially near the battery, and scrub off any corrosion like it’s last season’s drama.
Peek at your charge controller to avoid overcharging surprises, and don’t forget to top off battery fluid with distilled water. Got a dusty desert dweller or a forest camper? You’ll want more frequent cleanings.
Pro inspections every 5–10 years keep things shipshape, but most maintenance is just smart, simple love. Follow your manufacturer’s tips, stay safe, and let the sun do the rest. Your RV will thank you with free power and zero guilt.
Frequently Asked Questions
Can I Run My AC Solely on Solar Power?
You can run your AC solely on solar, but it’s no small feat.
You’ll need a beefy system—think 2,000 watts of panels, a huge battery bank, and a powerful inverter.
Running a single AC guzzles power, so skimping won’t cut it.
With the right setup, you’ll keep cool and stay off-grid like a pro.
Think big, plan smart, and let the sun do the work—no more noisy generators!
How Many Hours of Sunlight Do I Need Daily?
You’ll need about 4 to 6 hours of sunlight daily for solid power, but here’s the fun fact: even on cloudy days, your panels still work at 10–25% efficiency—so they’re not napping!
Aim for 4 peak hours, especially in winter when Alabama only gets 3.5.
Morning sun’s a bonus thanks to cooler temps, and shade? That’s the sneaky villain.
Keep panels clean, unshaded, and face ’em south for best results.
You’ve got this!
Will Solar Panels Drain My Battery at Night?
No, solar panels won’t drain your battery at night—if you’ve got a working charge controller.
It’s like a bouncer for your electrical system, blocking reverse flow when the sun clocks out.
Without it, your battery could feed power back to the panels, like a vampire sneaking a snack.
But with a good MPPT or PWM controller on duty, you’re safe.
Just check for faulty wiring or sneaky phantom loads, and you’ll wake up to juice, not regrets.
Do I Need a Break-In Period for New Solar Panels?
Nope, you don’t need a break-in period for new solar panels—they’re ready to rock from day one!
Just install ’em right, hook up the connections, and boom, they’re soaking up sunshine like champs.
Think of them as solar athletes, not couch potatoes needing warm-up time.
They’ll hit the ground running, producing power immediately.
Just keep ’em clean, angle ’em smart, and they’ll keep you powered and grinning!
Can I Install Solar Panels on a Curved Roof?
Yes, you can absolutely install solar panels on a curved roof—don’t let that dome fool you!
Use tilt brackets, Z-mounts, or adhesive systems to keep panels level and secure.
Drill-free options stick like glue (literally!) and protect your roof.
Just clean the surface well, follow cure times, and laugh in the face of leaks.
With the right hardware and a little creativity, your RV’s curves just became power moves.
Sunshine’s waiting!
Conclusion
You’ve powered up, hooked up, and now you’re all set—congrats! Going solar’s like catching lightning in a bottle, only way easier and a whole lot sunnier. You’ll cruise the backroads with juice to spare, no more hunting for outlets. Just stick to simple checks, keep connections clean, and your rig’ll run smooth. Honestly, it’s the brightest idea you’ve had all year—sun-powered freedom’s golden.
References
- https://rvshare.com/blog/comparison-best-rv-solar-panels/
- https://www.solarreviews.com/blog/rv-solar-panels-buyers-guide
- https://www.thevanconversion.com/post/the-best-solar-panels-for-camper-van-systems
- https://solarmagazine.com/solar-panels/rv-solar-panels/
- https://www.youtube.com/watch?v=TOHuzGAVnBk
- https://naturesgenerator.com/blogs/news/rv-solar-panels
- https://xantrex.com/about-xantrex/blog/rv/the-diverse-world-of-rv-solar-panels/
- https://thesolarstore.com/blogs/pre-designed-systems/differences-between-permanently-mounted-rv-solar-kits-and-portable-solar-panels
- https://www.outdoorgearlab.com/topics/camping-and-hiking/best-solar-power-station
- https://diysolarforum.com/threads/how-to-mount-panels-to-an-rv-roof.12300/