How to Bake in Your RV Oven (And Succeed)
How to bake in your RV oven successfully requires understanding its quirks. Your RV oven runs cooler and heats unevenly, so always preheat it for 15–20 minutes and use an oven thermometer to verify the temperature.
Use light-colored 9×13 pans to help avoid hot spots and ensure more even baking. Avoid overcrowding the oven—proper airflow is essential when you bake in your RV oven.
Bake at 25–50°F lower than the recipe suggests, and check for doneness a bit earlier than expected. Open the door as little as possible to keep the heat steady.
Try the sugar or flour test to confirm your baked goods are ready. These simple tricks will help you bake in your RV oven with confidence and get golden results every time.
Understand Your RV Oven’s Unique Behavior
Ever wonder why your cookies turn into charcoal on one side while staying doughy on the other?
Your RV oven’s quirky behavior is to blame.
Unlike home ovens, heat comes from a single spot, creating hot zones that burn while other areas lag.
It’s not you—those little ovens run 24 to 30 degrees cooler than they claim, and the small space makes temperature swings worse.
Every time you peek, heat escapes and throws things off more.
They’re tiny too—just about 17″ deep—so even fitting pans right takes some finagling.
But don’t give up!
Once you accept your oven’s wild personality, you can outsmart it.
Think of it like training a mischievous puppy: patience, tricks, and the right tools turn chaos into golden, delicious wins.
You’ve got this—and so does your oven, kinda.
Convection ovens can help combat these issues by circulating hot air for more even baking, thanks to their built-in fan system that promotes even heat distribution.
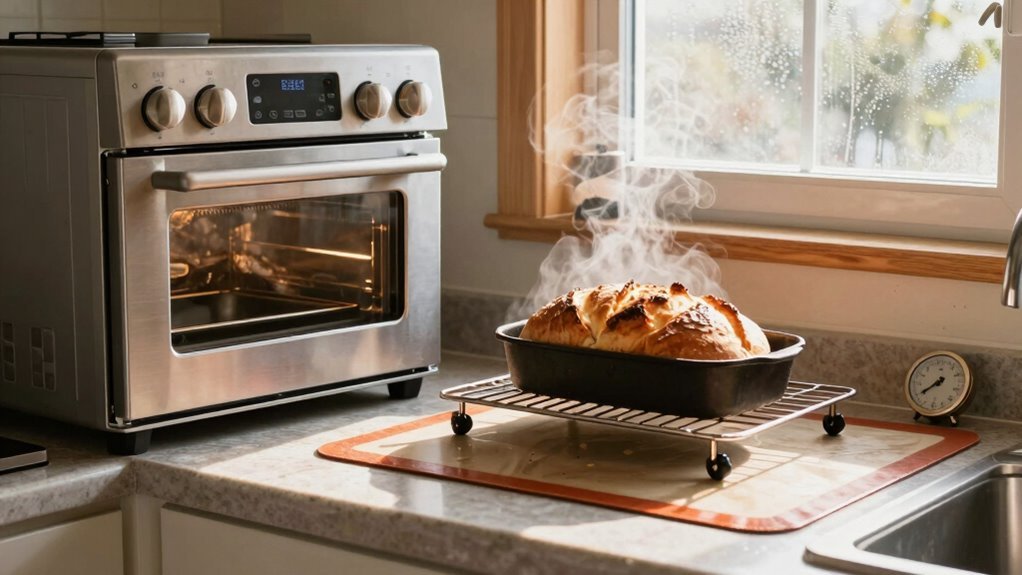
Preheat for Even and Accurate Baking
You’ve accepted your RV oven’s wild side—now it’s time to set the stage for baking success by mastering the preheat.
Skipping it? That’s like baking blindfolded.
Give your oven 15–20 minutes to warm up, less if it’s already a hot day outside.
That little wait guarantees your muffins rise right and the tops caramelize into golden perfection.
- Preheat fully so heat spreads evenly and your treats bake just right
- Use the flour test: toss a spoonful on a sheet—light tan means ready for low temps, golden means you’re hot to trot
- Try the sugar test: if it melts, you’ve hit 350°F—perfect for most recipes
- Grab a trusty thermometer like Rubbermaid’s or Hotloop’s digital model to double-check
- Always light the pilot properly and turn it off between uses—safety first, chef!
- For best results, rely on a 15–20 minutes preheat window to ensure consistent oven temperature across most conditions.
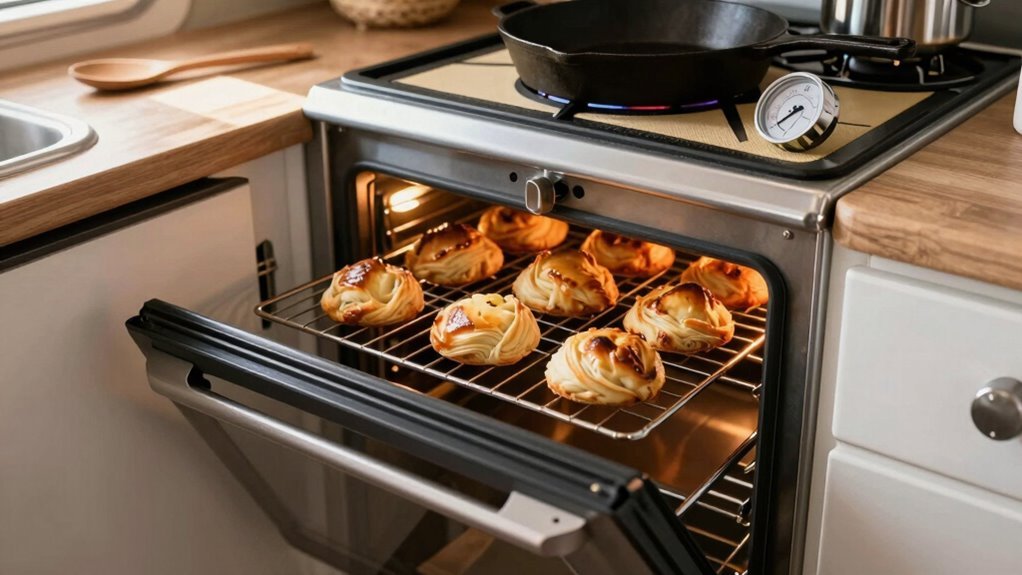
Choose the Right Bakeware for Better Results
What if your bakeware could be the secret weapon in taming that quirky RV oven?
You’ve got limited space—about 14×15 inches—so skip the full-sized pans.
Aim for 9×13 inches max, or go smaller with 9×9 or half-sheet pans like the compact 12-inch Simple Nest.
Your oven will thank you, and your airflow will stay strong.
Choose natural aluminum—it heats evenly, won’t warp, and keeps browning under control.
Light-colored and nonstick options, like Elbee’s stackable set, make cleanup a breeze and baking way more reliable.
Insulated pans help beat hot spots, while Nordic Ware and Omnia offer smart RV-sized picks.
Need a quick roast or half-batch brownies?
These pans handle it all.
Plus, they stack neatly, saving precious cabinet space.
Pick the right tools, and your RV kitchen starts feeling like a real bakery—no magic required, just smart choices!
Natural aluminum ensures consistent results because it provides even heating and prevents rust, a key advantage of Nordic Ware’s compact ovenware.
Adjust Temperatures and Timing Wisely
Since your RV oven doesn’t bake quite like the one at home, it’s smart to tweak the temperature and timing to stay in control of the chaos.
These little ovens run hot in spots and cool in others, so cooking blindly is a recipe for lopsided cookies—or charred muffins!
Grab a thermometer, get cozy with your dials, and start experimenting.
You’ve got this!
- Use an oven thermometer to spot real temps—your dial’s probably lying
- Drop the setting by 25–50°F to dodge sudden burnouts near the burner
- Shorten baking time at first—check early, because hotspots cook fast
- Preheat fully for 10–15 minutes so the flame settles before you begin
- Hold the knob for 5 seconds after ignition to lock in steady heat
Baking in your RV isn’t magic—it’s just smart tweaks and a little patience!
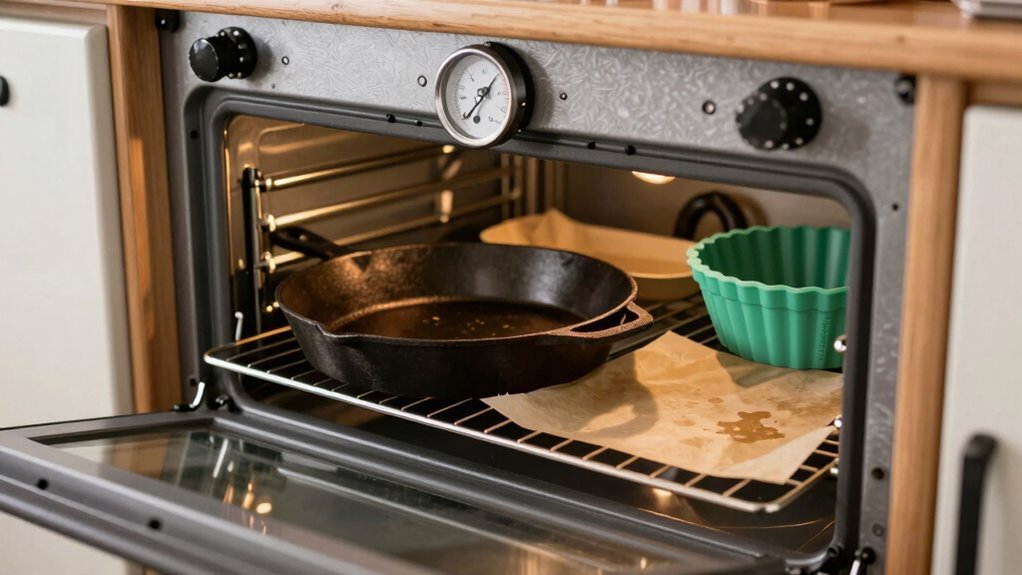
Maximize Airflow and Avoid Overcrowding
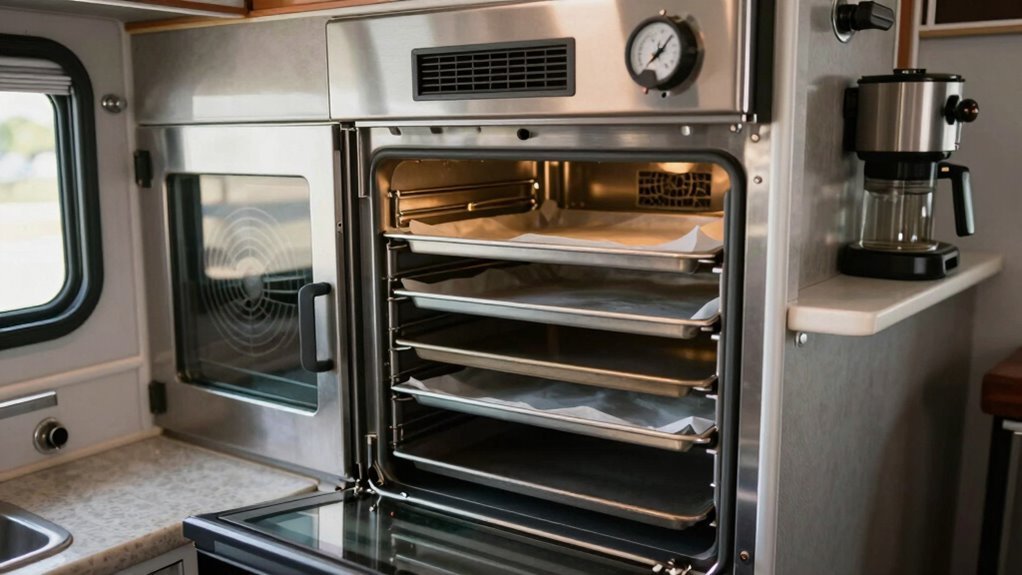
Letting hot air do the happy dance around your food is key to baking success in that pint-sized RV oven.
Those little holes around the metal shelf? They’re not just for looks—they shoot air down to the heating element and spread heat evenly, so don’t block ‘em with pans or foil.
Keep your dishes spaced out, or you’ll end up with a crispy edge and a soggy center—nobody wants that surprise.
Since your RV oven’s teeny and has only one heating spot, overcrowding turns it into a warzone of hotspots.
Give each item room to breathe, like seatmates on a road trip.
Preheat fully and peek as little as possible—every time you open the door, heat escapes and airflow throws a tantrum.
Use a thermometer to stay smart, and consider a pizza stone to boost even heating.
Smooth, steady airflow means golden cookies, not kitchen disasters.
Test for Doneness With Simple Techniques
How do you know when your cookies are golden or your casserole’s done without playing oven roulette?
- Stick an oven thermometer on the rack and trust it more than the dial—your RV oven lies!
- Try the flour test: Sprinkle some on a tray, bake for 5 minutes, and check if it’s light tan, golden, or dark brown to guess the heat.
- Use the sugar trick: If it melts, you’ve hit 350°F—easy, sweet, and kinda fun.
- Peek early and often—your dish cooks faster (or slower) than you think, thanks to wild temperature swings.
- Invest in a digital probe thermometer that beeps when it’s perfect—no door-opening, no guesswork, just golden-brown wins.
With these tricks, you’re not just baking—you’re winning.
In a tiny, wobbly kitchen.
Frequently Asked Questions
Can I Use Convection Settings on My RV Oven for All Recipes?
You can use convection settings for most recipes, but you’ll want to tweak things a bit—think of it as giving your food a cozy, even bake with a bonus wind machine.
Drop the temp by 20–25°F and check early—cooking’s about 20% faster.
Stick to the rack, use oven-safe pans, and keep an eye on delicate treats.
Some boxed or frozen stuff? Just follow their convection tips.
You’ve got this!
Is It Safe to Leave the RV Oven Unattended While Baking?
No, you shouldn’t leave your RV oven unattended while baking—it’s a safety no-no.
Gas ovens can be sneaky, and things go sideways fast.
You wouldn’t walk away from a campfire, right?
Same rule here.
Stay nearby, keep an eye on things, and enjoy that cozy baking vibe.
Plus, who wants to miss the moment your cookies turn golden perfection?
Safety first, snacking second.
How Do I Clean My RV Oven After Baking Messy Foods?
You clean your RV oven after messy baking by tackling residue while it’s still fresh—don’t let it fossilize into modern art! Unplug the gas, grab paper towels, and scrape off soot like you’re frosting a cake in reverse.
Use degreaser on gunk, wipe with soap and water, and shine the glass with invisible cleaner.
Added a Teflon mat? Lucky you—cleanup’s basically *free*.
Who knew clean-up could feel this satisfying?
Can I Bake Frozen Items Directly in the RV Oven?
You *can* bake frozen items in your RV oven, but you really shouldn’t—trust us.
Skipping the thaw step means spongy edges and a frozen core, like a culinary surprise you didn’t sign up for.
RV ovens run hot and uneven, so thawing first gives you golden, evenly cooked goodness.
Save yourself the dinner drama—let it defrost, then bake it right.
Your taste buds will throw a party!
Do RV Ovens Require Special Ventilation When in Use?
Yes, your RV oven absolutely needs proper ventilation when in use—think of it like breathing out steam after a spicy taco, it’s gotta go somewhere!
You’ve got to open roof vents or run the range hood to let heat, moisture, and combustion gases escape. Skipping this? Hello, fogged windows and funky smells! Use fans, crack a vent, and keep air moving so your kitchen doesn’t feel like a sauna.
Conclusion
Baking in your RV oven? Bring bliss with buttery brilliance! Be bold, be patient, and play by your oven’s quirky rules. Preheat properly, pick the right pans, and peek with purpose. A little tweak makes tasty triumphs. Trust your gut, test with care, and treat yourself to golden, gooiest goodies. Who knew wheels and whipped batter make such wonderful magic? Happy baking, brave road chef—you’ve got this!
References
- https://tiffinmotorhomes.com/blog/what-you-need-to-know-about-cooking-with-convection-ovens/
- https://artofrv.com/how-to-bake-in-an-rv-oven-like-a-pro/
- https://www.youtube.com/watch?v=D4J8TNQfCE8
- https://www.livingthehightlife.com/blog/rv-oven
- https://www.thervgeeks.com/rv-oven/
- https://www.campgroundviews.com/baking-in-an-rv-oven-tips-and-tricks-for-delicious-on-the-road-treats/
- https://www.youtube.com/watch?v=RC-HcS2EaP4
- https://www.rvfarmhouse.com/how-to-know-your-rv-oven-is-preheated/
- https://www.youtube.com/watch?v=xbmZaFBiD_0
- https://www.youtube.com/shorts/h5kVVAhJBCI