How to Maintain and Extend Your RV Battery Life
To maintain and extend your RV battery life, check the water levels monthly using only distilled water—never let the plates dry out. Keeping the battery properly hydrated is key to performance and longevity.
Clean the terminals regularly with baking soda and a stiff brush to remove corrosion, then apply a coat of grease to prevent future buildup. This simple maintenance helps ensure a strong electrical connection.
Charge your RV battery with a multi-stage charger to optimize power and avoid deep discharges, which can shorten its lifespan. Secure the battery firmly to protect it from damage caused by vibrations.
For long-term storage, keep the battery in a cool place, fully charged, and check it every few months. Proper care during storage plays a big role in extending your RV battery life.
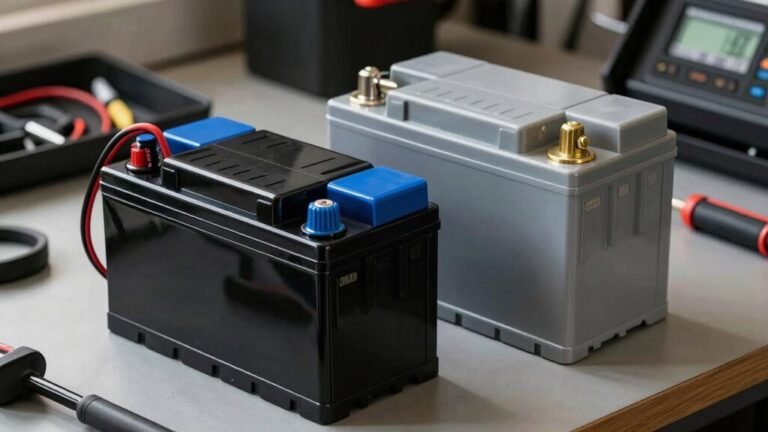
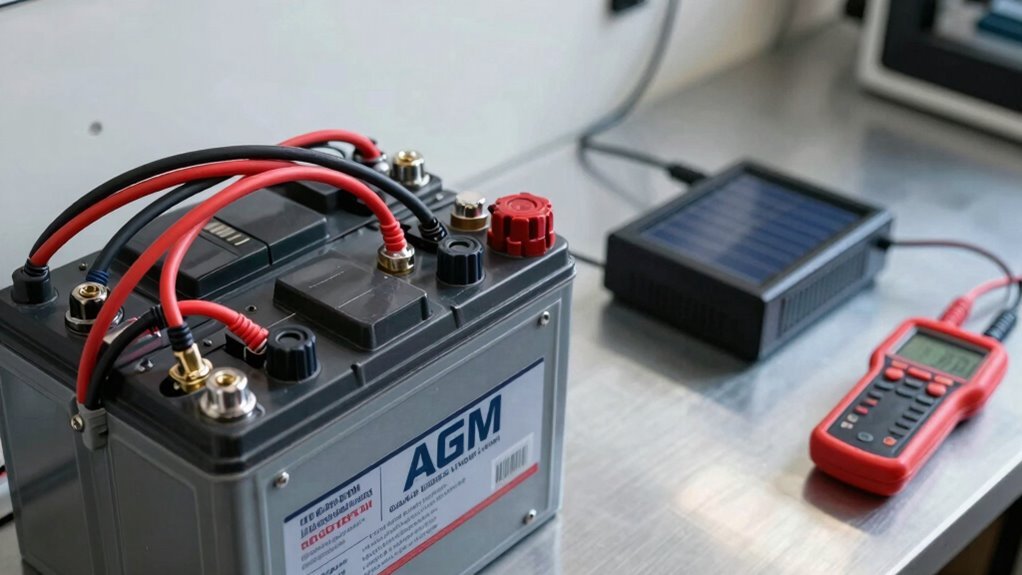
Understand Your RV Battery Type

Ever wondered why your RV’s battery seems to give up the ghost too soon?
Well, it might be time to get up close and personal with your battery type—knowing what you’ve got makes all the difference!
If you’re rocking a flooded lead-acid, you’ll need to check water levels and stay on top of maintenance, but they’re budget-friendly.
Go sealed with gel or AGM, and say goodbye to spills and refilling—AGM even charges way faster.
Then there’s lithium-ion: lightweight, long-lasting, and ready to boondock hard with little fuss.
Yeah, it costs more upfront, but you’ll love the power and performance.
Each type’s built for life off-grid, so pick based on your budget, travel style, and how much you love (or hate) maintenance.
Knowing your battery isn’t just smart—it’s your ticket to worry-free adventures! Lithium-ion batteries produce no off-gassing, making them safe for confined spaces (no off-gassing).
Check Battery Water Levels Regularly
You’ll want to peek at your battery’s water levels every few weeks—it’s a quick check that keeps your power game strong.
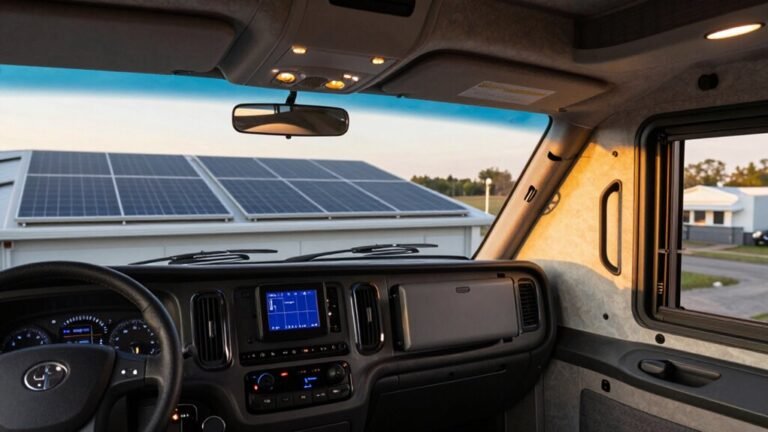
Aim for every 15 to 30 days, especially if you’re constantly charging with solar or shore power.
Always check when the battery’s fully charged—that’s when levels are most accurate.
Use only distilled water, never tap—minerals in regular water gunk up the insides and wreck performance.
Before charging, make sure the plates are covered; if they’re dry, add just enough to keep them submerged.
After charging, fill to about 1/8 inch below the vent well.
Don’t overfill—spills and corrosion love that.
Keep a log to track how often you add water; changes might hint at bigger issues.
A rubber dipstick helps get it just right.
Flooded batteries require regular watering due to water loss during gassing on charge.
Stay on top of this, and your battery will juice up your adventures for years—no sour power surprises!
Keep Terminals Clean and Corrosion-Free

After you’ve made sure the water levels inside your battery cells are good, the next smart move is giving the terminals some love—because nothing kills your RV’s vibe faster than a crusty, corroded connection.
Suit up with gloves and goggles, pop the hood, and disconnect the negative cable first—safety first, right?
Whip up a paste of baking soda and hot water (or grab some cola in a pinch), then scrub things clean with a stiff brush.
Watch it fizz like a science fair volcano—that’s evil corrosion surrendering!
Rinse gently, dry thoroughly, and don’t forget to wipe the tray too.
Before reconnecting, slather the terminals in dielectric grease to keep future gunk at bay.
Reconnect positive first, snug those lugs tight, and boom—your RV’s ready to roll with full power.
Clean terminals mean happy charging, fewer headaches, and more adventure time.
Who knew batteries could be this fun? Corrosion can also drain the battery over time if left unaddressed.
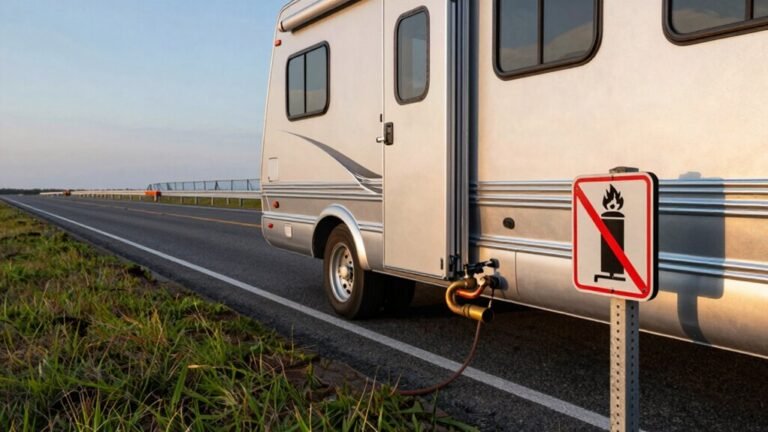
Store Your RV Battery Properly Off-Season
A little off-season TLC goes a long way in keeping your RV battery ready for adventure come spring.
Start by disconnecting or removing it—your battery’s not a fan of being ghosted by parasitic drains while you’re off chasing snowbirds.
Store it in a cool, dry spot: 50–80°F for lead-acid, and 50–68°F is sweet for lithium.
Nobody likes freezing, and neither do batteries—cold temps can ruin their vibe (or worse, damage cells).
Keep lead-acid batteries fully charged, and lithium ones between 90–100% or 40–60%—yes, lithium’s a bit moody like that.
Recharge every three months to stay in shape, because even batteries hate going flat.
Check for swelling, gunk, or sad-looking terminals.
A quick monthly peek keeps everything happy.
Think of it as spa season for your power pack—rest, recharge, and you’ll both be road-trip ready!
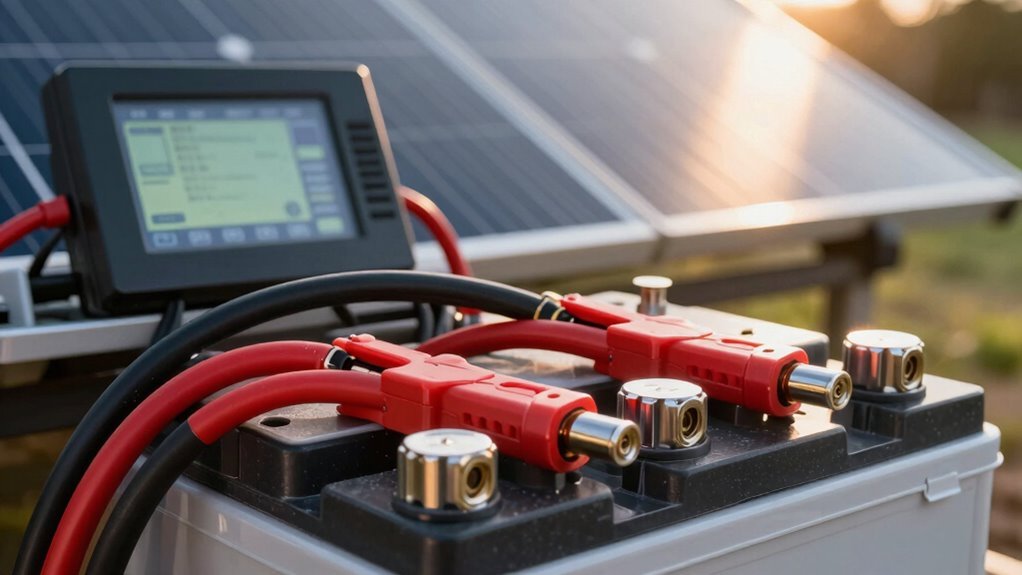
Use a Smart Charger for Optimal Charging
Now that your battery’s snug in its winter nap spot, it’s time to talk about waking it up the right way—because nobody likes being jolted out of a good rest by a faulty charger.
Use a smart charger, and you’ll give your battery the VIP treatment it deserves.
These clever chargers use multi-stage tech to charge fast at first, then ease off to protect your battery’s health—no overcharging, no stress.
They’re like a personal trainer for your battery, adjusting the workout based on its needs.
Whether it’s lead-acid or lithium, your smart charger’s got the smarts to match.
Plus, with built-in safety features, you won’t fry your system by accident.
It’s like having a bodyguard for your battery.
Charge smarter, not harder, and your RV power will thank you with years of loyal service—no drama, just juice.
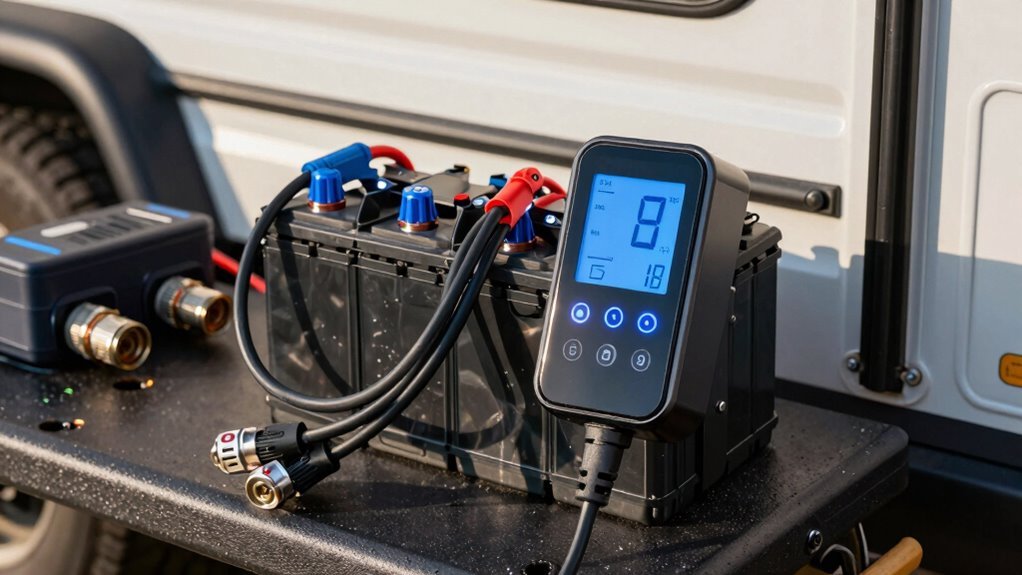
Monitor Battery Voltage and Charge State
Keep an eye on your battery’s mood—because nothing kills an RV adventure faster than a dead power source halfway through your morning coffee brew.
Skip the guesswork and install a real monitor, like a Trimetric or Victron, that tells you exactly what’s going on.
Unlike basic voltmeters that lie under load or need rest for accuracy, these smart systems use shunt-based coulomb counting to track every amp-hour in and out.
You’ll know when you’re truly at 50% or fully charged—crucial for healthy lead-acid life.
Set it up right by installing the shunt on the negative terminal, calibrating after a full charge cycle, and syncing with solar controllers if you can.
Voltage charts help in a pinch, but they’re not precise and vary by battery type.
With live alerts and real-time solar input tracking, you’ll stay powered, informed, and one step ahead of dim lights and stalled fridges—all while chasing horizons.
Avoid Deep Discharges Whenever Possible
You’ve got your battery monitor up and running, giving you the inside scoop on every volt and amp-hour—now let’s use that intel to dodge one of the sneakiest battery killers out there: deep discharges.
You wouldn’t run your RV on empty, so don’t do it to your battery.
Dropping below50% for lead-acid or AGM batteries is like giving it a bad sunburn—damage builds fast.
Those sneaky parasitic drains from forgotten lights or gadgets? They’ll sneak your battery into danger while you’re sleeping.
And oops—a fully drained battery might sound dramatic, but it’s no soap opera, just sad chemistry forming hard sulfate crystals.
LiFePO4 batteries laugh at80% discharge, but the rest of us? Not so much.
Keep charge above the danger zone, turn stuff off, and your battery will thank you with years of loyal service—no drama, just power.
Secure the Battery to Prevent Vibration Damage
While bouncing down a bumpy backroad might be part of the adventure, your RV battery doesn’t need the thrill ride—one good jolt can rattle its insides into early retirement.
Skip the shock and save your battery with these quick wins:
- Use a shock-absorbing mat like Megaware BatteryGuard—it squishes up to 80% of vibration and keeps your battery from dancing in its tray.
- Lock it down with clamps or straps, but don’t go crazy tightening—snug is good, *strangled* isn’t. Pair them with vibration-resistant fasteners for extra peace of mind.
- Pick a tough battery from the start—AGM types laugh at bumps and shakes thanks to rugged plates and built-in padding.
Add a dab of grease on terminals, and boom—you’ve got a rock-solid, shake-proof power hub ready for every wild ride.
Your battery will thank you with longer, drama-free service.
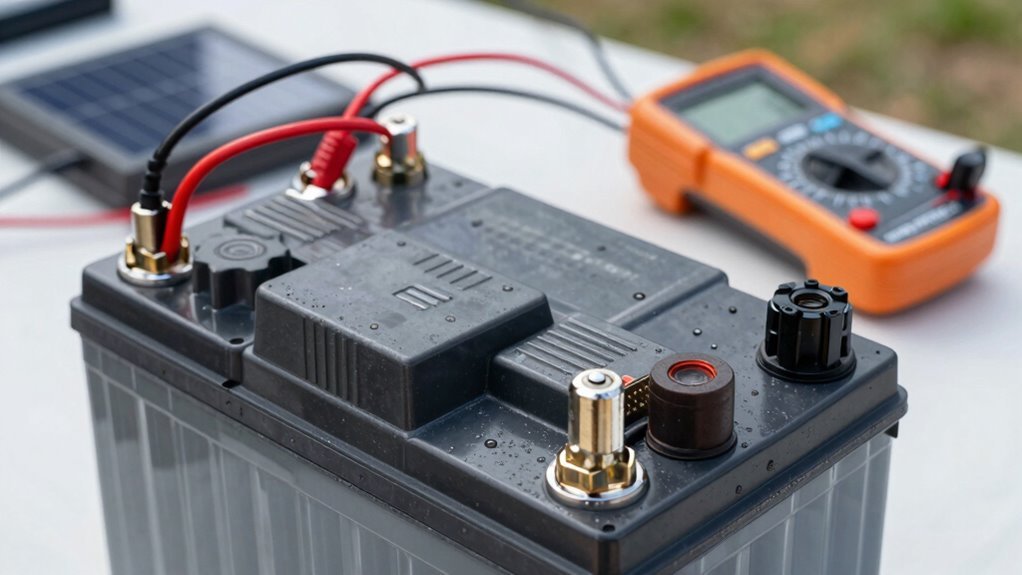
Inspect and Test Battery Performance Monthly
Now that your battery’s locked in tight and ready to handle every bump like a champ, it’s time to play detective and keep tabs on how well it’s actually performing.
Grab a flashlight and inspect it monthly—look for cracks, bulges, or leaks, especially on lead-acid types, since those mean trouble.
Check terminals too: clean off any gunk with a baking soda mix (1 tbsp to 1 cup water), wipe lithium ones with a dry cloth, then snug them down and add dielectric grease.
Don’t forget flooded batteries—top off cells with distilled water if needed.
Grab your multimeter: lead-acid should read 13.6–14.4V when full, lithium 13.33–13.6V.
If voltage dips below that, recharge.
Watch for quick drains or short runtimes—they’re dead giveaways your battery’s waving a white flag.
Stay on top of this, and your battery won’t leave you stranded.
Smart checks keep your adventures alive!
Frequently Asked Questions
How Often Should I Replace My RV Battery?
You’ll usually replace your RV battery every 3 to 15 years, depending on the type and how well you treat it.
Lead acid? Plan for 3–5 years.
AGM or gel? They last 4–7.
But go lithium, and you’re golden for 10-plus years.
Watch for slow cranks or dim lights—they’re telltale signs it’s time.
Treat your battery right, and it’ll keep your adventures powered longer!
Can I Mix Old and New RV Batteries?
No, you shouldn’t mix old and new RV batteries—we’ll fight like siblings over chores!
The new one overworks to keep up with the old, dragging it along, which wears *it* down fast.
It’s like pairing a sports car with a bicycle; one just can’t keep pace.
For smooth rides and long battery life, swap them out together.
Same type, size, and age? Perfect.
Mixing? Not worth the drama!
Is It Safe to Leave My RV Plugged in All Winter?
Sure, you *could* leave your RV plugged in all winter—right next to your frozen battery hibernating like a popsicle.
But unless you enjoy playing battery roulette, skip the icy surprise.
Cold + charging = bad news, especially below 32°F.
Use a smart charger with temp control, or better yet, unplug, charge it up, and store it warm.
Your battery’ll thank you in spring—no defibrillator required!
Should I Remove the Battery When Using Shore Power?
No, you don’t need to remove the battery when using shore power—just make sure it’s connected and the converter’s working.
Leave it in, let it charge, and keep your lights and fridge happy!
Think of it like a spa day for your battery, not a vacation.
Just check fuses and switches so everything flows smoothly.
Remove it? Only if you’re storing long-term or playing super safe with lithium.
Otherwise, plug in, relax, and let the juice flow!
Can I Use a Car Battery in My RV?
No, you shouldn’t use a car battery in your RV—it’s like bringing a sprinter to a marathon.
Car batteries give a quick burst to start engines, but they’ll die fast under constant power demands.
Your RV fridge, lights, and fans need deep, steady energy, which only a deep cycle battery can handle.
Stick with deep cycle, or you’ll be replacing batteries more often than you check tire pressure!
Conclusion
You’ve got this! Treat your RV battery like a trusty campfire—it needs steady care to keep glowing. Check water, wipe grime, charge smart, and never let it die completely. A little monthly love goes a long way. Store it snug and charged, and it’ll fire up every adventure with a spark. Your battery’s not just power—it’s your road trip’s heartbeat!
References
- https://lifelinebatteries.com/blog/four-main-types-of-rv-battery-2/
- https://www.rv.com/gear-accessories/rv-battery-basics-lead-acid-agm-and-lithium/
- https://www.campervan-hq.com/pages/deep-cycle-rv-battery-buying-guide
- https://www.rvezy.com/blog/rv-batteries
- https://www.youtube.com/watch?v=beF-QC7gsG0
- https://www.batterystuff.com/batteries/rv/
- https://www.trojanbattery.com/resources/battery-maintenance
- https://unboundsolar.com/blog/battery-maintenance-tips
- https://www.rv.com/archive/understanding-and-maintaining-your-rvs-batteries/
- https://bwisetrailers.com/wp-content/uploads/2021/06/Interstate-Battery-Marine-Grade-Battery-Maintenance-Manual-200004.pdf