How to Set Up Starlink for RV Use

For RV internet on the go, setting up Starlink ensures reliable connectivity wherever you roam. Choose the Unlimited plan for consistent access without data worries while traveling.
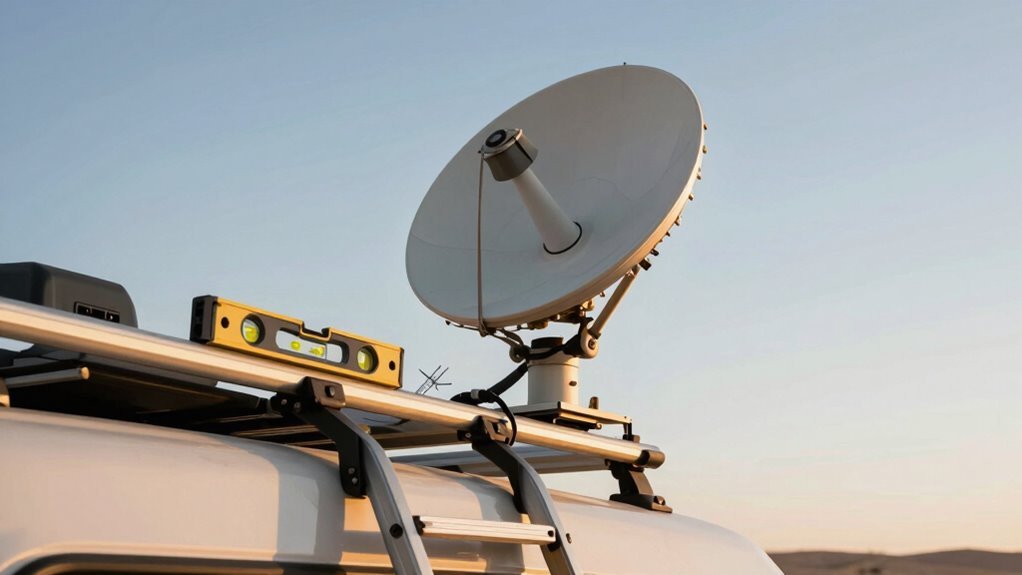
Mount your Starlink dish securely on a clear 12×12-inch area of your RV roof, ideally with full sky visibility and away from obstructions like trees. Proper placement improves signal strength and connection stability.
Power the setup using your RV’s 12V system and connect it to the Starlink router. Use the app to guide dish alignment until you get a solid green checkmark for optimal performance.
Monitor your data usage and network status through the app, and reboot the system if speeds drop or disconnects occur. With Starlink for RV, enjoy seamless streaming, browsing, and remote work on the road.
Choose the Right Starlink Subscription Plan
So, how do you pick the perfect Starlink plan for your RV adventures? You’ve got options, and it’s way more fun than picking campsite Wi-Fi.
Hit 115GB in a month? Switching to Unlimited at $165 saves cash and stress.
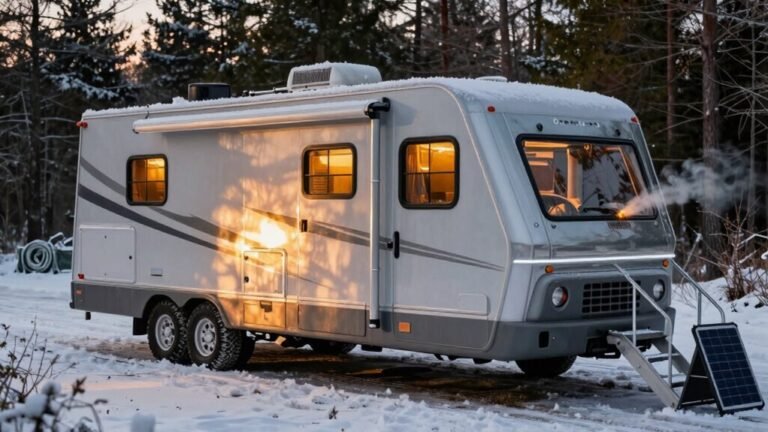
And hey, if you’re living the van life full-time, Starlink basically says, “Just get Unlimited.” You’ll want those no-strings, pause-able powers too—perfect for winter naps or surprise detours.
Priority Roam’s there if you crave speed, but it’ll cost ya.
Skip the residential plan unless you’ve got a fake home address you’re committed to.
Oh, and you can change plans anytime—no drama, just better Netflix loading.
Pick your plan, pack your bags, and let the sky handle the rest.
Roam does not require a home service address, but a delivery address is needed for hardware no home address required.
Verify RV Compatibility and Clear Viewing Areas
Grab your clipboard and play roof detective—your RV’s ready for a Starlink glow-up.
You’ll need a solid 12×12 inch spot on your roof or mount, clear of vents, AC units, or solar panels that could block the view.
Check the roof’s strength—your dish weighs about 3 pounds, but wind and travel add stress, so make sure it’s secure.
Peek underneath too; solid backing means a safer install.
Now, scan the sky: aim for a 100°+ clear arc—Starlink’s hungry for satellite sightlines!
Use your phone’s compass or an app to dodge trees, power lines, or nosy neighbor rigs.
Seasonal leaves or low winter sun can sneak up, so think ahead.
Shadows from rooftop gear? Shift things around or plan a pole mount.
No sky? No signal.
But hey, with a little sleuthing, you’ll be streaming under the stars in no time—roof hero status: achieved.
Ensure the mounting location provides a clear 100-degree arc toward the sky for optimal satellite visibility.
Mount the Starlink Dish Securely on Your RV
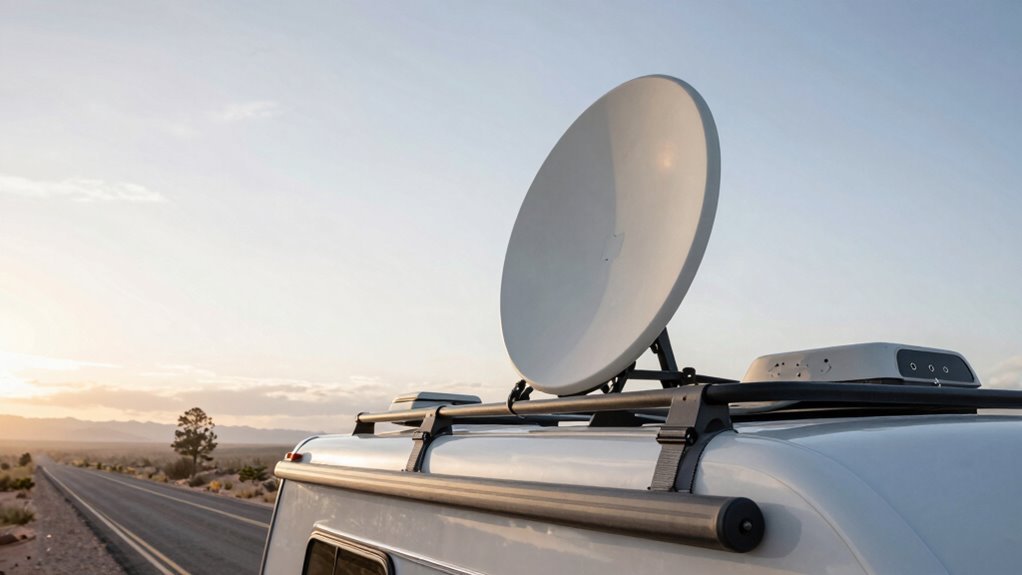
While your rig roams, your Starlink setup needs to stay put—no wobbling, no surprises.
Secure your dish right with a hitch-mounted adapter or magnetic plate if you’ve got a metal roof—no drilling needed!
Use the telescopic pole to rise above AC units or vents, locking it snugly into the base.
Clean the spot well, seal all holes with marine silicone, and tighten bolts evenly so it won’t budge.
Attach the dish with a satisfying click—press the button only when you’re ready to remove it.
For travel, collapse the pole, lock it down, and stash the dish in its box.
If you’re parked on uneven ground, try the ground mount under a wheel or tongue jack.
Keep it steady, keep it high, and aim for open sky.
Your internet adventure starts with a solid hold—don’t let the wind win!
A flagpole + 3D printed bushing setup allows for easy installation and reliable alignment without modifying your RV.
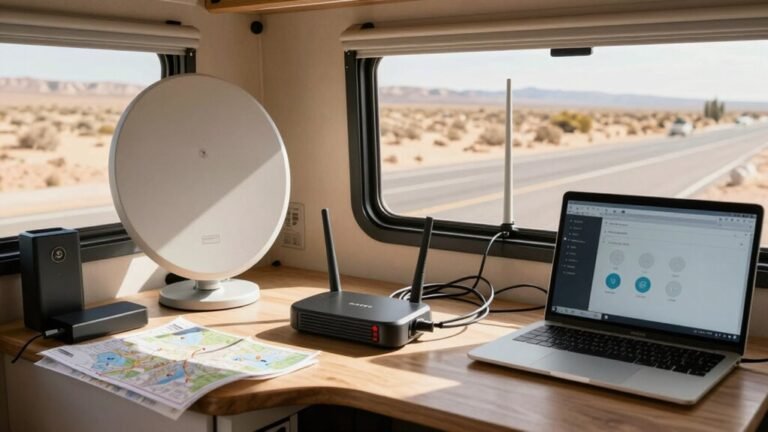
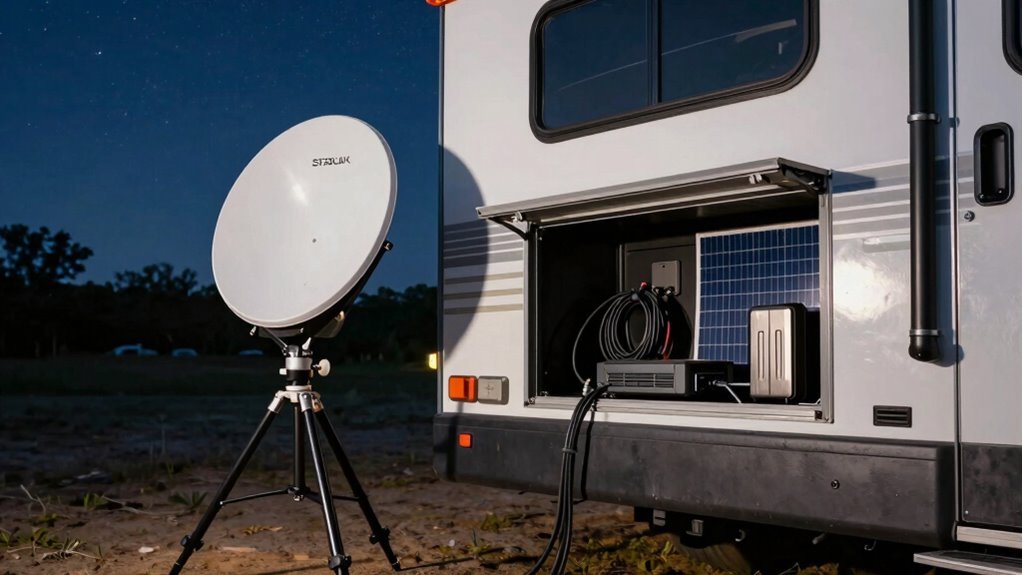
Connect the Dish to the Power and Wi-Fi Router
Fire up your Starlink adventure by getting the juice flowing—because even the smartest dish in the sky won’t talk to satellites on an empty stomach.
Plug your dish into a compatible power source—use AC, 12V DC, or a USB-C PD charger depending on your setup.
Gen 3 dishes love stable 57V, but they’re chill with 9–36V DC input, so your RV’s 12V or 24V system works great.
Just grab a certified DC cable and connect it securely.
The dish boots up automatically—no magic spell needed.
Then, power the router using 120V AC or a DC adapter.
Skip the inverter drama by running it straight off DC—only 25W drawn normally.
Use the Starlink Ethernet adapter with the special wiring order (white/orange, orange, blue), hook it to a POE injector, and link to your router.
Boom—your dish is fed, online, and ready to roam.
Now, isn’t that a wired wonder?
Install the Starlink App on Your Mobile Device
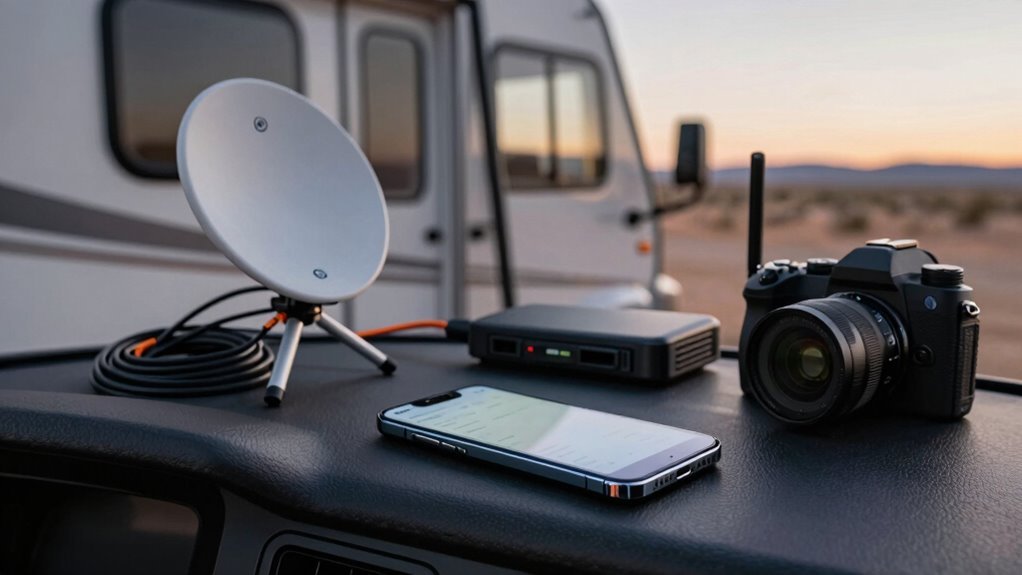
Download the Starlink app now and let your phone become the trusty co-pilot for your RV’s internet adventure.
Head to the App Store or Google Play—just make sure your phone’s OS is up to date and you’ve got a little free space.
It’s a small download, so no need to clear out those vacation photos just yet.
When you first open the app, it’ll ask for location, Bluetooth, and Wi-Fi access—say yes to help it find the best spot in the sky (and your dish).
Think of it like a GPS for great signal.
You’ll sign in, link your Starlink, and boom: you’re in control.
Enable auto-updates so you don’t miss new tricks, and don’t sweat it—your privacy’s safe, and you can tweak permissions anytime.
It’s not magic, but it’s pretty close.
Power On the System and Perform a Cold Start
Now that your Starlink app is up and running—your pocket-sized command center for staying connected on the road—it’s time to bring your dish to life.
Double-check your connections, make sure the fuse is in place, and confirm your battery’s voltage is solid—no zombie power here.
Plug in your DC-DC converter, USB-C PD, or AC adapter (depending on your model), and flip the switch.
You’ll hear a soft whir and maybe a happy little chirp as the dish boots up—think of it as your Starlink saying, “Morning, sunshine!”
This cold start wakes everything fresh, clearing out digital cobwebs.
Watch the app: a blinking light means it’s alive and scanning.
Keep the inverter off for now—don’t crowd the power supply.
Let it focus.
If it’s cold outside, the dish might fire up its built-in heater, so give it extra juice.
Just sit back, grab a coffee, and let the magic begin.
You’re one step closer to streaming under the stars.
Align the Dish for Optimal Satellite Connection
Finding the sweet spot for your Starlink dish is like playing satellite hide-and-seek—only this time, you’re making sure nothing’s blocking the view.
Pick a spot with wide, open sky, avoiding trees, vents, or your neighbor’s RV.
Use the app’s obstruction map to check for sneaky signal shadows—especially from leafy trees in summer.
Mount it high if you can, like on your roof or a sturdy tripod, and keep the cable exit facing down to dodge water and wear.
Open the app’s Alignment Tool and swing the dish slowly until the icon centers in the target box—think of it as satellite darts, but way more high-tech.
Nail that sweet 5° range, and you’re golden.
Got a rotating base? Make sure it spins freely without bumping into anything.
Once it’s singing with a green check, snug up the bolts.
Road vibes loosen things, so check it now and then.
Aim true, and you’ll surf the sky with gusto!
Test Your Internet Speed and Connection Stability
How’s your Starlink speed really holding up out there—blazing fast or more like a sleepy campfire? Plug your laptop straight into the router or PoE brick with Ethernet—skip Wi-Fi—to get real numbers.
Close other apps, kill background downloads, and make sure your dish has a clear view of the sky.
Run a few speed tests using the Starlink app and cross-check with Ookla or Google’s test for good measure.
Do this morning, noon, and night over a few days—yes, really.
Note your download, upload, ping, and jitter like a pro tracking clues.
Toss out wonky results and average the rest.
Feeling adventurous? Ping 8.8.8.8 for 10 minutes to catch hiccups, or test speeds after moving your RV.
Stability’s the secret sauce for streaming, gaming, and bragging rights on the road.
Manage Data Usage With the Mobile App
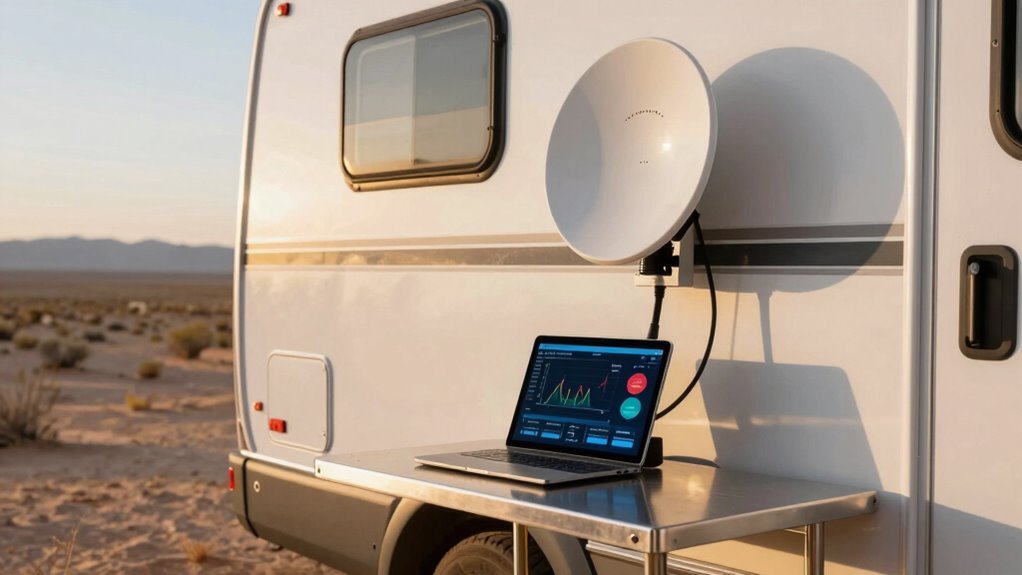
Keeping your data in check from the palm of your hand? Yep, the Starlink app’s got your back while you’re roaming in your RV.
No more guessing how much data you’ve burned through—it’s all right there, updated in near real-time.
You’ll stay on top of your Local or Global Priority limit, and since updates and pings don’t count, you’re not getting dinged for housekeeping stuff.
Here’s how easy it is:
- Open the app and tap Data Usage to see your monthly progress.
- Set up automatic 50GB top-ups so you never lose service.
- Peek at network stats and connected devices with just a few swipes.
- Check UTC-based totals—just remember, they might lag a few minutes.
No spreadsheets, no math anxiety—just smooth sailing (and streaming) on the open road.
Troubleshoot Common Connectivity Issues on the Road
Ever feel like your Starlink dish is playing hide-and-seek with satellites? You’re not alone.
First, check for clear sky view—branches, vents, or awnings can sneak in and block your signal.
Use the app’s obstruction tool to find the best spot, ideally on the roof or a pole with a full 360° view.
Move it a few feet if you’re near trees or overpasses—it really can make all the difference.
Stow and unstow after driving to reset satellite tracking.
Check your cables and power: a loose connection or blinking light might be the real culprit.
Reboot everything if needed—wait 30 seconds (or more for grumpy days).
Update firmware and use the app to spot outages or Wi-Fi hiccups.
Slideouts and tall trucks love to ruin your day, so park smart.
With a little patience, you’ll be back online before you know it!
Frequently Asked Questions
Can I Use Starlink While Driving My RV?
Oh, you *can* fire up Starlink while barreling down the highway, but Starlink might just fire back—with a service ban.
Using your home kit in motion? That’s a no-go, pal.
You’ll need the right mobile plan and gear designed for life on the move.
Skip the shortcuts, or you’ll risk fried warranties and very angry satellites.
Do it right, and yep, you’re streaming mid-road-trip—just don’t tempt fate.
How Often Does the Dish Need Cleaning?
You should clean your dish every three months, but hey, life happens—so if a storm, snow, or a curious bird leaves a mess, wipe it down sooner.
In salty coastal or dusty outback areas, check it monthly.
Just use a soft brush and damp microfiber cloth—no harsh stuff!
The Teflon surface repels water like magic, so you’re really just shooing away dirt and leaves.
Keep it clear and your signal stays strong!
Is Starlink Available in International RV Locations?
Yeah, Starlink works in tons of international RV spots—you’re not stuck just at home!
As long as you’re in a bright green area on their map, you’re golden.
You can roam across North America, Europe, Australia, and more.
Just keep your dish happy with a clear sky view, and you’ll stream, Zoom, and game like you’re parked in your driveway.
Adventure-proof internet? Count me in!
Can I Pause My Starlink RV Subscription Temporarily?
Yeah, you can absolutely pause your Starlink RV subscription!
Just log in, hit “Manage,” and switch to Standby Mode for $5/month.
You’ll keep light data for emergencies and updates—way better than nothing.
If you skip it, your service might get canceled.
Unpause anytime, and bam—high-speed internet’s back.
No more free pauses, but hey, at least your Wi-Fi won’t ghost you mid-road-trip!
Does Weather Affect Starlink Performance While Traveling?
Does weather mess with your Starlink while hitting the road?
Yep, rain, snow, or heavy clouds can slow things down or even knock you offline temporarily.
You’ll notice speeds dip during storms, and snow might pile on the dish—thankfully, it heats up to melt most of it.
But if a blizzard rolls in, you might need to lend a hand.
Wind’s usually no biggie, though shaky mounts make it worse.
Pack patience, and maybe a roof rake!
Conclusion
You’ve nailed it—setting up Starlink for your RV is a breeze once you know the ropes. With clear skies and a solid mount, you’re golden. Now you can stream, work, or cat-video binge anywhere the road takes you. Just keep an eye on data and realign when needed. Don’t put the cart before the horse—test your speed first! Life on wheels just got a major upgrade, and hey, the Wi-Fi’s always better outside.
References
- https://roadtrippers.com/magazine/what-rvers-need-to-know-about-starlink/
- https://broadbandnow.com/guides/starlink-roam-rv
- https://www.youtube.com/watch?v=LRGM25Us4nc
- https://www.youtube.com/watch?v=G8HK6AXBzuw
- https://starlink.com/ca/service-plans
- https://www.rvmobileinternet.com/guides/starlink-data-plans/
- https://starlink.com/service-plans
- https://www.satelliteinternet.com/providers/starlink/
- https://starlink.com/roam
- https://starvmount.com/guide/starlink-rv-installation-guide/