How to Repair and Reseal a Leaky RV Roof
Grab your ladder and gear up—fixing your leaky RV roof is totally doable! Start by cleaning the surface thoroughly to prepare for inspection and repairs.
Now it’s time to hunt down trouble spots around vents, seams, and skylights like a roof detective. These are common areas where leaks develop, so check closely for cracks, gaps, or worn sealant on your RV roof.
Reapply sealant with care, making sure to cover all identified problem areas. Smooth it out evenly and use roofing tape over weak spots for added protection.
Test the repair by spraying water with a hose while having a buddy check inside for leaks. Play “spot the drip” to confirm no water sneaks through.
When the roof is dry and tight, your leaky RV roof should be secure. There’s always room for one more trick, but you’re well on your way to a watertight seal.
Identify Common Roof Leak Sources
Ever wonder where that pesky leak in your RV is coming from?
Chances are, it’s not a big gash but sneaky spots where sealant’s given up the ghost.
Sun, age, and weather beat down on caulking around vents, skylights, and AC units until it cracks and shrinks—hello, slow drip!
You mightn’t see water pouring in, but stains or musty smells?
That’s your roof whispering, “Help!”
Punctures from tree limbs or debris are sneaky too, especially if you’ve camped under overhanging branches.
Roof racks and mounts?
They’re useful, but their screws can loosen and void seals over time.
Plus, every seam or penetration is a potential leak waiting to happen—especially if you’ve skipped regular checkups.
Annual inspections can catch these issues before they turn into costly repairs.
Spotting these issues early saves your floors, walls, and maybe even your favorite campfire mood.
Think of it as roof detective work—and you’ve got the magnifying glass!
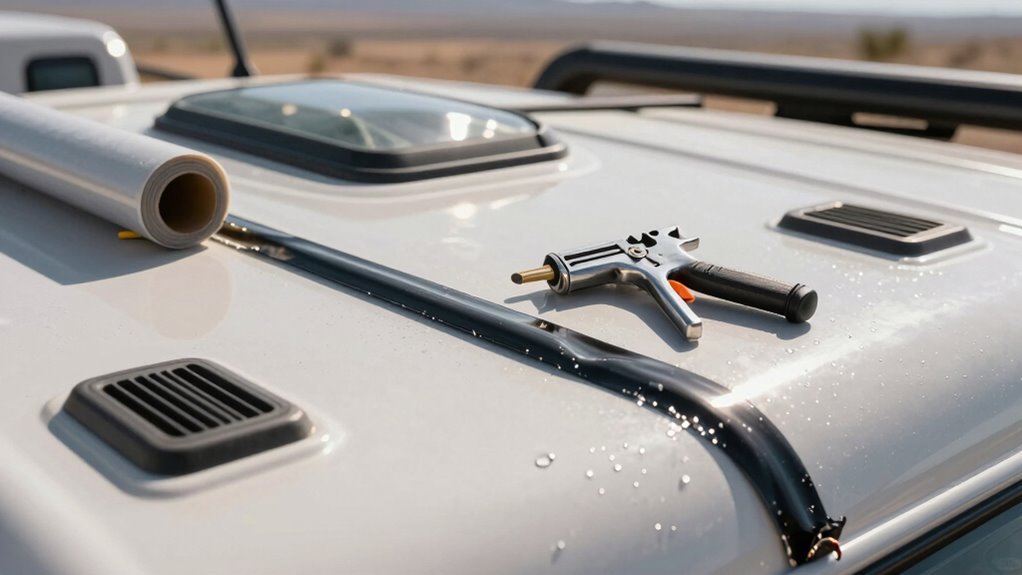
Gather the Necessary Tools and Materials
Before you tackle that leak, make sure you’ve got the right gear lined up like ingredients for a recipe—because fixing your RV roof is part science, part art, and a lot easier with everything within reach.
Grab your sturdy ladder, slide on work gloves and safety goggles, and lace up those grippy shoes—safety first, superhero!
You’ll need a caulking gun for smooth sealant flow, a putty knife to spread like a pro, and a utility knife for clean patch cuts.
Don’t forget a roofing brush for nudging goop into tight spots.
Stock up on EPDM rubber, self-adhesive patches, and roofing tape—acrylic’s your best buddy for long-term protection.
Pick sealant made just for RVs, plus mild soap and water for cleaning prep.
A vacuum helps suck up sneaky debris.
Trust us, hunting for tools mid-repair is *not* the adventure you want.
Be sure to include mild soap and water to properly clean the roof surface, as a clean and dry surface is essential before applying any sealant or patch.
Clean the Roof Surface Thoroughly
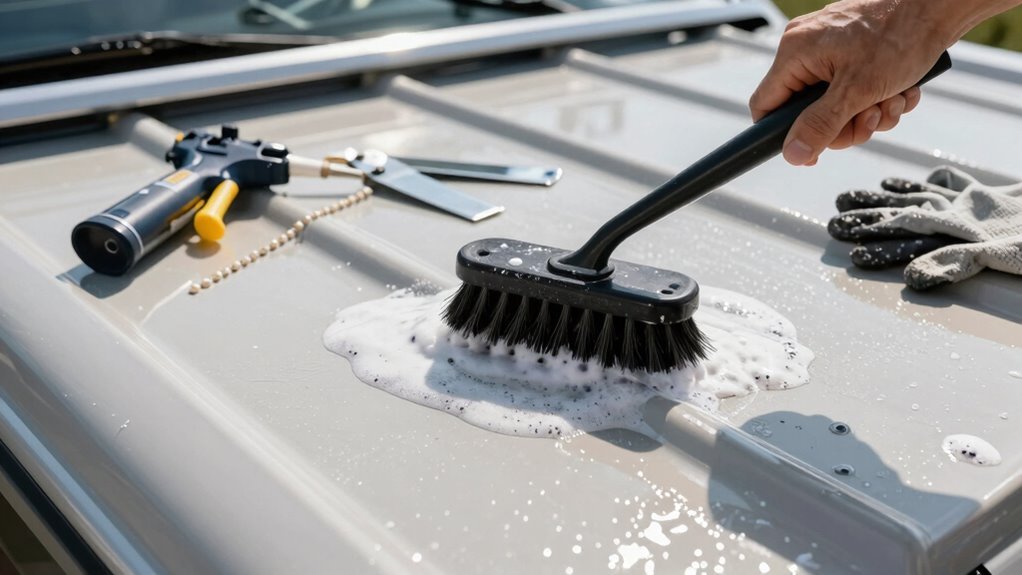
Grab that broom and let’s get the party started—your RV roof’s spa day begins with a solid sweep!
Before diving into cleaners, clear off leaves, dirt, and gunk so nothing gets trapped later.
Always start at the end farthest from the ladder to avoid walking through your freshly cleaned sections.
Make sure your roof can handle your weight—check the manual, and be extra careful once things get wet; soap turns most surfaces into slip-and-slide zones!
To keep things safe and effective:
- Use a soft or medium-bristle brush to scrub in 3-by-3 foot sections with a cross-hatch pattern
- Pick cleaning products based on your roof type—Dawn for rubber, fiberglass-specific cleaners for fiberglass, and so on
- Avoid harsh chemicals, stiff brushes, and anything with petroleum or citrus that could damage the surface
- UV rays can degrade roofing materials over time, so removing debris promptly helps protect against long-term sun damage
Now that it’s squeaky clean, you’re one step closer to a leak-free ride!
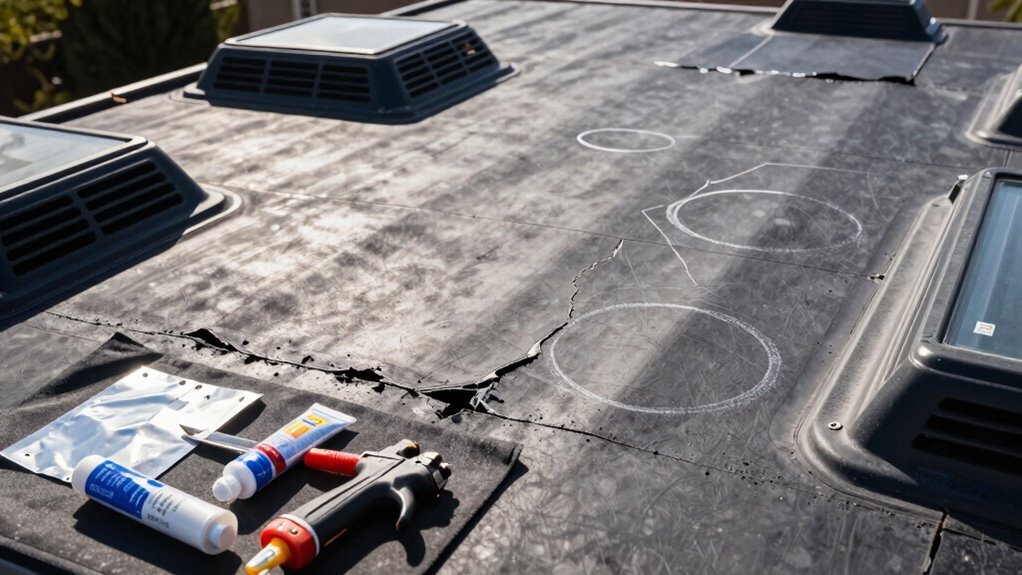
Inspect Seams and Joints for Damage
Now that your roof is sparkling clean and looking better than a freshly waxed convertible, it’s time to play detective.
Grab a flashlight and start checking seams, edges, and joints—you’re hunting for cracked, peeling, or missing sealant.
Look closely around vents, skylights, slide-outs, and windows, since these spots love to leak.
Don’t forget screws, antennas, and roof corners—they often show gaps or soft spots.
If you see bubbling lap sealant or dry, brittle molding, bingo—that’s trouble.
Use chalk to do a powder trail test, or gently press sealant to check for softness.
For sneaky moisture, try a moisture meter or simulated rain test.
Pro tip: inspect every 90 days and always stand on safe, dry areas.
Think like a leak—start high and work low.
With a little patience and the right tools, you’ll catch problems before they turn into a soggy surprise.
Locate and Mark All Problem Areas
Where’s that sneaky leak coming from, anyway? Don’t worry—you’ve got this!
Pinpointing problem spots is all about smart detective work, not guesswork.
Grab your tools and turn your RV into a leak-hunting lab. These tricks make finding breaches fun (really!). Once you spot something, mark it with tape or pen so you don’t forget.
- Simulate rain with a hose while a buddy watches inside—drips don’t lie!
- Pump in air and brush on soapy water; escaping air bubbles scream, “Leak here!”
- Scan with moisture tools like thermal cameras or meters—they see through walls like X-ray vision.
Bonus points if you find hidden dampness before it throws a pool party in your ceiling.
Stay sharp, laugh at the chaos, and label every questionable spot—you’ll thank yourself later when the roof’s dry and drama-free.
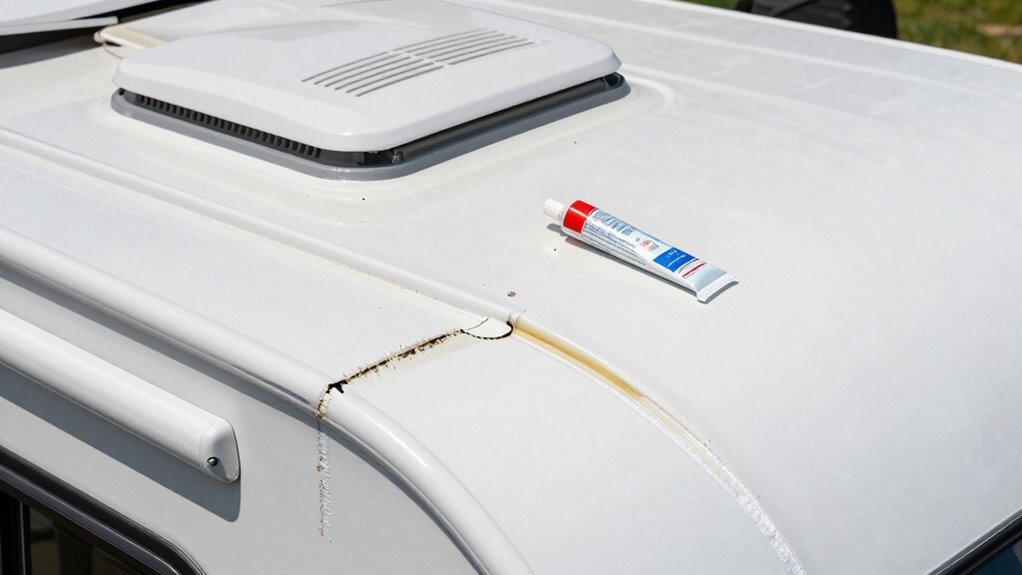
Repair Cracks and Punctures in the Roof
You’ve tracked down every sneaky leak and flagged the trouble spots like a pro—great work, detective!
Now it’s time to repair those cracks and punctures.
Start by cleaning each spot with soapy water, then dry it completely—no sneaky moisture allowed!
Use a putty knife to remove old sealant and sand fiberglass areas smooth.
For small cracks, inject urethane sealant like it’s frosting a cake (but way less tasty), wipe it smooth, and top with self-leveling Dicor.
Punctures? Cover them with Eternabond or butyl tape, then seal the edges with lap sealant for a watertight grip.
Big holes? Grab a patch kit, stick it down nice and snug, and roll it for solid adhesion.
Just remember: no self-leveling sealant on walls—it’ll drip!
With the right stuff and a little elbow grease, your roof’ll be tighter than a drum.
Replace or Fix Damaged Roof Flashing
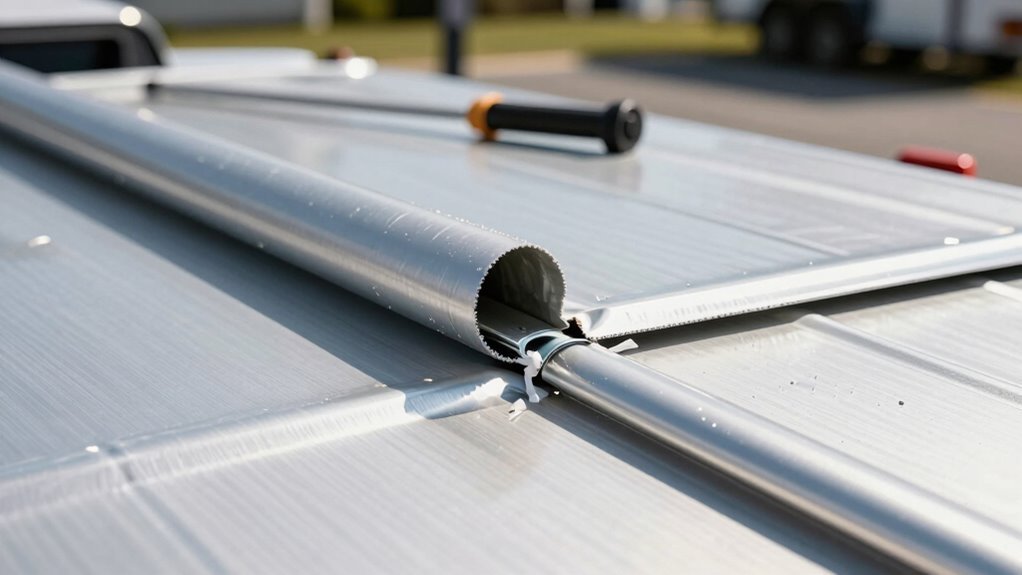
While chasing leaks mightn’t top your list of favorite RV pastimes, tackling damaged roof flashing is where the real magic happens—think of it as giving your rig a waterproof superhero cape.
Flashing guards every roof opening, from vents to AC units, so when it fails, trouble follows.
No more soggy interiors or mystery drips!
- Inspect around flanges and seams for cracked sealant, rust, or lifting—these are dead giveaways
- Remove old flashing carefully, scrape off all gunk, and clean the area with isopropyl alcohol (especially on TPO)
- Install new flashing with butyl tape, snug it tight, and secure with screws, working from the center out like a pro
It’s not just a fix—it’s peace of mind with a side of DIY pride. Your roof’s about to laugh in the face of rain.
Apply a High-Quality RV Roof Sealant
Grab your caulk gun and get ready to lock out leaks for good—applying a high-quality RV roof sealant is where your rubber roof gets its force field.
If you’ve got an EPDM, TPO, or PVC roof, grab Dicor self-leveling lap sealant—it spreads smoothly, bonds tight, and laughs at rain, snow, and UV rays.
Got a fiberglass roof? Reach for Geocel ProFlex—it’s clear, flexible, and sticks like gum to a hotspot.
For Winnebago fans, Heng’s NuFlex 311 is the OEM favorite, tough from -20°F to 122°F.
Slather on LiquidRoofTape with a brush for extra-strong seams.
Sika’s got your back for aluminum roofs, and Alpha Systems competes neck-and-neck with Dicor for top performance.
Skip regular silicone—use only RV-specific sealants.
Apply evenly, let it self-level, and boom: your roof’s now a watertight fortress.
Not magic—just really good glue.
Re-Seal Roof Penetrations and Vents
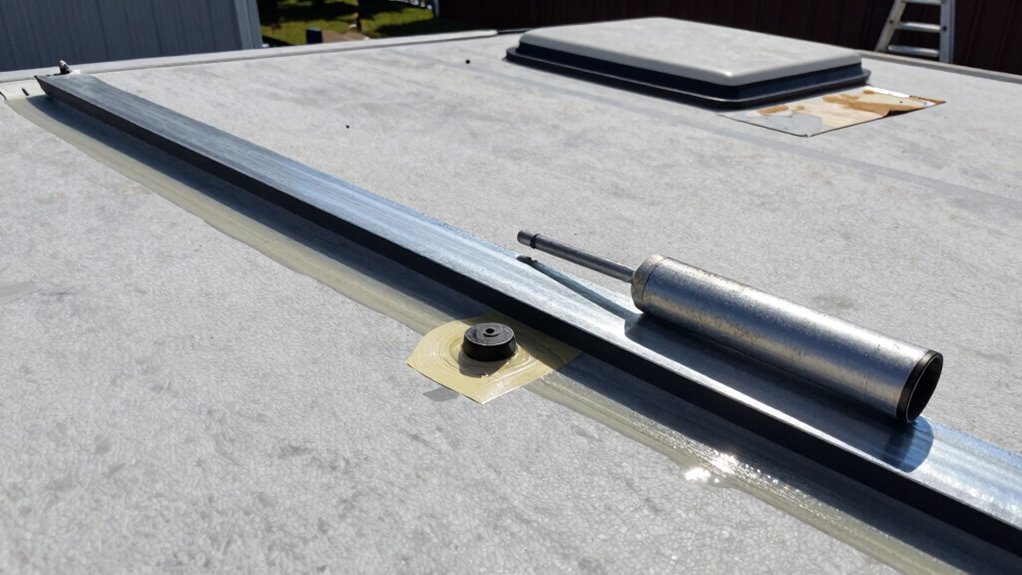
Time to tackle those sneaky entry points where water loves to crash the party—roof penetrations and vents need some serious TLC to stay leak-free.
You’ve cleaned the areas, removed old gunk, and now it’s time to seal like a pro.
Whether it’s your AC unit, vents, or support brackets, each one’s a potential leak waiting to happen.
Don’t worry, you’ve got this!
- Use non-sag sealant on edges and self-leveling for flat spots, smoothing beads with a gloved finger for full coverage
- Apply Eternabond tape over sealed areas—press firmly, don’t stretch it, and pop any air bubbles with a pin
- For extra peace of mind, wrap rubber roof jacks around gaps and reseal them—triple protection beats water every time
Dry conditions, clean surfaces, and the right sealant mean no surprise drips during the next downpour.
Your RV roof’s about to become a fortress—leaks won’t know what hit ‘em!
Perform a Final Inspection and Water Test
Now that you’ve sealed every seam and tightened each fastener, it’s time to play detective and make sure your RV roof is truly leak-proof.
Start by scanning the roof surface for cracks, bubbles, or soft spots—press gently, but don’t poke a hole!
Check corners, edges, and where walls meet, looking for gaps or old leak stains.
Peek at vents, AC units, and solar panels—everything should be snug and secure.
Inside, press on ceilings and check under furniture for sponginess or moldy surprises—nobody wants a swampy secret!
Then grab a hose and spray the roof like you’re watering a very flat garden.
Soak seams and fixtures for several minutes while someone watches inside.
If you see drips, mark ‘em fast!
Dry the roof after, snap some photos, and jot down any trouble spots.
When in doubt, call a pro—no shame in backup!
Frequently Asked Questions
How Often Should I Reseal My RV Roof?
You should reseal your RV roof at least once a year to keep it happy and leak-free—think of it as a spa day for your rig!
If you’re always on the road or parked under blazing sun, do it every 12–18 months.
Check every three to six months for cracks or wear, especially before winter.
A quick touch-up now saves you soggy socks later—nobody wants a surprise indoor rainstorm!
Can I Walk on My RV Roof Safely?
Yeah, you can walk on your RV roof, but it’s not like strolling across your backyard—think more tiptoeing through a minefield of weak spots.
Check your make and model first, ‘cause cheaper rigs might say “nope” under pressure.
Avoid edges, vents, and seams like they’re hot lava, wear grippy shoes, and never go solo—have a buddy spotting you.
Safety’s no joke, but with the right prep, you’ll be golden.
What’s the Best Weather for Sealing an RV Roof?
You’ll want sunny, dry days with temps between 50°F and 90°F—perfect for sealing your RV roof!
Make sure it stays dry for at least 24 hours, ‘cause rain sneaking in ruins the magic.
Aim for low humidity and pop that black tarp over your pails.
Morning or evening works great, especially if it’s not blazing hot.
And hey, if the sun’s out, let it help cure your hard work—nature’s blow dryer!
Should I Remove Old Sealant Before Applying New?
No, you don’t have to remove all the old sealant—only the loose, cracked, or peeling bits.
Keep what’s solid; it makes a great base!
Think of it like touch-up painting: no need to strip the whole wall.
Clean the surface well with alcohol or mineral spirits, let it dry, and make sure it’s smooth.
You’ll save time, avoid damage, and still get a tight, happy seal.
Smooth moves save the day!
How Long Does RV Roof Sealant Take to Cure?
You’re probably pacing impatiently, peeking at the roof—good news: most RV sealants cure in 24 to 48 hours.
You’ll see initial setup in half a day, feel it firm up, then wait two full days for full strength.
Cold or damp? Add extra time.
You skip the dance in the rain if it’s not ready.
Patience, pal—your roof’s got to be tough, not just touchy-feely!
Conclusion
You’ve done it—your RV roof’s tighter than a pickle jar! Did you know one in three RV leaks comes from loose vents or seals? That’s why your resealing work matters so much. With fresh sealant and a little elbow grease, you’ve just saved yourself from soggy socks and ruined camping vibes. Great job! Now go enjoy the open road, rain or shine, knowing you’ve got a dry, happy camper up top.
References
- https://sprayamericacoatings.com/common-causes-of-rv-roof-leaks-and-damage/
- https://leisurecw.com/how-to/rooftop-rv-leaks-and-you-preventing-finding-and-fixing-the-problem/
- https://koa.com/blog/the-10-most-common-rv-water-leaks-and-how-to-fix-them/
- https://www.tnrvflexarmor.com/blog/4-most-common-sources-of-rv-roof-damage
- https://patriotsrvservices.com/how-to-identify-common-rv-roof-leaks-and-prevent-costly-repairs/
- https://elitecoachrv.com/blog/how-to-identify-and-fix-common-rv-roof-leaks/
- https://rvroof.com/blog/rv-roof-dry-rot-what-you-need-to-know/
- https://patriotsrvservices.com/how-to-repair-rv-roof-a-complete-guide-for-rv-owners/
- https://youngfartsrvparts.com/blogs/blog/essential-materials-needed-for-rv-roof-repair
- https://leisurecw.com/how-to/19-essential-rv-tools-to-keep-on-hand/