Tips for Reducing Condensation in Your RV
You’ve got this! Whip out your fans to keep air moving and reduce condensation in your RV effectively. Circulating air helps prevent moisture buildup, especially in tight spaces.
Toss your wet gear into a storage bin instead of leaving it in the bedroom. This simple step minimizes humidity levels and helps control condensation in your RV.
Run a dehumidifier daily—think of it as a dance party for dry air. Even cracking a window a little lets trapped moisture escape.
Use thermal curtains and upgrade your roof vent for better insulation. These moves fight condensation in your RV and keep mold from taking over.
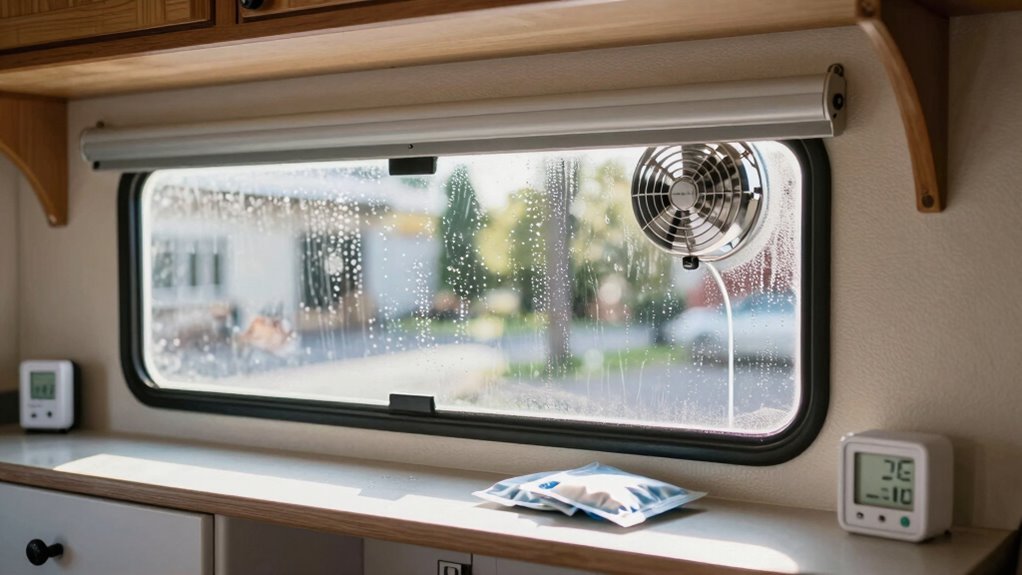
Improve Air Circulation With Fans
While hot air rises and humidity likes to sneak into tight corners, you’ve got a secret weapon—fans—to keep your RV feeling fresh and open.
You’re not just cooling things down; you’re winning the war against muggy air.
Roof vent fans kick hot air out from the top where it gathers, while portable fans buzz happily near windows, ushering in breezes.
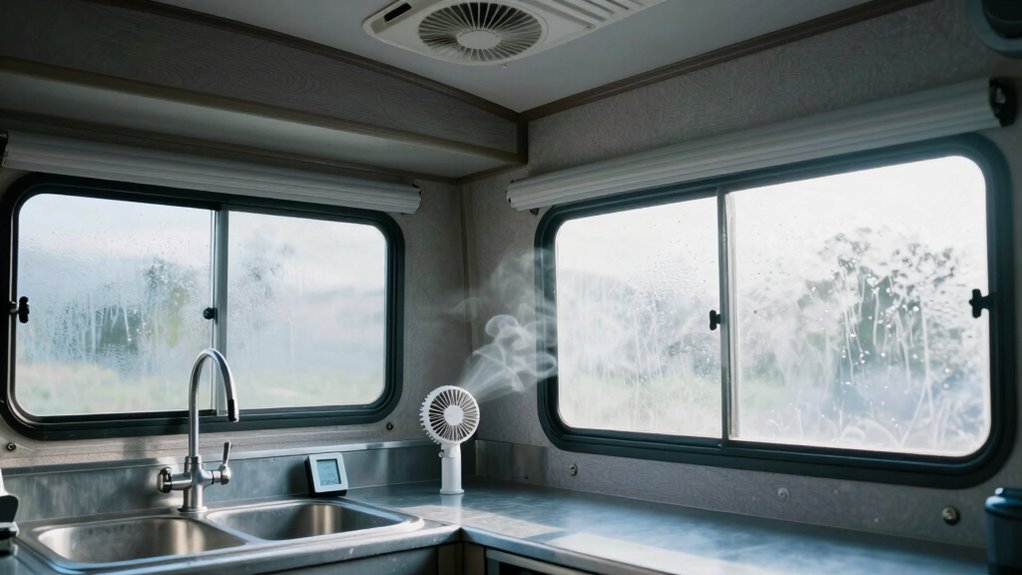
Set up cross-ventilation by cracking opposite windows and letting fans do the rest—it’s like giving your RV its own wind machine.
Reversible fans? Even smarter: they’ll push fumes out or pull cool air in, depending on your mood.
Place fans near the bathroom or kitchen, and say goodbye to steamy mirrors.
Plus, a clean fan runs better—dirt’s not invited.
With the right airflow, you’ll feel like you’ve got a breeze-powered cape, fighting condensation one gust at a time.
Preventing moisture buildup starts with consistent air movement, especially after cooking or showering.
Who knew fresh air could be this easy—or fun?
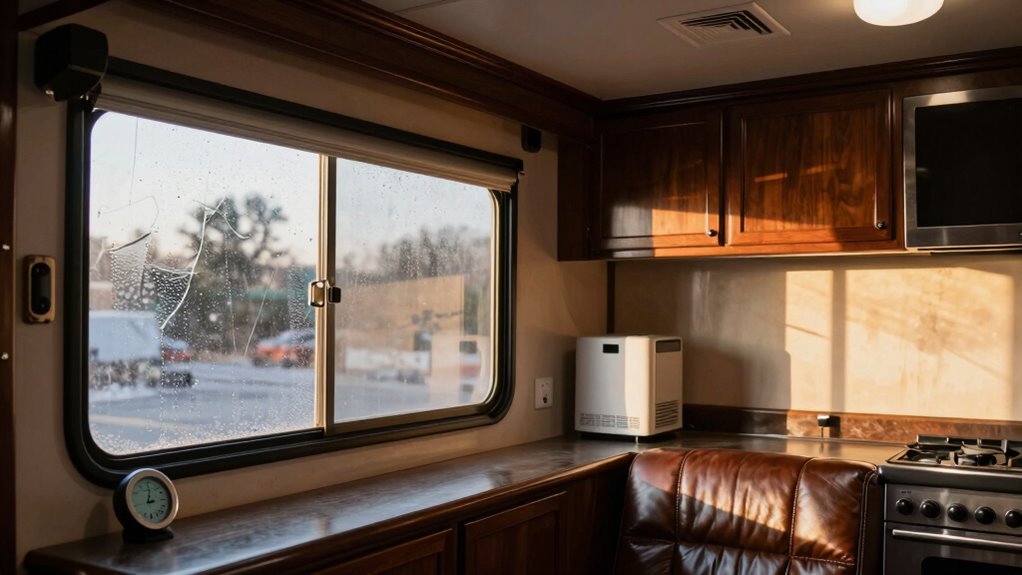
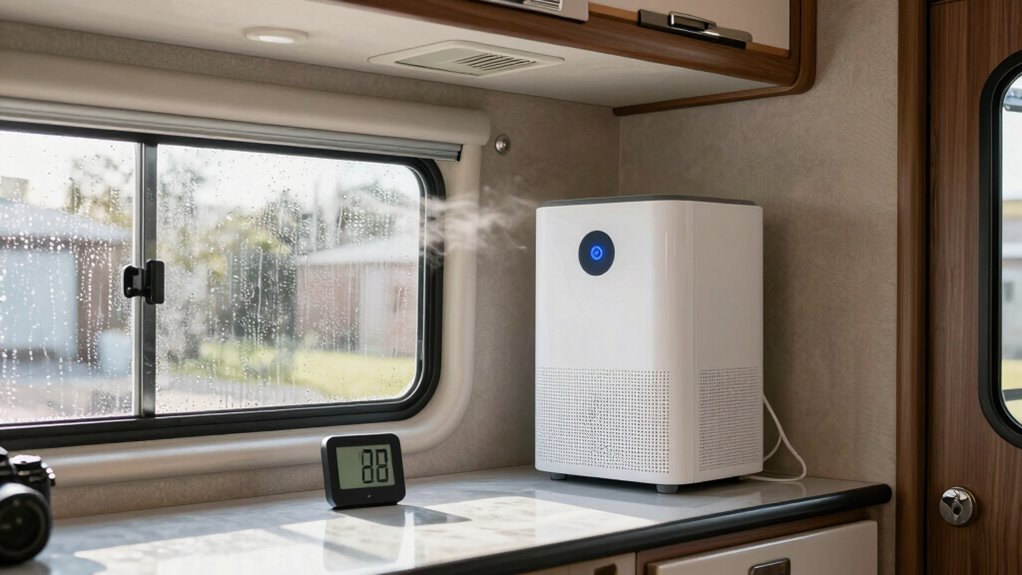
Use a Dehumidifier Regularly
Pulling sticky moisture right out of the air, a dehumidifier becomes your RV’s personal weather manager—no rain dance required.
You’ve got options: compressor types slay humidity in warm spaces, while desiccant models thrive even when it’s chilly—perfect for cold mornings.
Got a tiny space? Mini cartridges or compact plug-ins quietly do the job without hogging power.
Bigger rig? Go for 30+ pints/day and say goodbye to soggy air.
Place it centrally or near damp zones, keep airflow clear, and use a drain hose to skip constant emptying.
Just shut the windows while it runs—don’t invite more humidity in!
It’s quiet, efficient, and runs all night without throwing a fit.
Empty the tank, wipe the filter, and you’re golden.
Think of it as a spa treatment for your RV: fresher, drier, and ready for adventure.
Everyday activities like cooking and showering add significant moisture to the air, contributing to excess humidity that dehumidifiers effectively manage.
Crack a Window to Equalize Humidity
Crack a window open just a bit, and you’re not just airing things out—you’re staging a mini indoor rebellion against soggy air and foggy glass.
You let drier outside air sneak in, helping kick indoor humidity to the curb where it belongs.
That tiny gap lets steam from cooking or showering escape, so it doesn’t turn your walls into a waterfall.
Even in winter, cold outdoor air is often drier, so cracking a window pulls moisture levels down below the condensation danger zone.
It balances temps, too—fewer icy window surfaces mean less dew buildup.
Toss in Reflectix for extra warmth when it’s below 20°F.
A small fan in the gap boosts airflow without blasting heat out.
Aim for 65°F inside and under 70% humidity.
Focus on windows—they’re condensation ground zero.
A little crack goes a long way.
This simple ventilation strategy works best when combined with source control to reduce overall moisture load.
Upgrade Your Ventilation System
Ever feel like your RV’s air is stuck in a闷 (stuffy) standoff?
You’re not fighting alone—upgrading your ventilation system can turn that damp, heavy air into a fresh breeze.
Swap out your old roof vent for a powered fan, and boom: 12V DC power kicks it on, pulling out humidity and heat fast.
Just check your wiring first—don’t want to blow a fuse mid-cool-down.
Love rain but hate leaks?
Install a roof vent cover, like the MaxxAir II, so you can vent during showers or breakfast, no worries.
Use butyl tape, Dicor sealant, and a drill to mount it snug and leak-free.
After it’s up, clean vents often, zip-tie wires, and test fan speeds.
You’ll boost airflow by 40%, sleep cooler, and finally kick condensation to the curb—your RV will thank you!
Cook and Shower Outside When Possible
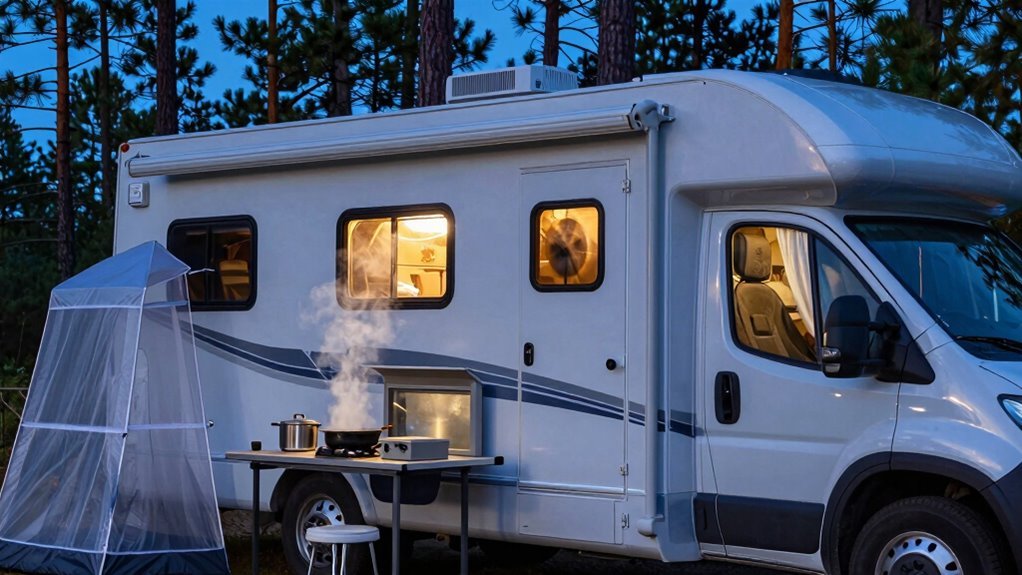
Steaming up your RV while cooking or showering? You’re not just making dinner—you’re running a mini sauna!
Skip the indoor moisture madness by cooking outside whenever you can.
Grilling or using a camp stove keeps all that steam out of your space entirely.
No indoor boiling means no foggy windows by bedtime.
And hey, campground showers? They’re your winter condensation BFF—warm, steamy, and happening nowhere near your cozy rig.
Bonus: gym showers work great too.
If you must cook inside, sauté instead of boil, use lids, and turn on the vent fan—every little bit helps.
But honestly, why deal with the damp drama when fresh air does the job for free?
Cooking and showering outside isn’t just smart, it’s a game-changer.
Your walls will stay dry, your mood will stay bright, and your RV? It’ll feel like home, not a greenhouse.
Dry Wet Gear Before Storing Inside
Wring out that rain-soaked hoodie or shake off the trail-mud boots *before* they set foot in your RV—don’t invite damp drama into your dry domain. Give wet gear a good squeeze or use a thirsty microfiber towel to soak up excess water.
Shake off raincoats, drain backpacks, and spin-dry soaked clothes if you’ve got a portable wringer—your RV will thank you. Store soggy items in waterproof bags or a ventilated locker outside the main cabin, so moisture doesn’t sneak into your cozy space.
Pop boots on an absorbent mat, not the carpet—nobody likes swampy socks or surprise puddles. Hang damp clothes on a drying rack near a fan or vent, and let airflow work its magic.
Toss in a dehumidifier or moisture-busting silica packs for backup. A little prep keeps your rig fresh, mold-free, and way more comfortable. Stay dry, stay happy—because nobody parties with condensation!
Install Thermal Curtains or Insulation
Blocking the chill before it sneaks in is your secret weapon against foggy windows and frosty mornings.
You’ve got this—grab thermal curtains with thick, cozy layers and a shiny backing to bounce heat back into your space.
Choose snug, RV-safe fabrics that won’t soak up moisture or catch fire too easily.
Make sure they fit like a glove, overlapping every edge so no icy drafts wiggle through.
Add magnetic strips or sticky tape to seal the deal—literally.
Mount them tight with sturdy tracks that won’t sag when you hit the road.
Toss in some weights in the hems so they stay put, even when it’s windy.
Pair them with foam panels or window film for extra armor.
Layer smartly with double tracks—insulate at night, peek outside by day.
You’re not just blocking cold—you’re trapping comfort like a pro.
Sweet dreams stay warmer when condensation doesn’t crash the party!
Keep Surfaces Clean and Mold-Free
Keep mold from crashing your RV’s vibe by staying on top of clean surfaces—because nobody wants uninvited guests, especially the fuzzy, stinky kind.
Wipe down bathrooms, kitchens, and sinks weekly with a soft cloth and mild soap; it knocks out gunk before mold moves in.
Rinse and dry everything right away—no leaving damp spots for spores to throw a party.
Toss curtains and bedding in a hot wash when possible; they’re sneaky moisture traps.
Hit vents and fans with a vacuum and damp rag monthly to keep dust, mold’s favorite snack, at bay.
For tougher spots, use an EPA-approved mold remover or a splash of bleach (1:10 with water), but only on safe surfaces—and always rinse.
Go easy on the scrubbing; you don’t want to damage seals or decals.
Oxygen-based cleaners are gentler on sensitive spots.
And hey, gear up with gloves and a mask when tackling mold—your lungs will thank you.
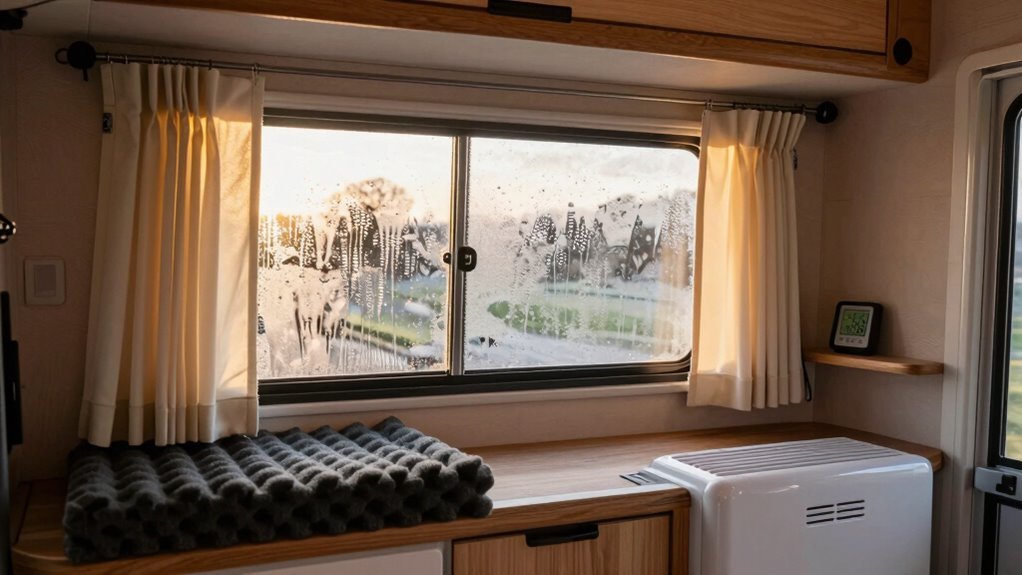
Monitor Indoor Humidity Levels
Ever wonder why your RV windows suddenly look like they’re crying? That’s condensation knocking, and it’s time to fight back by monitoring indoor humidity like a pro.
Keep your space comfy and fog-free with these smart steps:
- Grab a digital hygrometer – It’s your humidity helper, giving real numbers instead of guesswork. Skip the wobbly analog ones.
- Aim for 30%–50% RH – This sweet spot keeps air moist enough to breathe easy but dry enough to block drips.
- Act fast when it hits 60% – That’s “uh-oh” territory. Turn on fans, crack a vent, or fire up the dehumidifier before mold throws a party.
Place sensors where you live and sleep, check trends with Bluetooth gadgets, and team up humidity data with temperature smarts.
When you know the numbers, you stay dry—and your RV stays fresh, no drama!
Frequently Asked Questions
Can Condensation Damage My Rv’s Electrical System?
Yes, condensation can totally mess with your RV’s electrical system.
It sneaks into connectors and wires, causing corrosion that boosts resistance and leads to flickering lights or weird glitches.
Moisture might even trigger shorts or fry sensitive electronics.
Over time, that dampness eats insulation and invites mold—yuck!
But don’t sweat it, a few smart habits can keep things dry and your adventures drama-free.
Is Condensation Worse in Winter or Summer?
Yeah, condensation’s definitely worse in winter—cold air can’t hold much moisture, so all that warm, steamy air from cooking, breathing, and showering crashes into chilly walls and *bam*, you’ve got indoor rain.
Your RV basically becomes a snow globe, minus the magic.
Summer’s no picnic either, but winter’s the real condensation champion, turning your cozy space into a damp drama club.
Stay warm, stay dry!
Should I Insulate My Rv’s Water Lines to Reduce Condensation?
Yes, you should absolutely insulate your RV’s water lines—it’s a game-changer!
Wrap them in foam sleeves to stop condensation from turning your cabinets into a swamp.
It’s like giving your pipes a cozy hug that keeps cold water cold and prevents sweaty messes.
Trust me, dry floors beat soggy sneakers any day.
Quick, cheap, and super effective—what’s not to love?
Can Opening Cabinets Help Reduce Interior Condensation?
You bet opening cabinets helps cut condensation!
Did you know 1 in 3 RVers ignore this simple fix and deal with soggy cabinets?
Crack those doors open, let warm air swirl in, and stop moisture from sneaking up on cold walls.
It’s like giving your cabinets a breath of clean air—easy, free, and weirdly satisfying.
Just don’t peek inside expecting snacks—you might still be hungry.
Does RV Size Affect How Much Condensation Builds Up?
Yeah, your RV’s size totally affects condensation.
Smaller rigs trap moisture faster because there’s less air space, so humidity spikes quickly—thanks to your breathing, cooking, and showering.
Tiny walls cool fast, making perfect spots for dew.
Bigger RVs spread out the wetness, handle heat better, and ventilate more efficiently.
Think of it like sleeping in a closet versus a living room—guess which one feels clammy?
Size really does matter here.
Conclusion
You’re drying your rain-soaked jacket by the vent, and *bam*—the fan kicks on, blasting warm air just as your dog shakes off after a puddle plunge. Coincidence? Maybe. But with cracked windows, a trusty dehumidifier, and thermal curtains doing their thing, your RV stays cozy and clear. Humidity doesn’t stand a chance. Keep air moving, gear dry, and surfaces clean, and you’ll laugh in the face of foggy walls. Sweet, sweet condensation victory!
References
- https://mobilehomepartsstore.com/latestnews/ventilation-tips-and-tricks-for-your-rv/
- https://www.daisyrv.com/how-can-i-help-cool-down-my-rv/
- https://www.rvupgradestore.com/blog-best-rv-fans-and-ventilation-s/1354.htm
- https://www.thebugwall.com/blogs/news/10-tips-to-manage-airflow-using-rv-camper-insect-screens
- https://blog.airxcel.com/the-key-to-better-ventilation-in-your-rv/
- https://www.rv.com/lifestyle-travel/life-on-the-road/tips-and-tools-for-staying-cool-in-your-rv/
- https://rvairflow.com
- https://www.youtube.com/watch?v=w8Sndhyveu0
- https://www.youtube.com/watch?v=dDhshzrS82Q
- https://info.hookhub.co/blog/best-dehumidifier-for-rv/