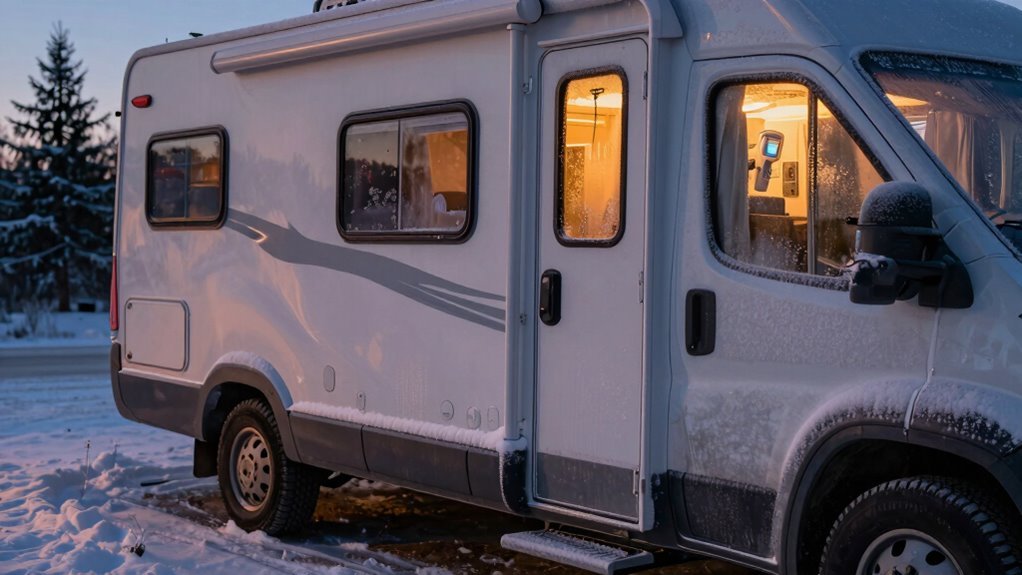
How to Insulate Your RV for Winter Camping
To effectively insulate your RV for winter camping, start by sealing drafty doors and windows. Use the dollar bill test to find leaks, then secure gaps with fresh foam or duct tape—keeping cold air out is essential for maintaining warmth.
Add extra insulation by installing bubble wrap, thermal curtains, and reflective film over windows. These inexpensive upgrades help trap heat inside your RV, making it easier to maintain a comfortable temperature during cold nights.
Wrap exposed pipes with heat tape and insulate the underbelly with foam to prevent freezing. Installing a radiant barrier further enhances your RV’s ability to retain heat, turning it into a cozy winter retreat.
Seal All Drafts and Air Leaks
Grab your trusty dollar bill and get ready to play detective—because sealing drafts in your RV starts with knowing where the cold sneaks in.
Shut the bill in your door and tug—if it slips out easy, that cold air’s winning.
Check every inch of the seal for cracks, splits, or peeling glue, and make sure push-on types are snug.
Test multiple spots; consistency is key.
Same goes for all compartment doors—use the dollar trick and replace any tired seals.
Slide-outs? Extend them and peek inside and out.
Look for gaps, inspect wipers, and clear gunk off the top before pulling in.
Duck tape can help snug up the bottom seal.
Skip the chemicals—rubber hates them.
And hey, if your thermostat’s acting moody (75°F inside but feels like 70°F?), you’ve got a draft.
Time to outsmart that sneaky chill!
Also, ensure heat reaches storage areas to prevent freezing in heat/vents in storage areas.
Upgrade Window and Door Insulation
Thinking about turning your RV into a cozy winter hideaway?
Upgrading your window and door insulation is a game-changer.
Stick bubble wrap to windows—just dampen the glass and press it on, bubble-side in—for instant, clear-paneled warmth that stays put all season.
Reflective insulation works great too; just make sure the shiny side faces inside to bounce heat back where it belongs.
For a snugger feel, hang heavy thermal curtains—they trap heat and block drafts, especially magnetic ones that slam shut like superhero capes.
Window film kits? Genius.
Tape it on, shrink it with a hair dryer, and boom—double-glazed coziness with a view.
Don’t forget foam boards for windows and fresh seals on doors.
Layer these tricks together and your RV won’t just survive winter—it’ll throw a toast to it.
Insulate the RV Underbelly and Floor
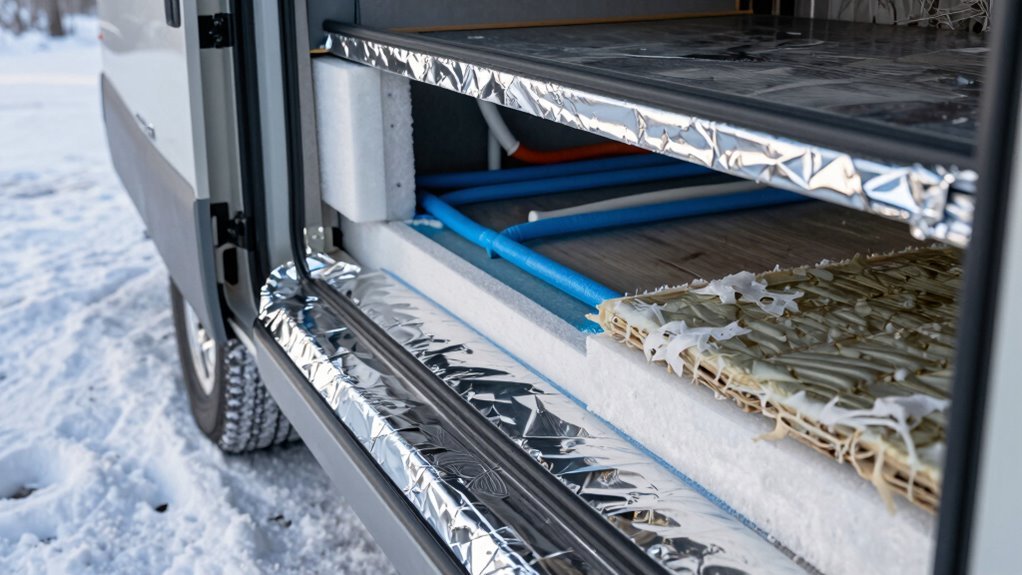
You’ve wrapped your windows tight and sealed up every draft around doors, so now it’s time to give the same cozy treatment to the part of your RV that takes the brunt of winter’s punch—the underbelly and floor.
Spray closed-cell foam for max warmth (it packs R-6 to R-7 per inch!) and seals gaps like a pro, plus blocks moisture and mold.
Can’t reach every nook? Rigid foam boards fit snugly around tanks and cavities—layer ‘em or pair with other types.
Add a radiant barrier with a 1-inch air gap to reflect heat; in cold climates, stick it on top for best results.
Finish with a Coroplast underbelly shield to lock everything in place and block icy wind.
Go full ninja with a three-layer combo: sealant first, then radiant wrap, then R-13 fiberglass.
It’s like a thermal burrito—your floor stays toasty, and your toes will thank you!
This approach aligns with the R-6 to R-7 per inch target for high-performance wall and underbelly insulation using spray foam.
Protect Plumbing With Heat Tape and Encapsulation
When winter tries to sneak into your RV through frosty pipes, fight back like a plumbing superhero—because frozen hoses and cracked tanks are no way to spend your camping trip.
You’ve got the power to keep things flowing with heat tape and smart encapsulation.
Here’s how to win the battle:
- Wrap pipes, hoses, and valves with self-regulating heat tape, and always pair it with foam insulation for double-duty protection.
- Fully encapsulate exposed tanks and plumbing with rubberized foam and add skirting beneath your RV to trap warm air where you need it most.
- Power your heat tape directly from your 12V system—no inverter needed—so it runs efficiently all night, keeping Jack Frost out of your joints.
Stay cozy, stay leak-free, and remember: happy pipes make for happy camping!
Add Thermal Curtains and Wall Insulation
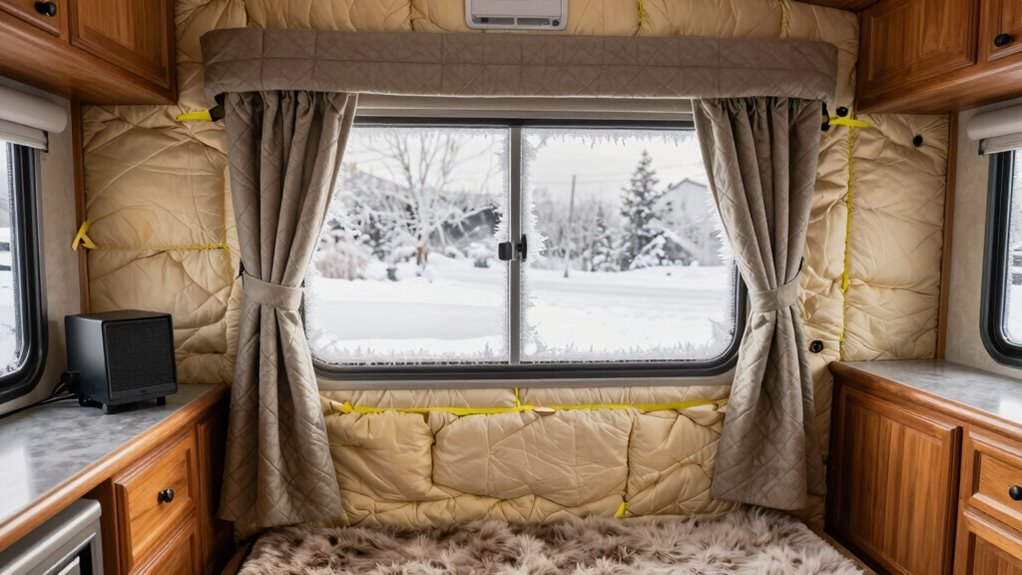
Now that you’ve outsmarted frozen pipes and turned your RV’s plumbing into a fortress against the cold, it’s time to tackle the chill sneaking in through your walls and windows.
Grab some thermal curtains—sew in Insul-Bright and slap Velcro on the frames so they’re easy to hang and take down.
Close them at night to trap warm air and block drafts, then open them by day to soak in free sunlight.
Layer them over blinds for extra punch.
Toss Reflectix covers on windows, too—they reflect heat back into the space and pair perfectly with curtains.
For walls, sneak in reflective foam or foam board behind cabinets and furniture to boost insulation.
It creates a cozy buffer against winter’s bite.
Add draft stoppers, cut condensation, and enjoy quieter, warmer nights.
Your RV will feel less like a tin can and more like a snug little cabin.
You’ll sleep better, save energy, and maybe even hug your walls.
Okay, maybe not that last one.
Use Roof and Attic Insulation Techniques
Ever wonder how some RVers stay toasty even when the roof creaks under a blanket of snow?
You can beat the freeze with smart roof and attic insulation.
These spots lose heat fast, but the right upgrade keeps warmth in and icy drafts out.
Here’s how to win the winter war:
- Spray foam – It’s the heavyweight champ, giving R-6 to R-7 per inch while sealing every nook like a thermal force field.
- Rigid foam boards – Slip XPS (blue or pink board) into tight gaps; they boost insulation without bulking things up.
- Seal vents like a pro – Use foam and Tyvek tape on roof and bathroom vents so cold air doesn’t sneak in like an uninvited guest.
Pair these with Reflectix for radiant barriers, and your RV’s roof becomes a cozy fortress.
No more icicle ambitions inside—you’ve got this!
Frequently Asked Questions
Can I Use Regular Household Insulation in My RV?
No, you can’t use regular household insulation in your RV—it’s too heavy, messy, and hates moisture.
Fiberglass itches, loses warmth when damp, and won’t seal gaps.
Rigid foam won’t hug curved walls, and styrofoam blocks your view.
You’ll sweat more than your pipes!
Stick to lightweight, flexible RV-specific options like spray foam or reflective barriers—they fit better, work smarter, and keep you cozy without the hassle.
How Often Should I Check for New Drafts?
You should check for new drafts every month during winter camping—you’ll catch sneaky cold spots before they ruin your cozy vibe.
Do a quick hand sweep around windows; if you feel a chill, there’s your culprit.
After any wild weather, peek at seals and insulation, especially near emergency exits.
Stay on top of it, and your heater won’t have to throw a tantrum trying to keep you warm.
Will Insulating My RV Void the Manufacturer’s Warranty?
You won’t void your warranty just by adding cozy layers like Reflectix or foam boards—phew!
Those DIY fixes are safe and reversible, which manufacturers love.
But skip the drills and permanent cuts; messing with factory seals is a no-go.
Think of it like decorating a cake—add frosting, not nails.
Stick to tape, shrink wrap, or skirting, and you’ll stay warm *and* covered.
Always double-check your manual, though—better safe than snowy!
Do I Need to Insulate the Water Heater Compartment?
Yes, you absolutely need to insulate your water heater compartment—60% of RV freeze damage happens there!
Wrap those pipes with insulation, spray foam gaps, and slap on a heating pad.
It’s like giving your RV a cozy winter jacket.
Without it, you’re just tempting Jack Frost to crash your trip.
Don’t risk frozen pipes or busted tanks.
A little effort now saves a messy, expensive meltdown later.
Stay warm, stay smart, and keep the hot water flowing!
Is It Safe to Use Space Heaters in a Winterized RV?
Nope, it’s not safe to use space heaters in a winterized RV unless you’re super careful.
You’re risking electrical overloads or fires if your rig can’t handle the wattage.
Always pick a low-wattage, UL-listed heater with safety features like tip-over and overheat protection.
Keep it away from fluff, kids, and paws.
Never, ever leave it on overnight—your socks might get toasty, but so could your curtains!
Conclusion
You’ve sealed the drafts, wrapped the pipes, and layered insulation like a cozy lasagna, and now your RV’s ready to brave winter’s icy breath. Think of it as turning your rig into a warm hug on wheels. With everything snug and tight, you’ll laugh off the cold while sipping cocoa in comfort. Winter camping’s no longer a frosty dare—it’s your favorite cozy adventure. Buckle up, it’s time to chase snowflakes in style!
References
- https://www.rvlifemag.com/winterizing-tips-check-your-sweeps-and-seals/
- https://theskirtingco.com/insulating-rv-windows/
- https://www.youtube.com/watch?v=p0VCHdT3ycI
- https://www.youtube.com/watch?v=IbINn3mlNaU
- https://www.mygrandrv.com/threads/cold-draft-from-the-slide-out.65624/
- https://www.youtube.com/watch?v=iuk3JPj9rJ8
- https://empriseglobal.com.au/how-to-insulate-rv-windows-for-winter/
- https://mobilervglass.com/rv-window-insulation-keeping-cozy-on-the-road/
- https://krakenbond.net/blogs/insulation/rv-insulation-guide
- https://www.youtube.com/watch?v=zloOcE0Kgt8