How to Clean and Calibrate Your RV Tank Sensors

To keep your RV tank sensors working properly, start by flushing your tanks completely. Soak them overnight with a safe cleaner like Valterra or dish soap to loosen built-up grime, making the cleaning process more effective.
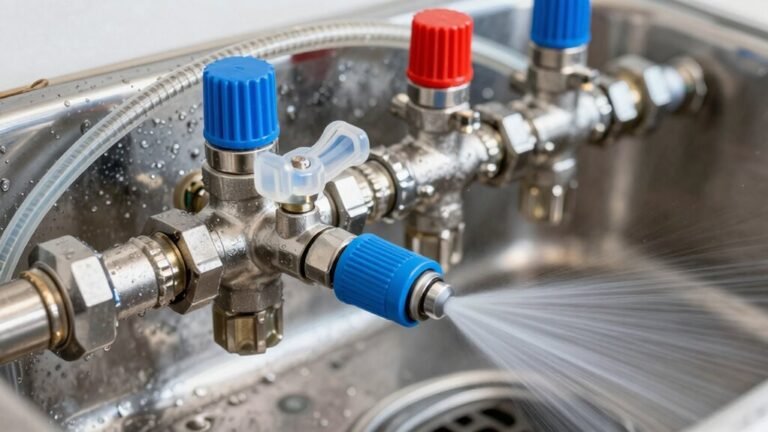
Next, use a tank wand to thoroughly blast the sensors and tank walls, rinsing until the water runs clear. This deep cleaning helps restore accurate readings from your RV tank sensors.
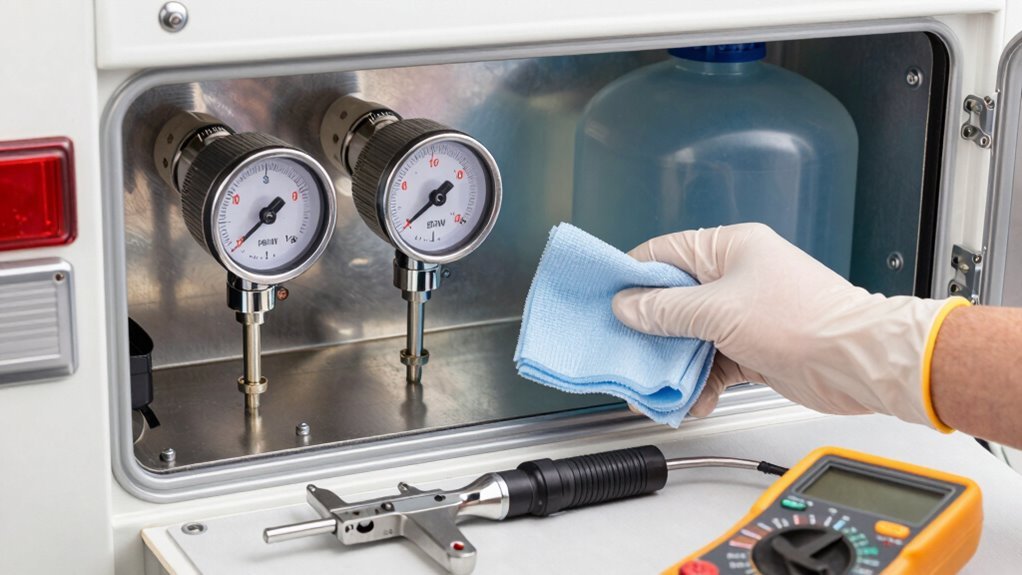
Once the tanks are clean and completely dry, test the sensors with a multimeter to check their function. Then recalibrate by refilling the tank and holding the flush button for 10 minutes to reset the system.
For ongoing care, use ice cubes and regular flushes to prevent gunk buildup. There’s also a clever hack involving your gray tank that can make sensor maintenance even easier.
Understanding How RV Tank Sensors Work
Ever wonder how your RV knows when the holding tank’s about to hit max capacity?
Well, it’s not magic—it’s sensors!
Inside, stainless steel probes send a tiny electrical signal when waste touches them, completing a circuit and lighting up your panel.
Think of it like dipping a finger in water, but with way more consequences if you ignore it.
Some sensors sit outside the tank, using resistance to detect levels without touching the yucky stuff—smart, right?
Others, like SeeLevel strips, stick on like high-tech bandages, reading levels as accurately as a paranoid parent checking a diaper.
Ultrasonic types ping the tank like bats in a cave, while capacitive models sense changes without even cracking the surface.
Each kind keeps you informed, so you’re never caught off guard—literally.
Pretty cool how your RV stays this smart, huh?
Who knew tanks could talk?
Debris buildup can cause sensor inaccuracies over time, especially with probe-style sensors that rely on direct contact.
Signs Your Sensors Need Cleaning or Calibration
Your RV’s tank sensors may be smart, but they aren’t immune to gunk and grime.
If your tank levels haven’t changed in days—even after heavy use—or suddenly jump to full right after dumping, it’s time to suspect your sensors.
You’re not imagining things if the monitor says “full” when you *just* emptied an empty tank, or shows empty when you know better.
Inconsistent readings, unresponsive displays during fill-ups or flushes, or levels that don’t match your usage are all red flags.
Visibly corroded wires, loose connections, or probes stuck against the tank wall? Yeah, those’ll mess things up too.
Black tank sensors often get caked with solids, while gray tanks battle grease build-up.
Over time, crud piles on, accuracy slips, and even your trusty KIB system might start fibbing.
Don’t panic—cleaning or calibration can bring them back to life.
Sensor accuracy varies with contamination, temperature, and aging, which means even well-maintained systems may drift over time due to calibration drift.
Tools and Supplies You’ll Need
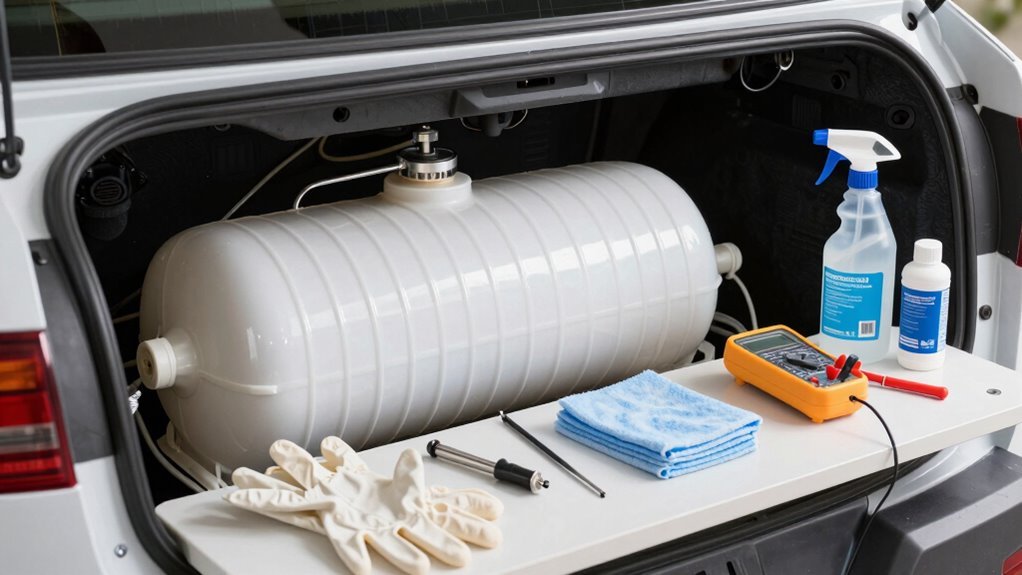
Grab your toolbox and get ready—cleaning and calibrating your RV tank sensors doesn’t require a PhD, just the right gear and a little elbow grease.
You’ll want Valterra Sensor Power or liquified cleaner to melt gunk, but skip the bleach if you’re using formaldehyde—seriously, no toxic fumes, please!
Toss in drop-in tablets or dishwasher detergent (but not with enzymes!).
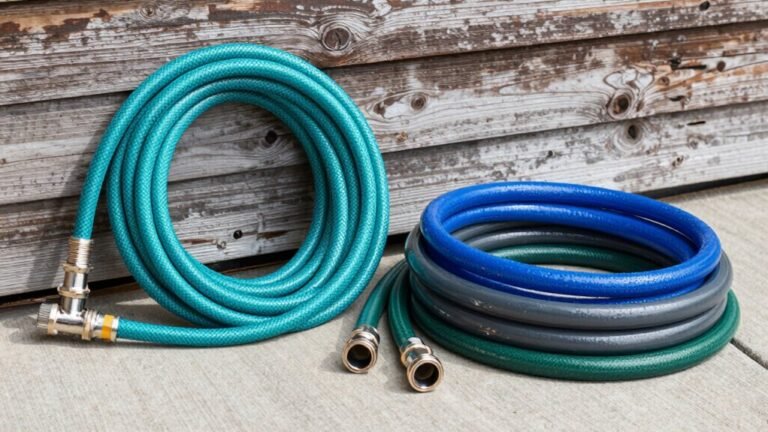
Grab a tank wand or black tank flush kit—just hook up your garden hose and let ‘er rip.
Don’t forget the sewer hose—nobody likes a messy surprise.
Peek inside with a WiFi endoscope; it’s like a tiny submarine for your tanks!
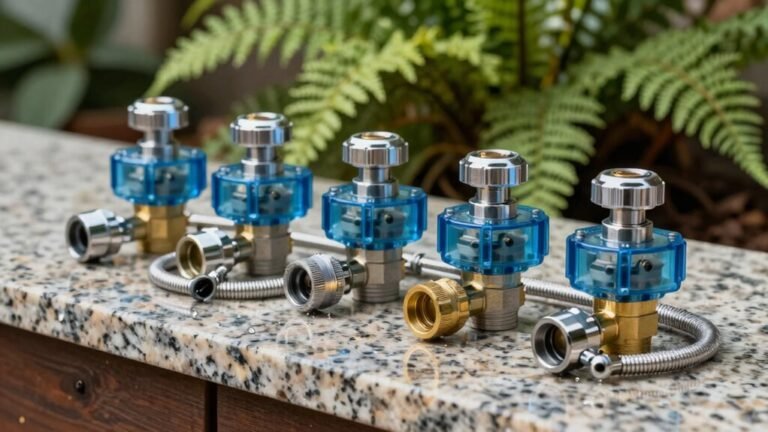
For repairs, keep a K101 harness, MP5 sensors, and some tie wraps handy.
Use a drill90 Plus for clean holes and a white marker for spot-on drilling.
Templates, SeeLevel sensors, or BMPRO SmartSense help nail calibration.
Pro Tank Check? Yes, please—wireless and worry-free!
Regular maintenance helps prevent sensor issues caused by buildup on sensors.
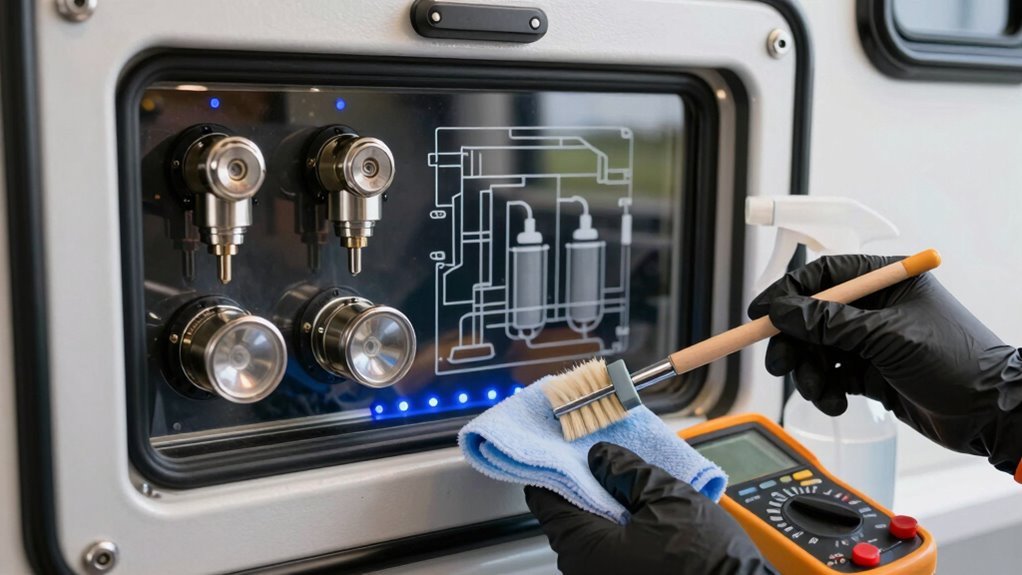
Step-by-Step Guide to Cleaning Tank Sensors
Roll up your sleeves—it’s time to tackle those grimy RV tank sensors and get them reading right again!
Start by dumping your tanks completely, then pick a cleaner—drop-in tablets, dishwasher detergent, or baking soda and vinegar all work great.
Fill the tank halfway with water (hot if possible), add your chosen cleaner, and let it soak—overnight for tough gunk, a few hours for light buildup.
After soaking, grab a tank cleaning wand, hook it up, and blast away loosened crud, aiming right at the sensor probes.
Flush with fresh water until it runs clear—repeat if needed.
Pro tip: adding baking soda afterward keeps things smelling fresh.
With a little elbow grease and the right method, your sensors will be crumb-free and accurate in no time.
Who knew cleaning could feel this satisfying?
How to Manually Test Sensor Functionality
Let’s explore into the nitty-gritty of making sure your RV’s tank sensors are on the level—literally and figuratively!
First, empty and dry your tank completely—yes, even that last stubborn drop counts.
Grab a multimeter and test if the sensors complete the circuit when they should; if they read “full” when bone dry, it’s a wiring or probe problem, not a grime issue.
Pour boiled water down the side—you’ll feel a cool spot where the liquid level is.
Or go full science mode with a FLIR camera for a thermal view.
For water tanks, add water in 5-gallon doses and note when sensors light up.
Level your RV, repeat the test, and laugh when your sensor says “half” but you’re actually at 60%.
Weight checks work too—just tote that tank and compare.
You’ve got this!
Recalibrating Sensors After Cleaning
Getting your RV tank sensors back in tip-top shape after a good cleaning is like giving them a fresh start—and honestly, they’ll thank you for it.
After a 72-hour chemical soak, dump the tank completely so you’re starting from zero.
Refill the black tank slowly through the toilet, making sure water covers every sensor probe.
Hold that flush down for 10 minutes or more to hit the one-third, two-thirds, and full levels—yes, your leg might cramp, but your sensors will notice!
Give them 24 to 72 hours to reestablish electrical contact; patience is key.
If readings still seem off, repeat the soak and refill.
For digital monitors like TSRW-120 or COMKIB, follow on-screen prompts to set empty and fill points using exact gallons.
And don’t forget—proper grounding keeps the magic flowing.
Accurate sensors mean no more guessing games at the dump station!
Preventing Buildup With Regular Maintenance
Ever wonder why some RVers never stress about gunk-covered sensors?
It’s because they stay on top of prevention like pro organizers.
You can too—just flush your black tank every time you empty it.
Use a wand or built-in system, and follow black with grey to push solids out.
Toss in ice cubes before travel for a fun, clunky scrub.
Empty at two-thirds full to dodge the dreaded poo pyramid.
And don’t just dump and dash—fill the tank completely when adding bacteria or enzyme treatments (Commando packets every 3 months rock!).
Full coverage means cleaner sensors.
Shake it up by driving a bit to mix things well.
Combine smart habits with the 50/50 trick—half products, half routine—and you’re golden.
Stay consistent, and your sensors will thank you with true, drama-free readings trip after trip.
Troubleshooting Persistent Sensor Issues
You’ve been flushing, treating, and shaking like a pro, and most of the time your sensors behave—until they don’t.
When cleanings fail and readings stay whack, it’s time to dig deeper.
Don’t panic—here’s how to nail those sneaky sensor gremlins:
- Dry test it: Empty and dry the tank completely. If it still says “full,” your sensor or wiring’s likely toast.
- Pulse-rinse like a pro: Rinse 30–60 seconds, pause, repeat. If the reading clears, it was gunk—not a dead probe.
- Check the gang connection: Touch the Common wire to each level wire at the panel. Lights should turn on—if not, it’s wiring or display trouble.
- Inspect vents and grounds: A clogged roof vent or grimy ground wire can mess with readings more than you’d think.
Stay calm, troubleshoot smart, and keep your tanks talking straight!
Frequently Asked Questions
Can I Use Vinegar to Clean RV Tank Sensors?
Yeah, you can use vinegar to clean your RV tank sensors—it’s cheap, safe, and works pretty well on light scale.
Mix it with Dawn for grease, or baking soda for gunk and stink.
Slosh it around by driving; that motion really helps!
Just don’t expect miracles on tough buildup without a few rounds.
And hey, your sensors might still act quirky—kind of like teens after a road trip—but vinegar’s a solid first step!
How Often Should I Check My Tank Sensor Readings?
You should check your tank sensor readings after every dump—that’s non-negotiable if you want to dodge nasty surprises.
Do a quick test daily when you’re new to RV life, and weekly on regular trips.
Give them a glance monthly, even when things seem fine.
Think of it like checking your phone battery; ignoring it never ends well.
Stay on top of it, and you’ll avoid “oops, I’m full” moments at the worst times!
Are Aftermarket RV Tank Sensors More Reliable Than Original Ones?
Back in the digital horse-and-buggy days, factory RV sensors were kind of a joke—yours probably still are.
But aftermarket ones? You’re getting real upgrades: think smart tech, not smoke signals.
They’re way more reliable, with better accuracy and zero fuss.
Plus, no more guessing if your black tank’s full or you’re just seeing ghosts.
You’ll love the peace of mind—and, okay, maybe the nerdy satisfaction too.
Will Temperature Changes Affect My Sensor Accuracy?
Yeah, temperature changes totally mess with your sensor accuracy—warmth makes liquids expand, so your tank seems fuller than it is, while cold shrinks them.
Propane cools as it runs, tricking sensors into showing less.
Hot weather? Sensors slow down or act wonky.
Even humidity and sunbaking your rig add to the chaos.
It’s like your tank’s playing hide-and-seek with the truth—annoying, but totally normal!
Can I Replace Just One Sensor Instead of the Whole Set?
Sure, you can swap just one sensor if it’s soggy or faulty—no need to replace the whole squad!
Since sensors sit at separate spots, you’re free to fix one without fussing over others.
Check wiring first, though—sometimes it’s a loose link, not the sensor.
Aftermarket models make it even easier.
Think of it like a carburetor tune-up: targeted, tidy, and totally doable with a dash of DIY daring.
Conclusion
Cleaning and calibrating your RV tank sensors keeps your system running smoother than a greased slide-out at a gearhead convention. You’ve got the power to dodge soggy surprises and costly fixes—just stay on top of maintenance. Think of sensors like loyal campfire buddies: ignore them, and they’ll ghost you when you need them most. Keep ‘em clean, test often, and enjoy every adventure with confidence!
References
- https://www.ecocampor.com/how-rv-holding-tank-sensors-work/
- https://www.thervgeeks.com/rv-holding-tank-sensors/
- https://uniquecampingmarine.com/blogs/news/rv-holding-tank-sensors-how-they-work-and-how-to-clean-them
- https://www.youtube.com/watch?v=qUk4-6BgSIY
- https://www.youtube.com/watch?v=bmimEdijvBk
- https://kleentankofthetennesseevalley.com/how-do-my-rvs-tank-sensors-work/
- https://forum.allaboutcircuits.com/threads/how-do-you-suppose-these-freshwater-tank-sensors-work-they-are-for-an-rv-camper.189606/
- https://www.rvupgradestore.com/blog-fix-rv-tank-monitoring-issues-with-these-sensor-upgra-s/1383.htm
- https://blog.campingworld.com/learn-to-rv/how-to-clean-rv-holding-tank-sensors/
- https://www.youtube.com/watch?v=t3xHlwnTfF0