How to Winterize Your RV Plumbing System

To winterize your RV plumbing system, start by gathering your pink RV antifreeze and necessary tools. Drain all water tanks completely—every last drop counts to prevent freezing and damage.
Next, bypass the water heater so the antifreeze doesn’t enter the tank. Use compressed air to blow out the plumbing lines, ensuring hidden moisture is removed.
Pump RV antifreeze through the intake and run each faucet until pink fluid flows consistently. Don’t forget to flush the toilet and treat the outdoor shower to fully protect your RV plumbing system.
Finally, apply antifreeze to low-point drains and any exposed plumbing components. This shields against deep freeze surprises and gives your RV a cozy, protective layer for winter.
Gather Your Winterizing Supplies
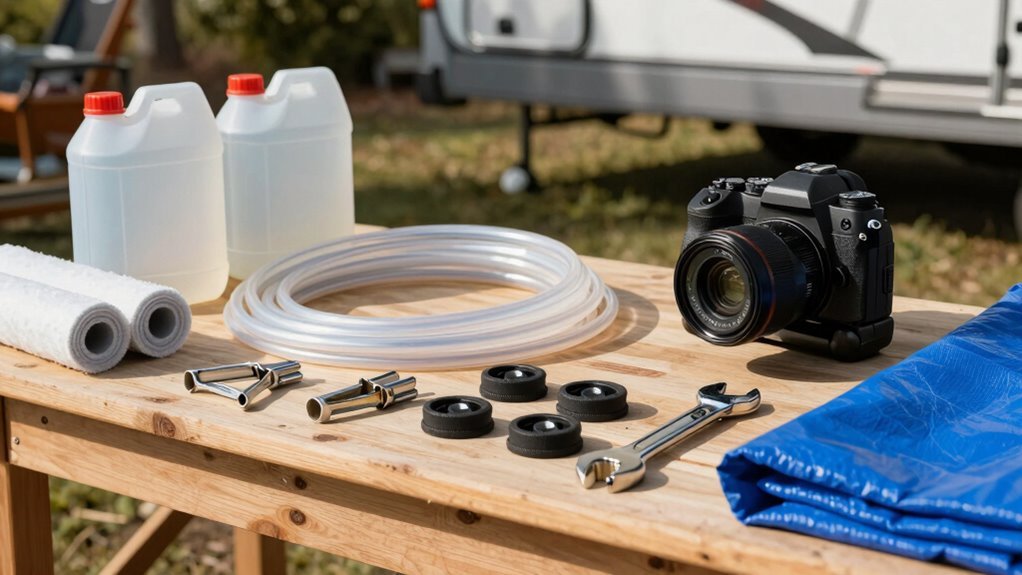
Grab your toolbox and let’s get ready to tackle the winterizing process head-on—starting with gathering the right supplies.
You’ll need non-toxic, pink RV antifreeze—never the green or orange automotive kind, unless you enjoy scary warning labels and regret.
Most rigs need 2–3 gallons, but bigger units may gulp down more like a thirsty road warrior.
Grab a water pump converter kit and siphon hose so you can feed antifreeze into the system like a pro.
Don’t forget a funnel—because pink stains are *not* in style.
A socket wrench, screwdriver, and needle-nose pliers will handle stubborn drain plugs and tight spots.
Oh, and toss in a flashlight—because somehow, everything dark and mysterious hides under the sink.
It’s critical to use only non-toxic RV antifreeze to avoid contaminating your freshwater system with harmful chemicals.
With the right gear in hand, you’re not just prepared—you’re practically a winterization wizard ready to go.
Drain All Water Tanks Completely
Time to kick the winter blues out of your RV’s pipes—start by draining every drop of water from your tanks, because frozen water means busted lines and a springtime disaster waiting to happen.
First, find your freshwater tank’s drain valve at the bottom and swing it open—let gravity do the heavy lifting.
Tilt your RV slightly if needed; every last drop counts!
Peek through the fill port or check the gauge to make sure it’s truly empty, then seal that valve tight.
Next, turn off the water heater (both gas and electric—safety first!), pop the drain plug at the base, and crack open the pressure relief valve to keep things flowing smoothly.
For low-point drains, remove the caps and let it all pour out—shake the lines gently if water’s playing hide-and-seek.
Once everything’s bone dry, close up shop.
You’re one step closer to freeze-free peace of mind!
Be sure to drain the water lines completely to prevent any residual water from freezing and causing damage.
Bypass the Water Heater
Wondering how to keep your RV’s water heater from sipping antifreeze like it’s a bitter smoothie? Bypass it! Your RV’s bypass valves let you redirect water—and antifreeze—around the heater tank so none gets trapped inside.
If you’ve got a two-valve system, turn both valves so they line up with the curved crossover hose; this sends cold water straight to your hot lines.
Three-valve setups? Close the tank valve and open the two bypass ones.
Either way, you’re saving antifreeze, avoiding damage, and keeping your heater safe. Plus, no empty-tank meltdowns when you accidentally fire up the electric element later.
Find your valves behind a nearby access panel—often near the stove or furnace—and check your manual or control panel for the right setup.
Flip them back in spring, and voilà—hot showers return!
It’s a small step that keeps your water heater happy all winter long.
Blow Out Plumbing Lines With Compressed Air
Clearing your RV’s plumbing lines with compressed air keeps winter from turning your pipes into a game of freeze-and-fracture.
You’ve drained the tanks, bypassed the water heater—now it’s time to blast out any sneaky water hiding in the lines.
Grab your air compressor, attach the blow-out plug to the city water inlet, and set the regulator to 30–50 psi—never go above 150!
Work faucet by faucet, starting nearest the plug.
Use short 15-second bursts, letting your buddy yell “ok” when it’s clear.
Don’t forget the outside shower, toilet, and washer lines—they love to trap water.
- Use 30–40 psi to safely clear lines without damage.
- Open one faucet at a time, hot or cold, and work systemically.
- Back-blow the water pump line using a winterizing hose for full coverage.
Boom—dry pipes, happy RV! Always drain the hot water tank first before using compressed air to prevent damage and ensure complete water removal.
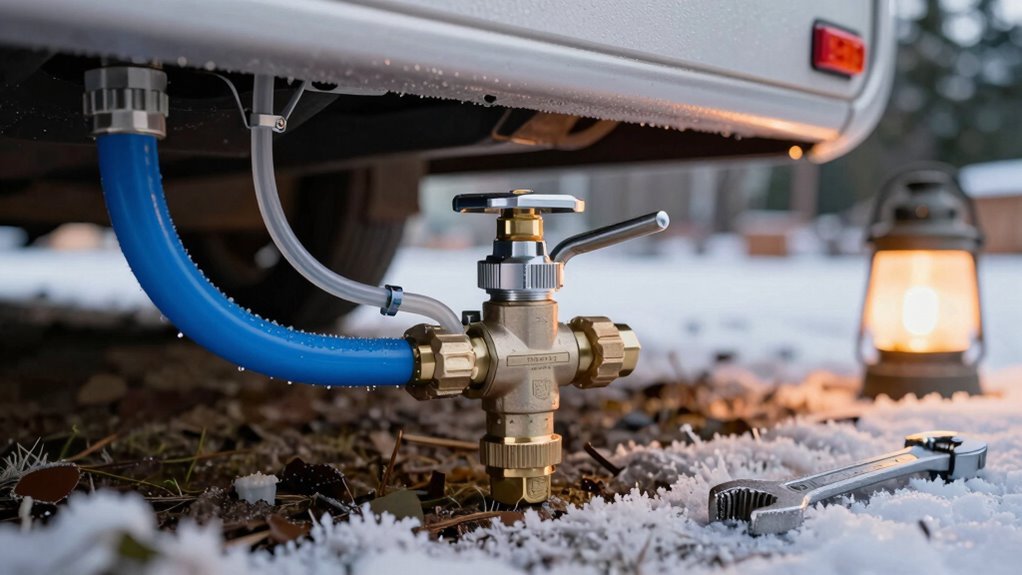
Add Antifreeze Through the Low-Point Valves
Now that you’ve blown out the last drops of water with compressed air and your pipes are as dry as a desert sneeze, it’s time to throw your RV’s plumbing a winter coat—in liquid form.
Head under the rig and find those low-point valves, usually near the belly frame—they’re marked or color-coded, but check your manual if you’re playing hide-and-seek.
Make sure the caps are back in tight after draining, so antifreeze doesn’t blast out like a confetti cannon.
Hook up your pump bypass kit to a jug of pink RV juice, then power on the water pump.
Start with the farthest faucet and open each one—cold first, then hot—until you see that cheerful pink stream.
Don’t skip the outdoor shower or odd drains; they count too.
It’s like giving your plumbing a cozy cocktail—one sip at a time!
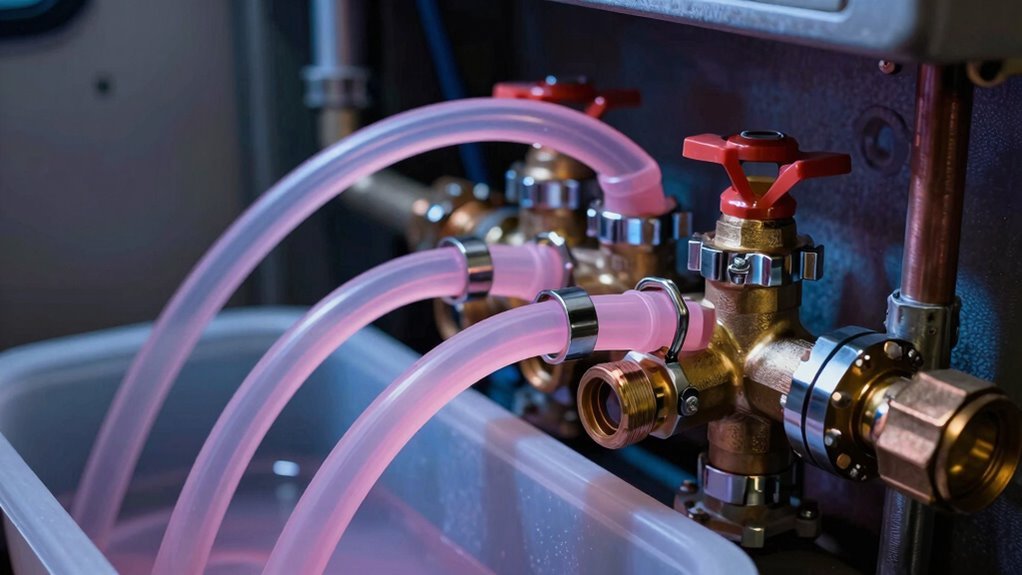
Pump Antifreeze Through the System
How does your RV stay cozy when the thermometer throws a tantrum?
You’ve prepped the low-point valves, and now it’s time to pump in that pink superhero—RV antifreeze—to save your plumbing from Jack Frost’s icy grip.
Make sure your water heater bypass is set right, so antifreeze skips the tank and does its job where it’s needed most.
Then, fire up the water pump and let it suck the antifreeze straight from the jug like a giant drinking straw.
- Use only non-toxic, pink RV antifreeze—never automotive stuff!
- Hook up your pump with a backflow-preventing adapter for a clean, safe feed.
- Run the pump until you see that cheerful pink stream—it means protection is flowing!
Keep an eye out—you’re not done till that rosy hue dances from every faucet. Winter won’t stand a chance!
Flush Antifreeze Through All Fixtures
Grab your jug of pink potion and get ready to send winter packing—because it’s time to flush that antifreeze through every nook and cranny of your RV’s plumbing! Start at the faucet farthest from the water heater, opening the cold side until that rosy stream shows up—then switch to hot.
Hit *all* the taps, inside and out, including the kitchen and outdoor shower.
Don’t skip the washer hookup—run cold and hot just long enough to see pink, no full cycle needed.
Flush the toilet until pink flows in, then pour in about a quart to coat the tank and seals—keep a little in the bowl for moisture magic.
Pour a quart into every drain and P-trap, too.
This keeps seals happy and critters out.
Cap it all off by shutting valves, wiping spills, and smiling—you just beat the freeze!
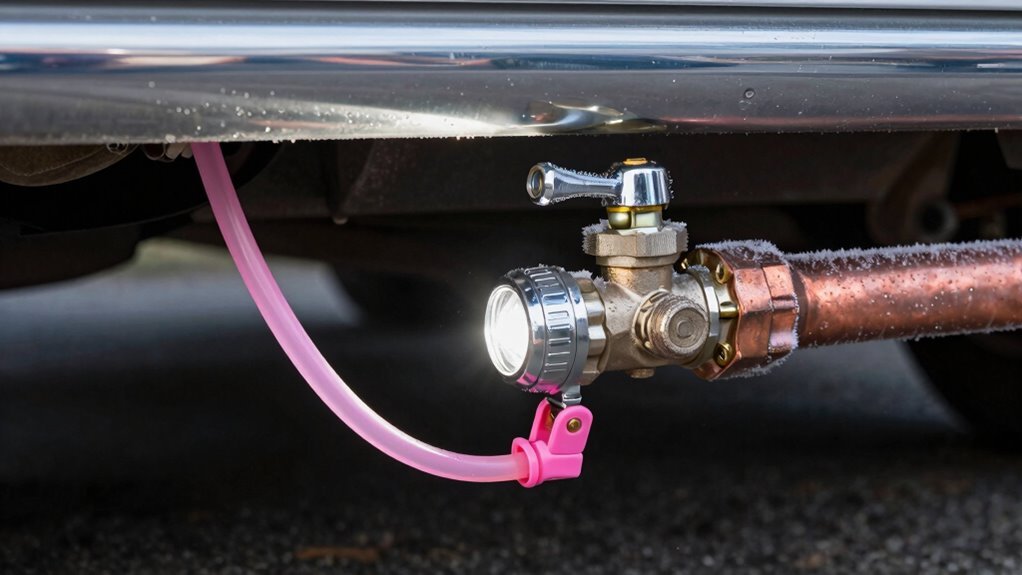
Protect Outdoor and Low-Point Plumbing Components
You’ve sent that pink magic coursing through every faucet and fixture, and your toilet’s blushing like it’s heard a juicy secret—congrats, the fun part’s done!
Now, let’s protect those outdoor and low-point plumbing parts before Old Man Winter crashes your RV’s party.
Water loves to hide in low spots and outside showers, so you’ve gotta be sneaky and thorough.
Use compressed air (keep it under 30 PSI—no superhero strength needed) to blast out every last drop.
Don’t forget the city water hookup; it’s your winterization HQ.
Seal things up tight to keep critters out, and make sure everything’s dry and cozy for the cold months.
- Remove low-point drain caps and open all faucets to drain fully
- Blow out outdoor lines with low-pressure air, including the shower and city water inlet
- Reinstall plugs and seal connections to protect against pests and moisture
Frequently Asked Questions
Can I Use Regular Automotive Antifreeze for My RV Plumbing?
Nope, don’t even think about using regular automotive antifreeze in your RV plumbing—it’s a big no-no.
That stuff’s toxic and can seriously harm you or your pets if it sneaks into your water.
Stick with RV-specific antifreeze; it’s safe, pink, and made for your system.
Pour it right into the lines, not the tank, and you’ll keep everything frost-free and fun-ready.
Think of it as a cozy drink… for your pipes, not you!
How Often Should I Check RV Plumbing During Winter Storage?
You should check your RV plumbing every month during winter storage—yes, even when it’s hibernating!
Skipping it? Risky move, buddy. Freezing temps can surprise you, and undetected leaks love to throw housewarming parties in your absence.
Pop the access panels, inspect for dampness, and verify nothing’s dripping. A quick peek keeps disaster at bay. Think of it as flossing: annoying, but your future self will thank you when everything flows—literally—like a dream come spring.
Is It Safe to Leave the Freshwater Tank Empty All Winter?
Yeah, it’s totally safe to leave your freshwater tank empty all winter—actually, it’s a smart move!
You’re dodging ice damage, leaks, and funky gunk buildup.
Just drain it fully, leave the valve open, and call it a win.
No water means no freezing, no cracking, and no surprise slush parties come spring.
Your tank’ll thank you, and you’ll skip the messy melt drama later.
Easy peasy, right?
Winter wins taste sweet.
Do I Need to Winterize if I’M Storing My RV Indoors?
You *do* need to winterize if your indoor spot isn’t heated—sorry, no shortcuts!
Unheated buildings, even indoors, can dip below freezing, and your pipes don’t throw pity parties when they burst.
Think of it like leaving ice cream in a cold garage—meltdown guaranteed.
Warm storage? Skip it.
Cold and cozy? Nope, still risky.
When in doubt, winterize.
Better safe than soggy!
Can I Use Compressed Air if I Have a Tankless Water Heater?
Yeah, you can use compressed air with a tankless water heater—no worries there!
Just keep the pressure around 30 PSI and open all the faucets so things don’t get too pressurized.
It works better in tankless systems since they’ve got fewer twists and turns.
But hey, don’t put all your eggs in one basket—air alone might miss some spots.
For full peace of mind, follow up with RV antifreeze.
Trust me, your pipes will thank you in the spring!
Conclusion
You’ve done it—your RV’s plumbing is ready for winter! Did you know over 60% of winter RV repairs come from frozen pipes? Yikes! But not yours, because you rocked these steps. With tanks drained, lines blown, and antifreeze flowing, your system’s snug as a bug. Now kick back, sip cocoa, and let Old Man Winter bring the chill. You’ve earned it, superstar!
References
- https://www.learntorv.com/your-complete-rv-winterization-checklist-don-t-wait-until-it-s-too-late
- https://blog.campingworld.com/learn-to-rv/how-to-winterize-your-rv/
- https://www.powerblanket.com/wp-content/uploads/2018/02/winterizing-RV-checklist-Printable.pdf
- https://store.camperfaqs.com/products/rv-winterizing-checklist
- https://www.youtube.com/watch?v=Jo04gg_TFvQ
- https://capitalrvboat.com/checklist-for-winterizing-your-rv-before-storage
- https://www.storespace.com/storage-types/vehicle-storage/rv-storage/how-to-winterize-your-camper-checklist-pdf
- https://kunesrv.com/blog/spring-awakening-your-ultimate-rv-de-winterization-checklist
- https://www.etsy.com/listing/792605482/rv-winterizing-checklists
- https://www.keystonerv.com/owners/how-to-winterize-your-rv-with-antifreeze