Setting Up Your RV Awning Safely (Wind Tips)
Check the weather before you roll out your RV awning—wind sneaks up fast, even without rain. Setting up your RV awning safely means being aware of conditions that could cause damage.
Pick a sheltered spot, away from trees and hilltops, and park level to ensure stability. Know your awning’s limits; most aren’t built for gusts over 25 mph.
Use tie-downs with springs to absorb movement, and angle the awning slightly to reduce wind pressure. Never fully extend it in breezy spots—leave some slack for flexibility.
If it starts to shake, don’t wait—retract immediately to avoid damage. And hey, if you’ve seen wind trouble before, you’ll love what’s coming next.
Check the Weather Before Deploying Your Awning
Before you hit that awning button and let the good times roll, take a quick peek at the sky—because Mother Nature doesn’t always play nice with your outdoor living space.
You might think light wind’s no big deal, but most awnings are only tested for 20-25 mph, and gusts over 30-40 mph can turn your shaded hangout into a disaster zone.
Apps don’t always catch sudden gusts, so keep your eyes open.
Even if it’s not raining yet, storms on the radar mean stow the awning—water pooling or wind damage isn’t covered by warranty, yikes!
Retract it if you’re leaving the site or nighttime storms loom.
Sure, your awning can handle a drizzle with its dump feature, but don’t push it.
Checking the weather isn’t just smart—it’s your awning’s best friend.
Stay safe, stay dry, and save yourself a costly surprise. Awnings with power operation often include wind sensors that automatically retract the unit when dangerous gusts hit.
Choose a Sheltered Location for Setup
When you’re picking the perfect spot to set up your RV awning, think like a sunbathing squirrel—smart, strategic, and always after the best shade.
Park on flat, level ground so your awning unfolds smoothly without stressing the frame or binding the fabric.
Avoid branches—they’re nature’s javelins when the wind picks up—and keep clear of power lines, because no one wants a shocking surprise.
Make sure doors, windows, and lights won’t get bumped when you roll it out.
Position it where the sun moves across the sky so you stay cool all day, not roasted by noon.
Tuck in near natural windbreaks like bushes or terrain dips—they’re your awning’s best friends.
Skip the hilltops; you’re camping, not auditioning for a kite festival.
A little scouting means big comfort, solid safety, and zero facepalms later.
Smart setup now means more relaxing later—with way better shade.
Retractable awnings offer greater protection in windy conditions by allowing you to retract when not in use.
Understand Your Awning’s Wind Limits
You’ve picked the perfect spot, tucked behind a bush like a ninja napping in the shade—great job dodging branches and power lines like a pro.
Now, let’s talk wind limits, because even the toughest awning isn’t a storm warrior.
Most are tested for 20–25 mph winds—think Beaufort 5, where small trees sway and dust flies.
That’s your cue to play it safe.
Sustained winds beyond that? Risky.
And gusts over 30–40 mph? Super sneaky—they hit fast and can turn your cozy shade into a sail for the next county.
Even high-end models like Sunsetter, tested up to 75 mph, aren’t meant for those wild rides.
If your awning’s shaking like it’s dancing in a wind storm, retract it fast!
Vibrations, airborne debris, or just feeling uneasy? All red flags.
Remember, those ratings are from short lab tests, not all-night gust fests.
Play smart—when in doubt, roll it in and chill.
For added safety, consider installing a wind sensor to monitor real-time conditions and prevent damage before it happens.
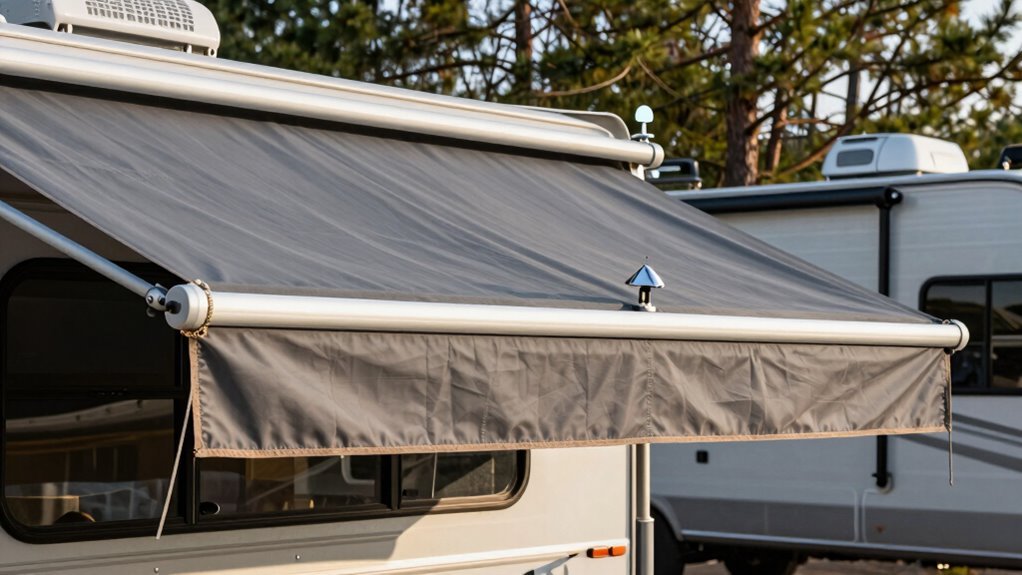
Position the Awning to Minimize Wind Lift
Ever wonder how your RV awning can stay put when the wind starts doing the cha-cha?
Here’s the trick: position it to minimize lift.
Set one end slightly lower—especially on the side the wind usually hits.
That small pitch isn’t just for rain runoff; it helps wind glide over smoothly instead of sneaking under and flipping your awning like a pancake.
Think of it like angling a shovel to cut through snow—you’re working *with* nature, not against it.
This simple tilt reduces strain on the arms and keeps fabric taut.
No more flapping like a flag at a wild football game!
Adjusting the pitch takes seconds but saves headaches later.
It’s a tiny tweak with huge payoffs, especially when gusts kick up unexpectedly.
So next time you roll out that shade, remember: a smart angle means quieter nights, less stress, and more chill under your cozy awning canopy.
Wind? You’ve got this.
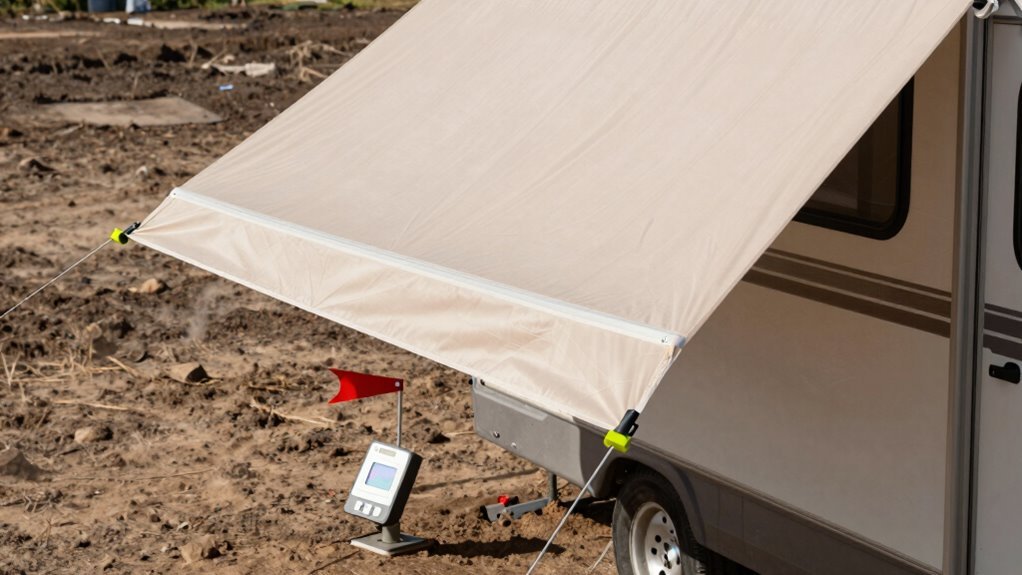
Use Wind Sensors if Your Awning Has Them
Though your awning’s tough, it’s no match for surprise gusts—luckily, if you’ve got wind sensors, you’ve got a smart little guardian on duty.
Just press the WIND button three times or use the OneControl app to turn them on—some come off the lot already snoozing in “off” mode.
LED lights show your sensitivity level, and a quick flash confirms it’s active.
These clever sensors measure wind up to 25 mph and even detect bar bounce from gusts, triggering automatic retraction when things get breezy.
You can adjust how touchy they are, but remember—it’s them, not heroes.
They might nap through a sudden storm or overreact to a raccoon sneeze, retracting at 3 a.m. for no good reason.
Still, with the right setup, they’re like a seatbelt for your awning: not foolproof, but definitely worth using.
Sweet dreams, camper!
Secure With Strong and Adjustable Tie-Downs
Keeping your RV awning stable in the wind starts with a solid anchor—think of it like giving your awning a good pair of hiking boots and a sturdy trekking pole. Use heavy-duty, 13-foot nylon straps that fit most awnings, from Carefree to Fiamma, and attach them with metal hook pegs for a secure connection.
Drive corkscrew anchors into the ground, then hook in shock-absorbing springs—these little bouncers let your awning sway without snapping under pressure. Cam buckles let you fine-tune tension so everything stays balanced and snug, while hi-vis straps make it easy to check tightness at a glance.
With at least two springs and anchors, force spreads evenly, so no one spot bears the brunt. These weather-resistant, American-made kits laugh at rain, sun, and storage bins. They’re tough, organized, and ready when you are—because nobody likes a flapping fabric meltdown during dinner.
Secure it right, and your awning won’t bail on a breezy day.
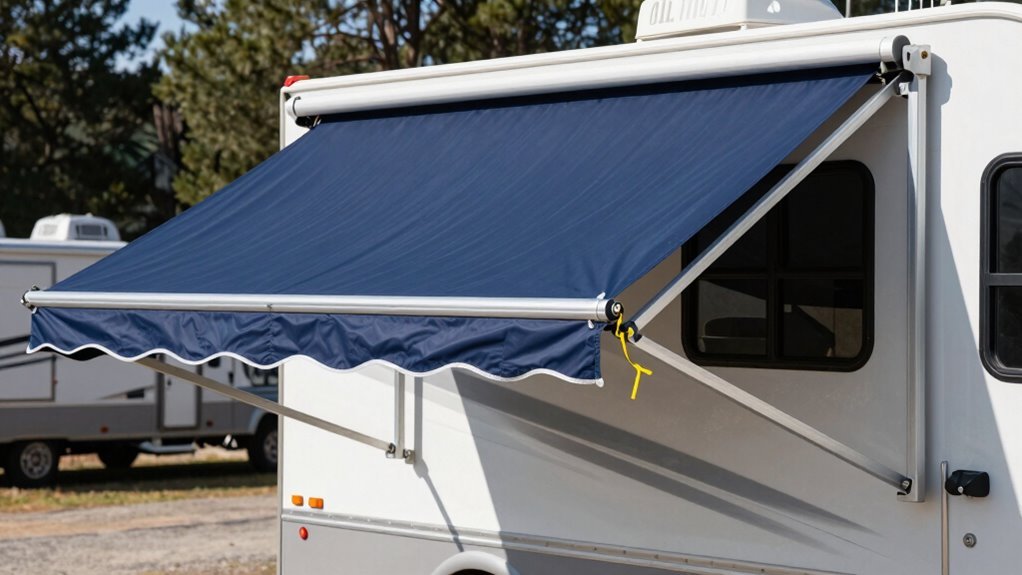
Angle the Awning to Let Wind Flow Over It

Letting the wind glide over your awning instead of slamming into it starts with a simple tilt—think of it like angling a hat against a gust so it doesn’t fly off your head. You’ve got this!
Just crank the arm farthest from the RV down a bit using the dump feature; that extra pitch helps wind whoosh right over like a skateboard ramp.
It also keeps rainwater moving, so it doesn’t pool and play dodgeball with your fabric. Even a small slope spreads wind pressure and cuts stress on the arms.
Wind hitting head-on? No thanks—your angled canvas sends it packing upward and away.
And hey, no water hugs your RV siding either, which keeps mold from crashing your camping party.
Just tweak the arms and adjust the drip rail screw in half-inch nudges if things drift.
A little angle goes a long way—literally, it saves your setup one breeze at a time.
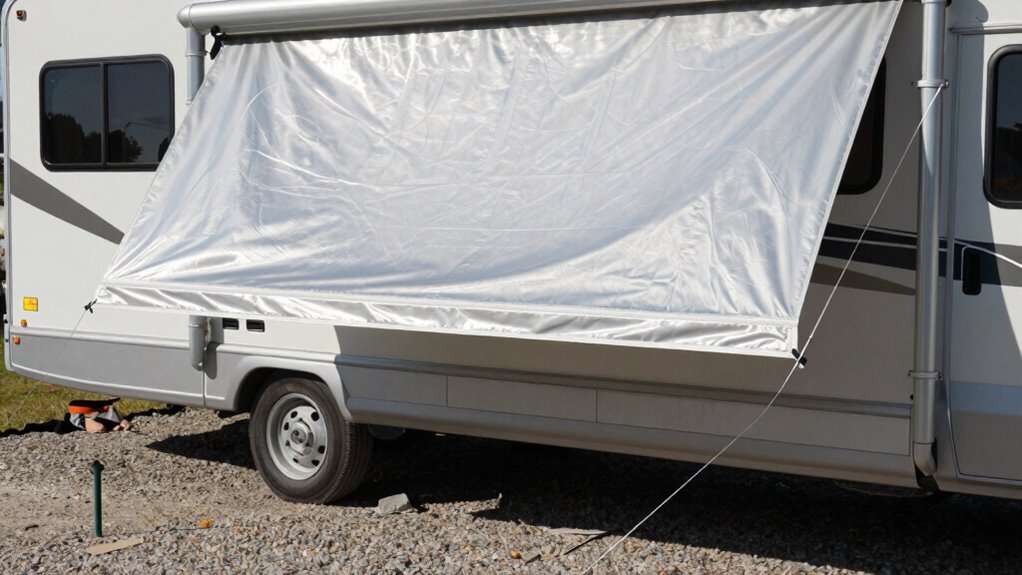
Avoid Full Extension in Gusty Conditions
When the wind starts poking at your awning like it’s trying to start a fight, you’ll be glad you didn’t roll it out all the way.
Fully extended, your awning turns into a giant sail, catching every gust and turning it into serious stress on the arms and fabric.
Even if it’s rated for 20-25 mph winds, sudden gusts can overpower it fast—especially when you’re not looking.
Instead, open it only when you’re using it, and stop midway if the breeze picks up.
Partial extension means less surface for the wind to grab, reducing strain and keeping things under control.
Think of it like cracking a window instead of throwing the door wide open during a storm.
And if it’s too windy for a campfire, it’s definitely too windy for a full awning.
Retract it, play it safe, and save yourself a costly repair.
Smart moves keep your setup flying—only when you want it to.
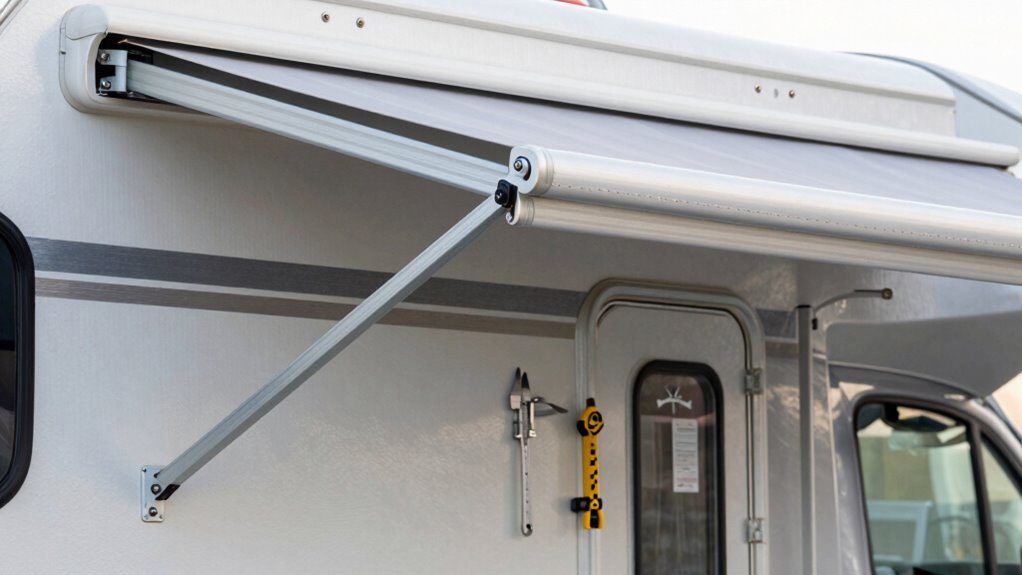
Inspect Hardware for Wear Before Each Use
A quick hardware check before each use can save you a world of trouble—and maybe even a surprise face full of flapping fabric.
Start by scanning the arms and brackets for rust, loose bolts, or cracks where the awning mounts to your RV.
Wiggle things a bit—nothing should move that’s not supposed to!
Extend and retract the arms manually to catch any stiffness or grinding.
Peek at the fabric too: check for fraying edges, uneven tension, or tears that could turn into full-blown flaps in a breeze.
Don’t forget the roller mechanism—stitching and seals should be snug and solid.
If something feels off, snap a photo for later—it’ll help with warranty claims or repairs.
A little attention now means fewer headaches later.
Plus, who doesn’t love a well-oiled machine? (Literally—lubricate those pivots regularly!)
Stay sharp, stay safe, and let your awning work as hard as you do.
Retract Early When Wind Starts to Build
Feel that breeze tickling your neck? Don’t wait—it’s nature’s subtle “heads-up” to act fast. Even if it seems harmless now, slight gusts often sneak in stronger winds behind them.
Your awning can start swaying at just 15 mph, and once winds hit 25 mph, damage risks spike fast—hello, ripped fabric or worse! Manufacturers agree: retract at the first sign of blustery weather.
No warranty saves you once wind’s to blame. Think of your awning like a sail—catch wind, and things get wild quick. Sensors help, but don’t trust them completely. They might react too late.
Better to roll it in early and enjoy peace of mind. Retract before leaving or hitting the hay, because surprise gusts love playing midnight pranks. Early action beats repairs any day—your future self will thank you over coffee. Stay sharp, stay safe, and keep that awning happy!
Frequently Asked Questions
Can I Leave My Awning up Overnight in Calm Weather?
You can leave your awning up overnight if the forecast stays calm and dry—just don’t ghost your RV like it’s a drama-free ex.
Keep an eye out for sneaky wind gusts, even in quiet weather, and retract it if you’re heading out, even for a snack run.
Safety first, fun second!
Smart awnings help, but nothing beats being present.
Sweet dreams with shelter? Yes, please—just stay alert and you’ll be golden.
What Should I Do if My Awning Starts Flapping?
You grab those flapping arms and retract the awning a bit—less sail, more chill.
Then, you tighten the guylines evenly, like tuning guitar strings to avoid a wind symphony.
You check for gunk or bent parts, and slap on an anti-flap kit or clamp if needed.
Toss a pool noodle in there—yep, really!—and secure everything down.
Now, that flapper’s gone quiet, and your camping groove’s back on track.
Nailed it!
Are Awning Guy Wires Necessary in Light Wind?
Yes, you absolutely need guy wires in light wind—unless you enjoy playing “Will it stay or will it fly?” Flapping might look fun, but it’s basically your awning screaming for help.
Those breezes sneak up, loosen bolts, and turn lazy afternoons into chaos.
Snap on the guy wires, angle them back, and secure them snug—no floppy fabric disasters.
Think of it as a tiny hat that refuses to stay on in the wind—because it won’t.
How Often Should I Lubricate the Awning Mechanism?
You should lubricate your awning every three to four months if you’re a regular RVer, or once a year if you hit the road occasionally.
If you hear creaks, squeaks, or stiffness, grab that lube right away—don’t wait!
After rough weather? Lube it.
Think of it like sunscreen for your awning: better safe than squeaky.
Use silicone spray, skip the gunky petroleum stuff, and work the awning in and out so it spreads nice and smooth.
Your future self will high-five you!
Can Rain Damage My Awning if Wind Isn’T a Factor?
Yes, rain can still damage your awning even if there’s no wind.
Water loves to pool up, and those puddles add weight, stressing the fabric and frame.
You don’t need a storm—just a lazy rain can sag things enough to cause tears or permanent sagging.
Keep it tight, angled for drainage, and don’t let Mother Nature turn your awning into a swimming pool!
Retract during heavy downpours to stay safe.
Conclusion
You’ve got this—setting up your RV awning safely is like teaching a squirrel to dodge raindrops: quick, smart, and with a little finesse. Check the wind, pick a cozy spot, and never stretch it fully when gusts flirt with trouble. Angle it right, inspect your gear, and reel it in before the breeze throws a tantrum. Stay sharp, stay covered, and keep your outdoor chill-time stress-free and *definitely* drama-free—unless the squirrels start dancing.
References
- https://www.youtube.com/watch?v=oD2Nzh40csE
- https://blog.campingworld.com/learn-to-rv/maintain-rv-awning/
- https://www.keystonerv.com/owners/essential-guide-to-rv-awnings-operation-and-care
- https://www.carefreeofcolorado.com/blog/caring-for-rv-awnings-protecting-your-awning-through-the-elements/
- https://gobiracks.com/installing-an-rv-awning-a-complete-guide-for-beginners/
- https://mmawning.com/rv-awning-installation/
- https://www.thevanconversion.com/post/rv-awnings-ultimate-guide
- https://alansfactoryoutlet.com/blog/rv-shelter-ideas/
- https://www.youtube.com/watch?v=zSWUE4_5X_I
- https://metalbuildingsnorthamerica.com/rv-shade-structure/