How to Use a Multimeter for RV Electrical Troubleshooting

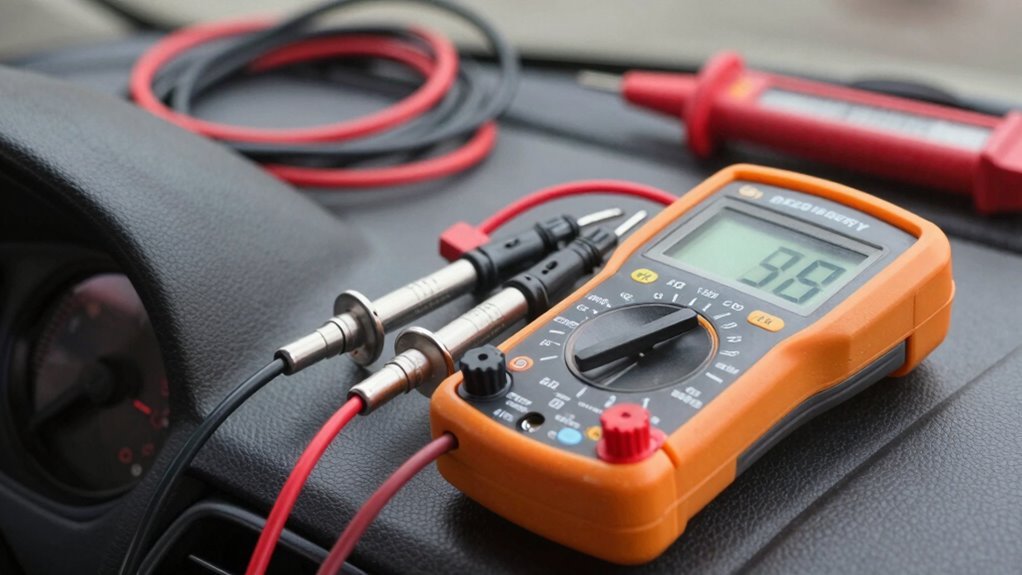
Using a multimeter for RV electrical troubleshooting is essential for maintaining your system’s reliability. Set your multimeter to DC voltage, then touch the red probe to positive and the black probe to ground—reading between 12.4V and 12.8V indicates a healthy battery.
For AC outlets, switch the multimeter to AC voltage to verify proper power levels. Always test fuses using the continuity or “beep” function to quickly identify failures.
To find hidden issues, use your multimeter for RV electrical troubleshooting by tracing voltage drops across connections and circuits. Keep your multimeter clean, inspect probes regularly, and never skip safety precautions like turning off power before testing.
Understanding Your Multimeter: Key Features and Functions
Ever wonder how you can quickly tell if that flickering RV light is due to a bad connection or just a tired bulb?
Grab your multimeter—it’s your electrical bestie!
Turn the dial to volts (V⎓ for 12V systems, ~ for 120V shore power) and check the display.
See numbers dancing? That’s your voltage talking.
Pop the black probe into COM, red into the right jack (hint: not the amperage hole—unless you’re measuring current!).
Touch the probes to the circuit, and boom—voltage reading in seconds.
Use the ohms (Ω) setting to test for bad wires or loose connections, and let the beep in continuity mode be your happy little alarm for complete circuits.
Measuring amps? Flip the red probe over and pick the right range.
With all these smarts in one gadget, you’re not just troubleshooting—you’re outsmarting electrical gremlins like a pro!
Most RV owners rely on digital multimeters for accurate and easy readings.
Safety First: Preparing to Test RV Electrical Systems
You’ve got your multimeter in hand and you’re ready to crack the case on that wonky RV outlet—awesome.
But hold up, Sherlock—safety first!
Before you touch a thing, switch off the pedestal breaker.
No exceptions.
Inspect the power pedestal for melted spots or burnt smells—yikes—and test it with a plug-in tester to confirm correct wiring.
Use an RV-rated surge protector (your appliances will thank you).
Plug it in first, peek at the lights: green means go, red means “uh-uh.”
Check your cords for frays or squished spots, and never, ever use a household extension cord—it’s basically a campfire waiting to happen.
Keep one hand free when working (no pocket-hanging!) to avoid shocking your heart.
And if something smells funny—literally—stop.
This isn’t DIY time unless you’re trained.
Play it safe, and your RV will keep rolling (and running).
Always verify voltage is within safe limits to prevent damage to your RV’s electrical system and appliances—voltage outside the 105 to 135 volts range can cause serious issues.
Setting Up the Multimeter for Voltage Measurements

Before you dive into diagnosing your RV’s electrical gremlins, make sure your multimeter’s set up right—because a confused meter gives you confusing answers, and nobody’s got time for electrical mind games.
Spin the dial to the DC voltage setting, marked with a straight line (—), for your 12V systems, or the squiggly line (~) for 120V shore power.
If your meter has a combined V symbol, it handles both—fancy, right?
Plug the black probe into COM and the red one into the V/Ω jack—colors matter here, just like socks.
Choose a 20V or 40V DC range for batteries, and always set the scale before touching anything.
Secure your probes snugly, then touch them to the right spots—red to positive, black to ground—to avoid wonky readings.
Quick tip: test your meter first by tapping the probes together.
If it reads zero, you’re golden and ready to roll.
Verifying voltage levels is essential for diagnosing power issues, and your multimeter makes this simple with accurate voltage measurements.
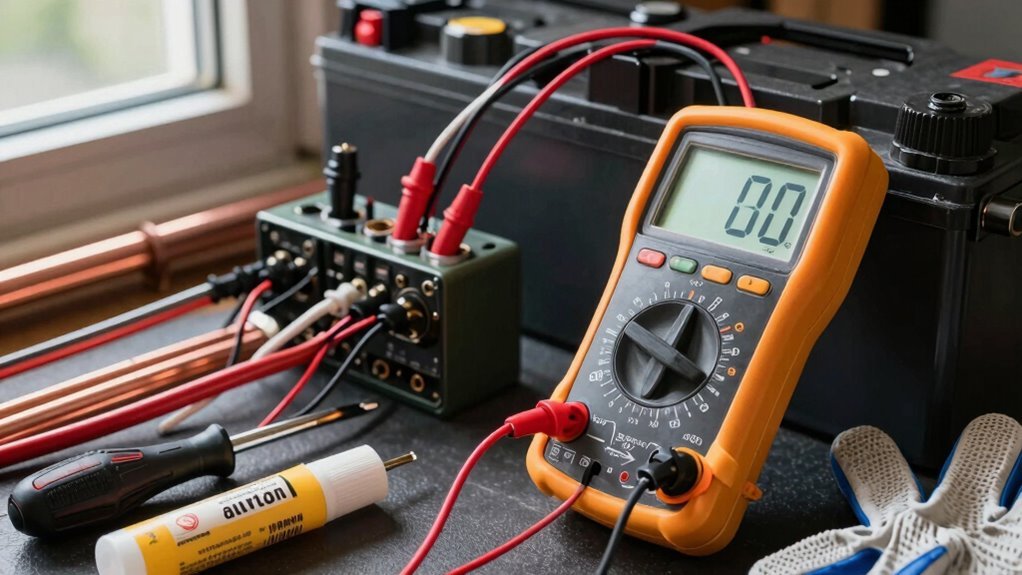
Checking the RV Battery: DC Voltage Testing Steps
Why do some RVers wince when the lights flicker, while others just grin and grab their multimeter? Because they know the power of quick, confident diagnosis. To test your RV battery’s DC voltage, start by turning off all systems, unplugging from shore power, and disconnecting the battery cables. Make sure the terminals are clean and your multimeter probes are set right—black in common, red in voltage. Switch your meter to DC voltage (look for the straight line on the dial) and set it to 20V. Touch red to positive, black to negative, and hold steady. A healthy 12V battery reads 12.4 to 12.8 volts—anything below 12.4 means it’s time to investigate. If it’s under 11.6V, yikes—that’s on life support! Stable reading? You’re golden. No voltage? That battery might be toast.
Testing 120-Volt Outlets: AC Power Verification

Digging into your RV’s 120-volt outlets? You’ve got this!
First, set your multimeter to the 200-volt AC range—don’t worry, it’s not as tricky as assembling flat-pack furniture.
Plug the black probe into the round ground hole, then slide the red probe into the left slot (that’s the hot one).
Got 115–120 volts? Nice!
That means power’s flowing like your morning coffee.
No reading? Uh-oh—could be a loose wire or the campground’s power’s on vacation.
Still glowing green? Check hot to neutral (right slot)—should still show ~120V.
If polarity’s off, don’t plug in your blender yet!
And hey, if something feels *off*, skip the detective work and call park staff.
Safety first, Snack Master!
Identifying Blown Fuses With Continuity Mode
You’ve checked the outlets and ruled out power supply hiccups, so now let’s zero in on a sneaky culprit behind many RV electrical gremlins—a blown fuse.
First, turn off the circuit power and pull the suspect fuse—don’t skip this step!
Give it a quick once-over: if you see a broken wire inside, char marks, or melted plastic, it’s toast.
But looks can be deceiving, so fire up your multimeter.
Set it to continuity mode—look for the soundwave symbol—and plug the red probe into VΩ, black into COM.
Touch the probes to each metal end of the fuse.
If you hear a cheerful beep, hooray! The fuse is good.
No sound? Your multimeter reads “OL”?
Silence is never golden here—your fuse is dead.
Time for a fresh one with the exact same amperage.
And hey, if it blows again, there’s a bigger plot twist in your wiring story.
Diagnosing Faulty Wiring and Poor Connections

Ever wonder why your RV’s lights flicker like they’re sending Morse code or your fridge suddenly throws a tantrum?
Faulty wiring and poor connections are often the sneaky culprits, but your multimeter is the perfect sidekick for sleuthing out these electrical gremlins.
Whether it’s a weak ground, corroded wire, or a sneaky voltage drop, you’ve got the tools to find it fast.
Just follow the voltage trail, check for solid continuity, and keep an eye out for readings that don’t add up—like finding 12 volts where there should be 13.
- ✅ Test battery voltage: look for 12.5–13.5V to confirm healthy wiring
- 🔍 Check ground continuity by probing between battery negative and frame
- ⚡ Spot voltage drops by comparing readings at different circuit points
- 🔌 Verify shore power cords with continuity tests—less than 1.0 ohms is ideal
Troubleshooting Common RV Appliances and Lights
Fixing flickering lights or a microwave that suddenly quit? Don’t sweat it—you’ve got this! Start by checking your 12-volt lights: set your multimeter to DC voltage and test at the fixture.
If there’s no juice, peek at the fuse box—blown fuses love to play hide-and-seek.
Match the amperage when swapping one out.
Loose or gunky battery terminals can also dim your shine, so give ’em a quick clean.
For 120-volt issues, switch your multimeter to AC mode and test outlets—if it’s not near 120 volts, check the breaker or GFCI button.
Microwaves often trip their own breaker or a nearby fuse.
Is the fridge acting up? Verify power, check propane, and test voltage at connections.
A little multimeter magic usually reveals the culprit—turns out, RV gremlins aren’t so scary after all!
Maintaining Your Multimeter for Reliable Results
Every now and then, a little TLC keeps your multimeter running like a champ—because even the smartest tool can’t help much if it’s grimy, drained, or banged up.
You rely on it to track down RV electrical gremlins, so treat it right and it’ll always have your back.
Keep those probes sparkly with isopropyl alcohol, and wipe the body with a slightly damp, lint-free cloth—just don’t go waterboarding it, okay?
Check leads daily for frays, and replace anything that looks sketchy.
Always test for a solid beep when touching probes together, and store your meter in its cozy case when not in use.
- Clean probes and housing regularly with safe, dry methods
- Inspect leads for cracks and guarantee snug, wobble-free tips
- Swap out weak batteries and never skip a post-change test
- Store in a cool, dry place with leads loosely coiled and dial off
Frequently Asked Questions
Can I Use a Multimeter on a Wet RV Outlet?
No, you can’t safely use a multimeter on a wet RV outlet—water and electricity are a risky mix.
You could slip, shock yourself, or damage the meter.
Dry things off first, and make sure your hands are clean and dry too.
Wear rubber gloves for extra protection, and always use one hand to stay safe.
Better safe than sorry, right?
Let’s keep troubleshooting fun, not frantic!
What if My Multimeter Reads Negative Voltage?
You’re seeing a negative voltage? No panic—your probes are just swapped!
You’ve got the red on negative and black on positive, and your multimeter’s playfully calling you out.
Flip those probes, and boom—positive reading.
It’s not a broken circuit, just a tiny mix-up.
Think of it as your multimeter’s way of keeping you honest.
Easy fix, big peace of mind!
How Often Should I Calibrate My Multimeter?
Did you know 70% of multimeters drift out of spec by year two if not calibrated?
You should calibrate yours every 12 months as a sweet starting point—it’s like a tune-up for accuracy.
If you’re using it daily, in rough conditions, or need pinpoint precision, bump that up to every 6 months.
Trust me, your measurements (and RV battery) will thank you.
Keep it accurate, keep it fun—no guessing games with volts!
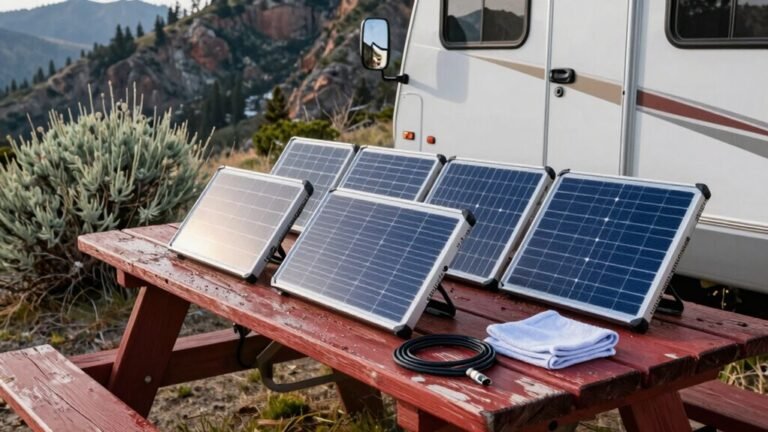
Can a Multimeter Test Solar Panel Output in an RV?
Yes, you can totally test your RV’s solar panel output with a multimeter—it’s like giving your panels a quick health checkup!
Just set it to DC voltage, hook up the leads, and let the sun do its thing.
You’ll see real-time numbers that tell you if everything’s sunny-side up or if something’s acting shady.
Pro move: check each panel the same time of day for fair comparisons.
It’s easy, fast, and kind of fun—honest!
Is It Safe to Use a Multimeter in Lightning Storms?
No, you shouldn’t use a multimeter in lightning storms—it’s like holding a metal fork in a thunderstorm, just asking for trouble.
Lightning sends invisible spikes through circuits that can fry your meter—or you.
Even indoors, surges can strike.
I once saw a transient blow a meter’s insides to smithereens, popping like popcorn.
Stay safe: wait till skies clear, wear proper gear, and always trust a CAT III or IV–rated tool when things get zappy.
Conclusion
You’ve got this! With your multimeter in hand, you’re like a modern-day wizard wielding a trusty 1980s Walkman of power detection—mysterious, cool, and surprisingly effective. Now you can zap electrical gremlins with confidence. Keep it charged, keep it clean, and remember: every flickering light or dead outlet is just a puzzle waiting to be solved. Happy troubleshooting, oh fearless RV electric explorer!
References
- https://rvtaa.org/how-to-use-a-multimeter-for-rv-electrical-diagnostics/
- https://rvtechcourse.com/blogs/tech-tips-with-todd-henson/multimeter-101-mastering-the-most-important-tool-in-your-rv-toolbox
- https://www.rv.com/servicing-care/diy-how-to/how-to-use-a-multimeter/
- https://www.youtube.com/watch?v=Jrw4QYxSkYM
- https://www.rvrepairwoman.com/blog/using-a-multimeter-in-your-rv-for-beginners
- https://www.youtube.com/watch?v=E2E2CDmTvcY
- https://www.youtube.com/watch?v=udB–2cHuv0
- https://familyrvingmag.com/2010/11/01/choosing-a-multimeter/
- https://www.marsrvs.com/10-essential-rv-electrical-safety-tips-prevent-fires-damage-ensure-safe-travels.html
- https://www.gorving.com/tips-inspiration/expert-advice/electric-101-how-safely-hook-up-your-rv-power-campsite