Budget-Friendly DIY RV Upgrades and Improvements
You can upgrade your RV on a budget with some simple DIY touches. Budget-friendly DIY RV upgrades and improvements make it easy to enhance comfort and style without spending a fortune.
Swap old lights for energy-saving LED strips and seal drafty gaps with butyl tape. Install solar-powered lights outside—no wiring needed—for added convenience and efficiency.
Add peel-and-stick backsplash, new cabinet handles, and a fold-down desk to save space. These small changes bring big results in both function and aesthetics.
Slide in under-bed storage and hang removable wallpaper for extra organization and personality. Laugh at drafts like they’re yesterday’s news—your cozy, stylish rig is already leveling up.
Wait until you see what else it can do.
Upgrade Your Lighting With LED Strips
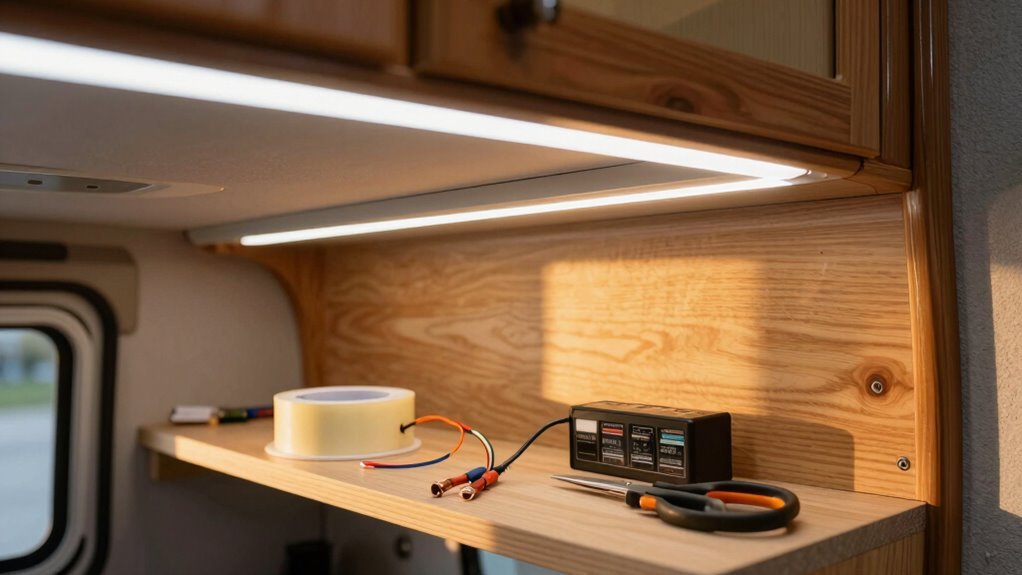
Ever wonder how a few well-placed LED strips can totally transform your RV’s vibe—without draining your battery?
You totally can!
Just pick 12V strips—they play nice with your RV’s electrical system.
For outside or awnings, go with IP65 or higher so rain and dust won’t crash the party.
Love cozy nights? Choose warm 2700–3000K lighting.
Need task power? 4000K–6500K’s got your back.
Want mood lighting? RGB strips let you shine red, blue, or even disco purple.
Clean surfaces with alcohol before sticking—nobody likes peeling strips.
Use mounting channels for a sleek finish and extra protection.
Wire with 18 AWG or thicker, add a fuse (safety first!), and seal any holes.
LEDs sip power, so your battery lasts longer—even when you’re off-grid.
With a little planning, you’ll light up your rig like a pro and still have juice for the morning coffee.
Proper placement beneath the awning rail ensures optimal lighting coverage and protects the strip from direct weather exposure.
Install a Custom Closet Organizer
Who says your RV closet has to stay a black hole where clothes go missing?
Turn that messy space into a dreamy mini-dressing room with a custom organizer.
Start by sliding in a wire shelf—cut to size—and testing it with Command hooks; they hold up to 20 pounds, no drilling needed!
Need more strength? Swap in screws or use L-brackets anchored to 2x4s for extra oomph.
Slide in stackable plastic drawers on the floor for socks, tees, or tiny towels—no hanger hassle.
Hang a fabric shoe organizer (just trim the pockets to fit!) and stuff it with hats, scarves, or flip-flops.
Stick on Command hooks for belts or bags—because yes, even your sunglasses deserve a home.
Use Spacing Tape to line up hangers neatly, and slap on black duct tape to hide ratty edges.
Add a slim hangers upgrade to maximize hanging space and keep clothes secure during travel.
Add Peel-and-Stick Backsplash in the Kitchen
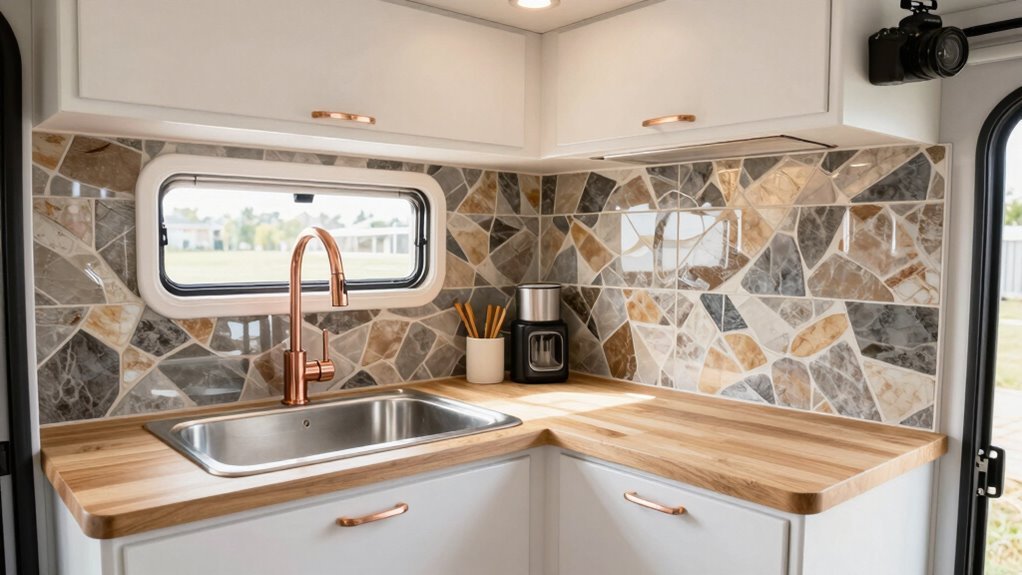
Transforming your RV kitchen doesn’t mean you have to wield a sledgehammer or wait for a renovation fairy to show up. You’ve got peel-and-stick backsplash tiles—lightweight, tough, and ready to roll. Pick vinyl or thin PVC made for RVs, so they won’t crack when your rig hits the bumps. Go for mat-backed sheets to cover more wall with fewer seams. Clean the wall like you mean it—grease is public enemy number one here—then dry it well. Measure twice, cut once, and use a utility knife to notch around outlets (oversize now, trim later). Press each tile down firmly, roll out bubbles, and laugh when your cat tries to help with the peeling. Stagger tiles for a seamless look when covering multiple rows. Seal the edges with a dab of caulk—you’ll thank yourself when cleanup’s a breeze after taco night. It’s fast, it’s cheap, and wow, does it look good.
Replace Cabinet Handles and Knobs
Swapping out tired, outdated cabinet handles is one of the quickest ways to give your RV’s interior a fresh, customized feel — and honestly, it’s kind of fun.
First, remove the old knobs or pulls, then grab a dowel rod to fill those holes neatly.
Cut and sand the dowel, hammer it in snugly (from the outside to hide splinters), and seal with spackle made for RVs—flexible and fast-drying works best.
Give it a quick sand with 100–120 grit paper, then pre-drill holes for your new hardware.
Choose stylish new handles like weather copper, brushed nickel, or sleek gunmetal—they’re affordable and make a huge difference.
Screw them in securely, align them evenly, and boom: instant upgrade.
Most RV cabinets fit the common 3 3/4″ size, so you’re covered.
Your cabinets won’t just look better—they’ll feel brand-new, like a mini kitchen makeover without the chaos.
Who knew tiny details could spark such joy?
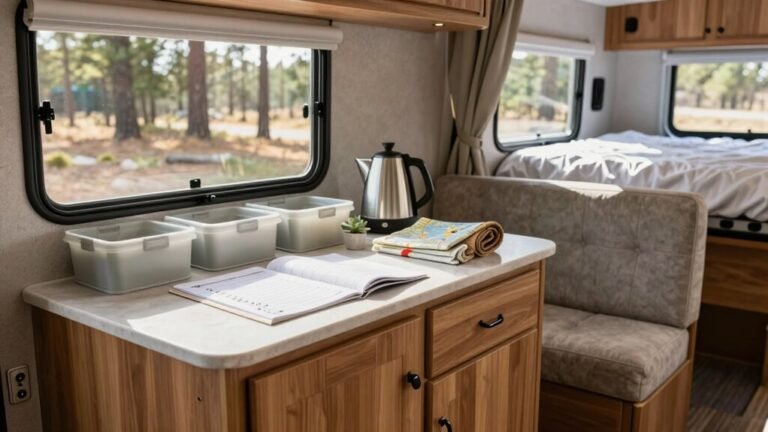
Create Extra Storage With Under-Bed Bins
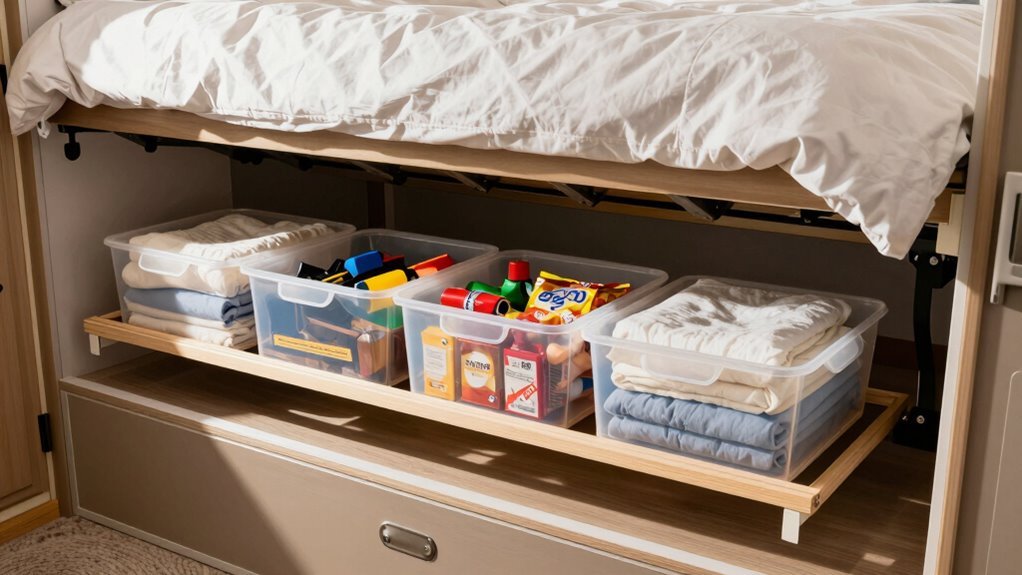
Ever peek under your RV bed and wonder why such a big, dark cave of space is just sitting there doing nothing? Stop ignoring that black hole—turn it into smart, easy-access storage! First, measure the space and check how the bed lifts so your bins won’t crash the party when you fold it up.
Grab some rugged plastic totes, soft-sided bags, or build simple wooden drawers with smooth-gliding slides. Secure everything with straps or Velcro so your stuff doesn’t moonlight as a road hazard. Keep heavy gear low and centered for better balance, and don’t forget labels—nobody’s got time to play bin roulette at 6 a.m.
Use leak-proof containers for liquids (trust us), and leave wiggle room for airflow. With a little hustle, you’ll gain serious space without spending a fortune. That under-bed void? It’s not a mystery anymore—it’s your new favorite storage ally!
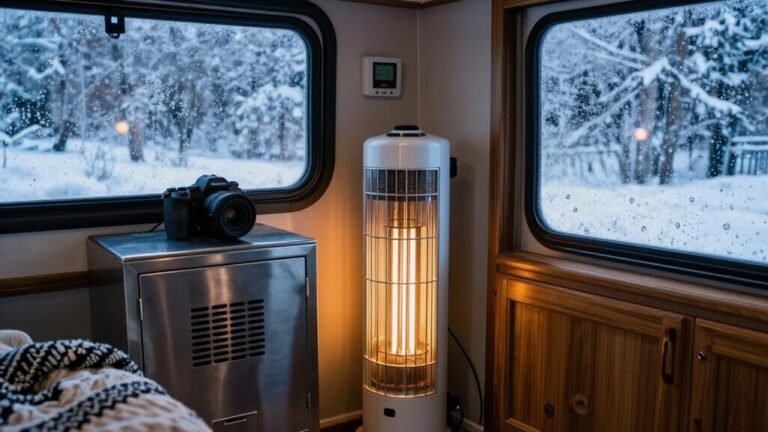
Improve Insulation With Thermal Curtains
You’ve already turned that shadowy space under your bed into a neatly organized stash zone—now let’s tackle the chill creeping through your RV’s windows.
Swap flimsy blinds for thick thermal curtains and laugh in the face of drafty glass.
They trap heat in winter, block summer’s sizzle, and cut energy costs—some even boost efficiency 3x.
Pick multi-layered fabric with Insul-Bright or Reflectix backing to bump that R-value fast.
Measure wide and long, then mount rods close to the glass so there are no sneaky gaps.
Use Velcro or magnets for a snug fit that doesn’t droop like last year’s Halloween costume.
Full coverage means fewer frosty mornings, less noise from noisy neighbors, and blackout comfort for afternoon naps.
They’re easy on the eyes and the electric bill—plus, no more 3 a.m. glare from some guy’s floodlight.
Sweet dreams just got warmer.
Refresh Walls With Removable Wallpaper
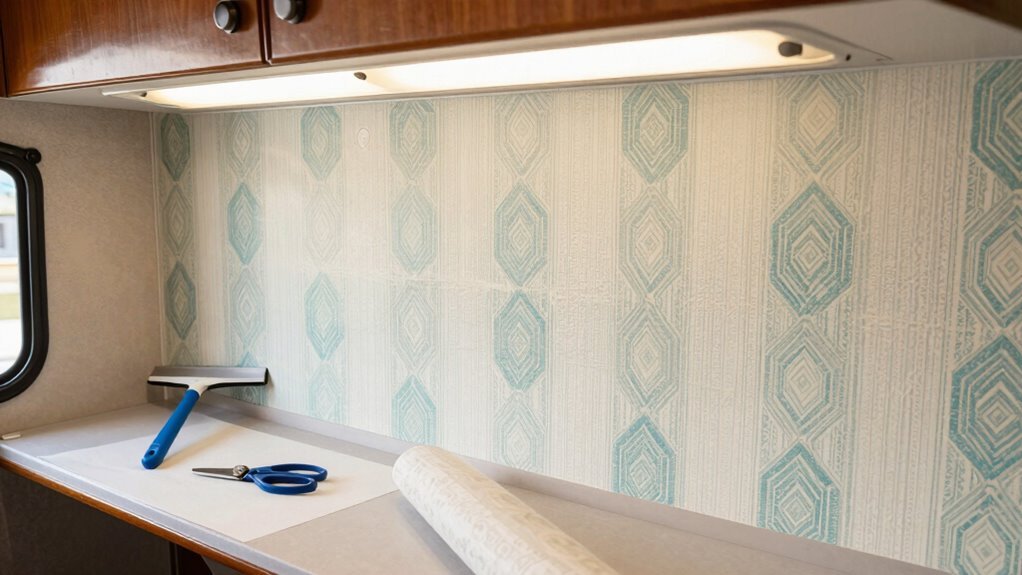
What if your RV’s walls could do more than just stand there looking tired? You can give them a fun, fresh look in just a few hours with removable wallpaper—no glue, no mess, no regrets.
Start by cleaning your walls with Windex or rubbing alcohol, then prime them for better hold. Let everything dry overnight so the wallpaper sticks like it belongs.
- Pick high-quality vinyl peel-and-stick that laughs at temperature swings
- Acclimate the rolls inside your RV for a couple days—let them get cozy
- Use a level and pencil to find center, then smooth from the middle out with a credit card
- Trim edges with a sharp blade for a clean, pro-like finish
It’s totally temporary, safe, and kind to your walls. Plus, if you change your mind? No worries—it peels off like a bad habit.
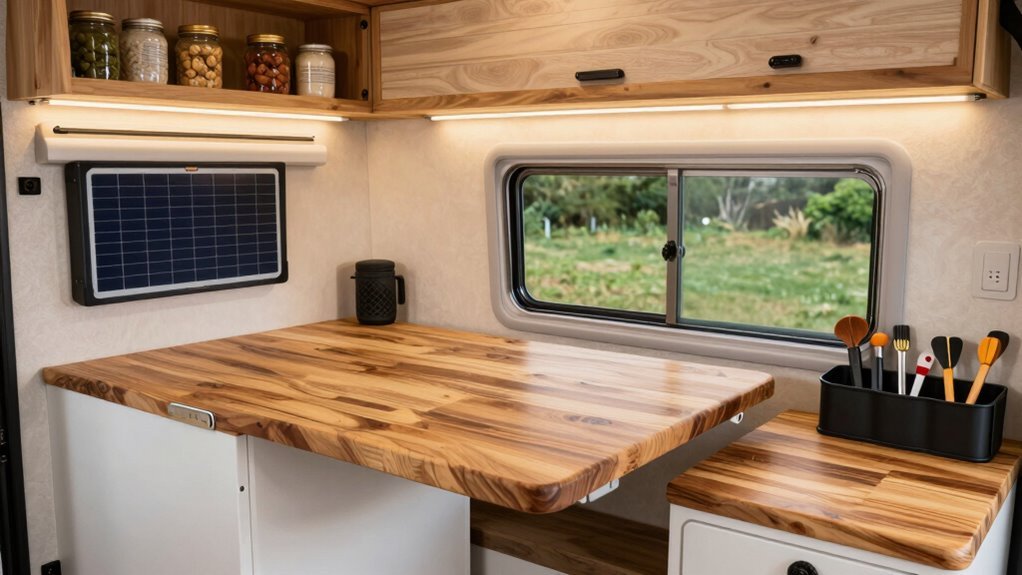
Build a Fold-Down Desk for Work or Meals
Turning a cramped RV corner into a functional workspace or dinner nook just got a whole lot easier with a fold-down desk that’s as smart as it’s sturdy. You’ll start by cutting a bamboo tabletop to 9.5″ x 22″, then attach folding brackets—just make sure they’re parallel (or slightly off for smoother folding).
Back your wall with quarter-inch plywood screwed into studs for solid support.
Build a frame from 1x6s using pocket holes or dowels, add a shelf and divider, and hinge the front panel with gas struts so it stays put when open or closed.
Slide in pegboard storage or a tiny corkboard to keep things organized.
Paint parts first, add edge banding, and bam—you’ve got a desk that folds away like magic.
It’s practical, customizable, and won’t hog precious floor space.
Who knew RV productivity could look this good?
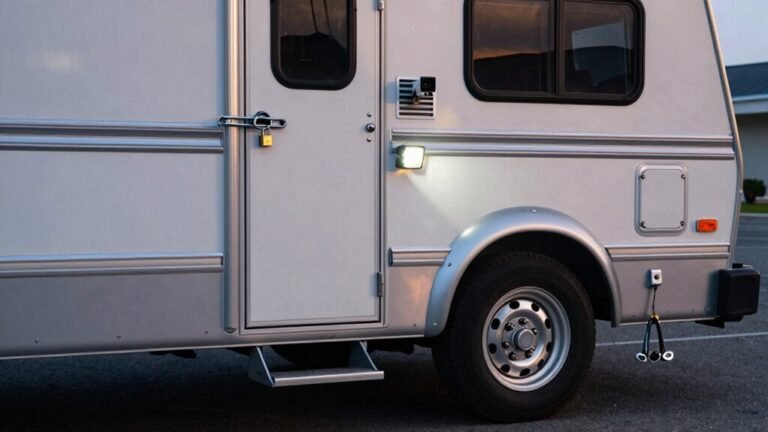
Upgrade the Outdoor Space With Solar-Powered Lights
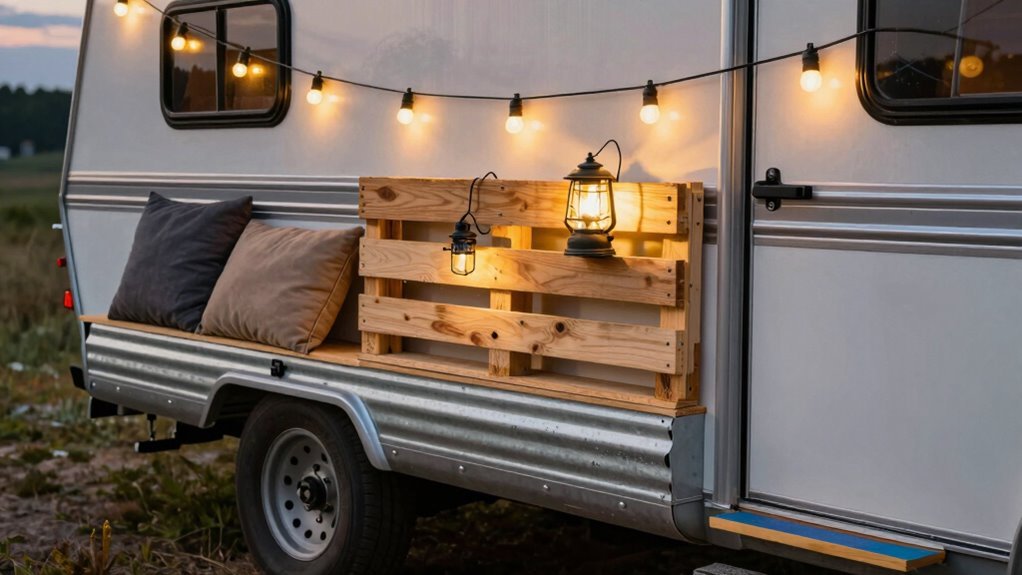
Brightening up your RV’s outdoor space just got a whole lot smarter—and sun-powered.
You skip rewiring or draining your battery, ’cause these solar lights run straight off sunlight.
Just pick spots near doors, corners, or the hitch where light’s needed most.
Clean the area, stick ‘em on with strong tape or screws, and tilt the panel face-up for full sun.
They charge all day, shine all night, and never dim—talk about a bright idea!
- Let solar do the heavy lifting—no electric bill surprises
- Mount easily with adhesive or bolts, no pro skills needed
- Enjoy instant safety and style, from entryway to back bumper
- Laugh at fumbling in the dark—your path lights now “got this”
Seal Leaks and Gaps to Boost Energy Efficiency
Ever wonder why your RV feels drafty even when the heater’s cranking? Chances are, leaks and gaps are letting precious air sneak out. Don’t sweat it—you’ve got this!
Start by cleaning surfaces with soapy water or alcohol, then dry them completely.
Scrape off old sealant with a plastic tool, and snap pics before you dig in.
Now, grab some butyl tape for windows and vents—it’s sticky, flexible, and tough.
Use non-sag sealant on vertical seams so it won’t drip, and self-leveling stuff on flat roof spots.
Press everything firmly into place, smooth it out, and use painter’s tape for clean lines.
Slap on Eternabond tape over tricky gaps, even paint over it for flair.
Let it cure 24–48 hours, then walk around to check your handiwork.
Boom—fewer drafts, lower bills, and a cozier ride!
Frequently Asked Questions
Can I Install Upgrades on a Rented RV?
Yes, you can install upgrades on a rented RV—as long as they’re temporary and won’t upset the owner or break any rules.
Think throw pillows, removable rugs, or clip-on lights.
Avoid anything permanent like drilling or painting.
Stick to easy, fun swaps that make it feel like home, then pack ’em up later.
You’re basically decorating a road-trip roommate—respect the space, have fun with it, and leave no trace.
Are These Projects Safe for Beginners?
Yeah, these projects are totally safe for beginners—90% of new DIYers succeed on first tries!
You’re swapping latches, adding rugs, and sliding in screen guards with ease.
No fancy skills needed, just a screwdriver and confidence.
Think of it like RV self-care: simple, satisfying, and kinda fun.
You won’t flip a breaker or blow a fuse—promise.
Just smart, safe tweaks that feel like upgrades without the stress.
How Much Time Does Each Project Take?
You can knock out simple upgrades in minutes—think swapping pillows or sensors.
Weekend warriors love quick wins like fridge swaps or painting walls, all doable in a few hours.
Tackling tile? Set aside a full day.
Big renovations? Yeah, they’ll drag on—what you guess takes two weeks might actually take six.
But hey, even slow progress still moves you forward, right?
Just roll with the RV life chaos and laugh when the dust finally settles.
Will Upgrades Void My RV Warranty?
No, your RV’s warranty won’t automatically vanish if you make upgrades—relax, you won’t turn it into a warranty ghost!
Most DIY tweaks, like adding curtains or swapping lights, are totally safe.
Just avoid tampering with engines, wiring, or plumbing in ways that scream “I did this!”
Keep things clean, document your work, and when in doubt, follow the manufacturer’s rules.
Smart upgrades? You’ve got this!
Can I Remove Upgrades Before Selling?
Yeah, you can remove upgrades before selling, but think twice—some buyers expect extras like backup cameras or bike racks to stay.
Pulling out built-in gear might leave holes or hurt the deal.
Simple stuff like portables? Take ’em with no sweat.
Just patch, paint, and clean up so it doesn’t look like a repair gone rogue.
Be honest in your listing, and hey—nobody wants surprise gaps where a fancy stereo used to be!
Conclusion
You just transformed your RV without draining your wallet—awesome! Did you know 83% of RVers feel happier in upgraded spaces, even with small changes? That’s right, a few LED strips, some snazzy knobs, and voilà: instant joy. These tweaks aren’t just cool, they’re smart, saving energy and adding charm. So go ahead, flex those DIY muscles, and make your cozy-on-wheels uniquely yours—fun, functional, and totally fab!
References
- https://www.carefreeofcolorado.com/blog/how-to-replace-led-strip-lights-on-rv-awning/
- https://www.youtube.com/watch?v=aOx49qz5v2k
- https://www.youtube.com/watch?v=uNxBNRoZq-Y
- https://www.youtube.com/watch?v=0_mU0ZwPeDo
- https://www.flexfireleds.com/led-rv-light-retrofit-your-mobile-home-motorhome-or-rv-with-led-lights/
- https://www.boogeylights.com/video-how-to-install-led-awning-light-on-any-travel-trailer/
- https://www.rvnetwork.com/topic/134907-how-to-install-led-strip-lighting-in-florescent-light-fixtures/
- https://thehomethatroams.com/blog/storage-ideas-for-rv-closets/
- https://www.roomedys.com/storage-ideas-for-rv-closet
- https://www.youtube.com/watch?v=Sy1vGgZw9L4