DIY RV Exterior Paint and Decal Restoration Tips
You’ve got this—start by checking for chalky spots, cracks, or bubbling decals to tackle any moisture or sun damage. These are common signs of RV exterior paint and decal deterioration caused by prolonged exposure to the elements.
Peel off old graphics with a heat gun and scraper, then sand and clean the surface with acetone. Proper surface prep is essential for a smooth finish and lasting results on your RV exterior paint and decal restoration.
Choose a durable paint like automotive or marine-grade, apply thin, even coats, and finish with a glossy clear coat to protect your hard work. This final step not only enhances appearance but also guards against future damage—maybe even impressing a squirrel or two.
Assessing Your RV’s Exterior Condition
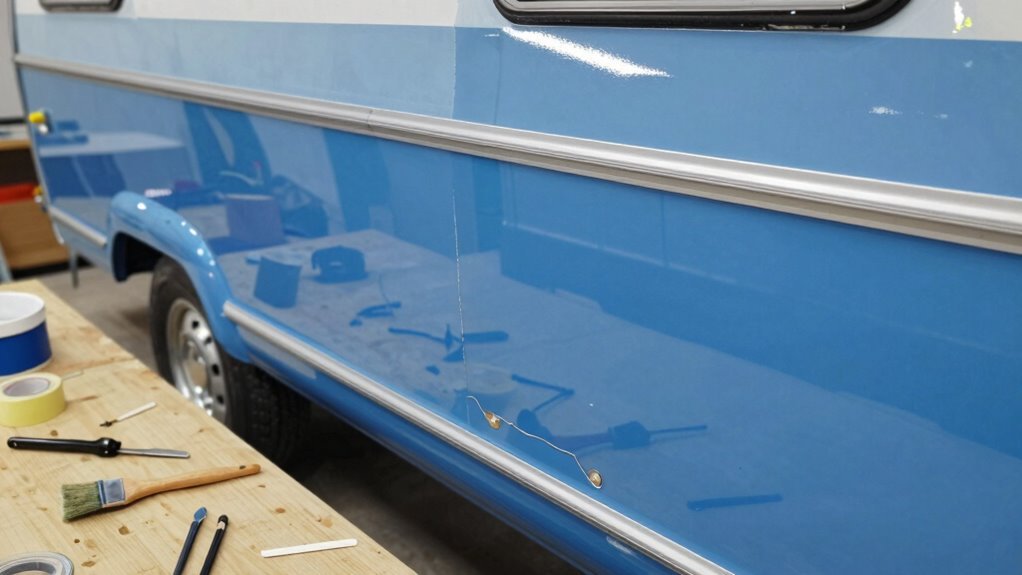
Before you delve into making your RV look like a million bucks, take a good, honest look at its outer skin—because let’s face it, even the most glamorous makeover starts with a reality check.
Check for faded, chalky spots; that’s UV damage throwing a tantrum.
If the surface feels powdery, it’s oxidized—your paint or gelcoat is officially sunburned.
Probe for cracks, bubbles, or soft spots; they’re sneaky signs of moisture or failing adhesion.
Peel back loose decals and inspect trim—bubbling or curling means water might be crashing the party underneath.
Don’t ignore crusty caulk lines or brittle seals around windows and doors; they’re leak invitations.
Smell musty odors? That’s mold RSVP’ing early.
Use a moisture meter on suspect spots—it’s like a doctor’s stethoscope for your rig.
And hey, if bird bombs, sap, or tar have made permanent memories, tackle those first.
Decal condition should also be evaluated for peeling or fading, as damaged decals can compromise both appearance and protection.
A clean, dry, honest assessment now saves headaches later.
Your future shiny RV will thank you!
Choosing the Right Paint for Your RV
Now that you’ve played detective and gotten up close and personal with every inch of your RV’s exterior, it’s time to pick the perfect paint—kind of like choosing the right outfit for a first date, but for your rig.
If you want long-lasting results, go with automotive paint—it’s tough, lasts longer than gel coat, and gives that sleek, pro finish.
Just remember: one color base, two clear topcoats, and a spray gun for that smooth look (don’t forget your respirator!).
For a budget-friendly DIY option, Behr latex house paint works surprisingly well on fiberglass and costs around $300, though it’s not quite as tough.
Or, if you’re serious about durability, marine epoxy or polyester urethane are rock-solid choices—they stick great, shine bright, and protect your rig like armor, even if they’re pricier and have fewer color options.
Make sure the surface is free of residue, as leftover adhesive can ruin paint adhesion—using a rubber wheel with a power drill effectively removes gum and residue.
Essential Tools and Materials for the Project
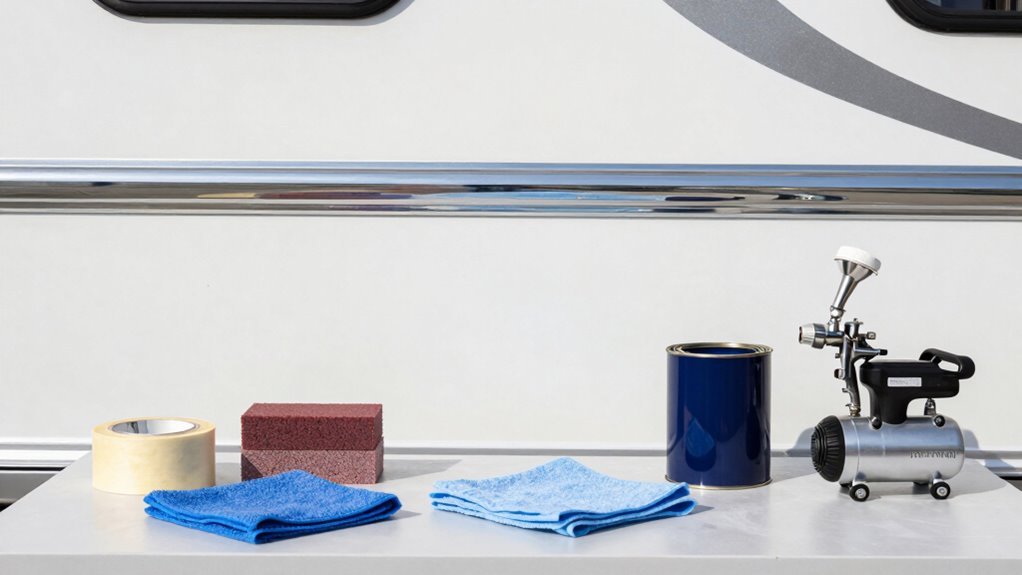
Grab your tool belt and get ready to gear up—this is where the real magic starts! You’ll need decal remover wheels, a hairdryer or heat gun to loosen stubborn stickers, and a plastic scraper to lift edges without scratching.
For tough adhesive, grab some industrial acetone or Goo Gone—your secret weapons against gunk.
Sanding? That’s key: stock up on 80 to 400 grit sandpaper and red Scotch pads for that smooth finish.
Painting’s a breeze with a 3/8-inch roller, foam roller for sleekness, and a trusty angled brush for crisp lines.
Don’t forget a paint tray with liners—because cleanup should *not* be part of the project.
Mask it off with painter’s tape, lay down a drop cloth, and keep your lines straight with a level.
Oh, and a little WD-40 goes a long way when things just won’t budge.
You’re not just prepped—you’re ready to rock. And remember, while professionals might use expensive options like marine epoxy, many DIYers find success with more accessible paints like exterior latex.
Preparing the Surface for Painting
Once you’ve got your gear lined up, it’s time to turn that tired, sun-faded RV shell into a smooth, ready-for-prime canvas—because nobody wants their paint job looking like a sad, peeling sticker.
- Power wash first – Blast away grime, salt, and gunk with 2,000–3,000 psi, then let it dry fully (no sneakiness—trapped moisture causes bubbles)
- Sand smart, not hard – Scuff with 180–320 grit to help paint stick, feather old edges, and hand-sand curves so you don’t sand a hole in your wallet
- Clean like a pro – Wipe with acetone or alcohol after sanding, then go over it with a tack cloth to catch every last speck of dust
Fix dents, seal seams, and patch cracks so your RV looks fresh, not like it wrestled a tree and lost.
A clean, smooth base means your paint won’t flake faster than sunscreen in July.
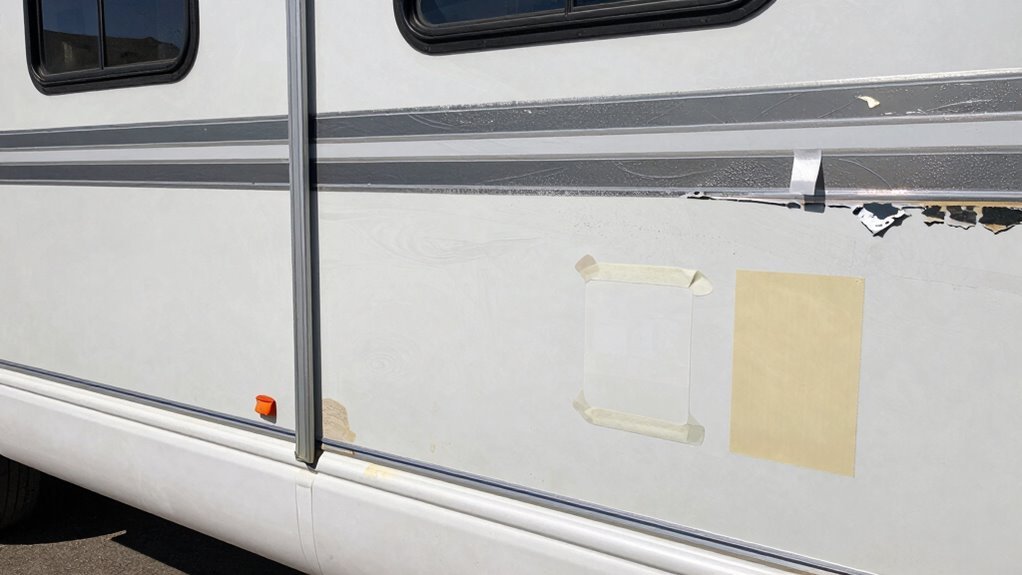
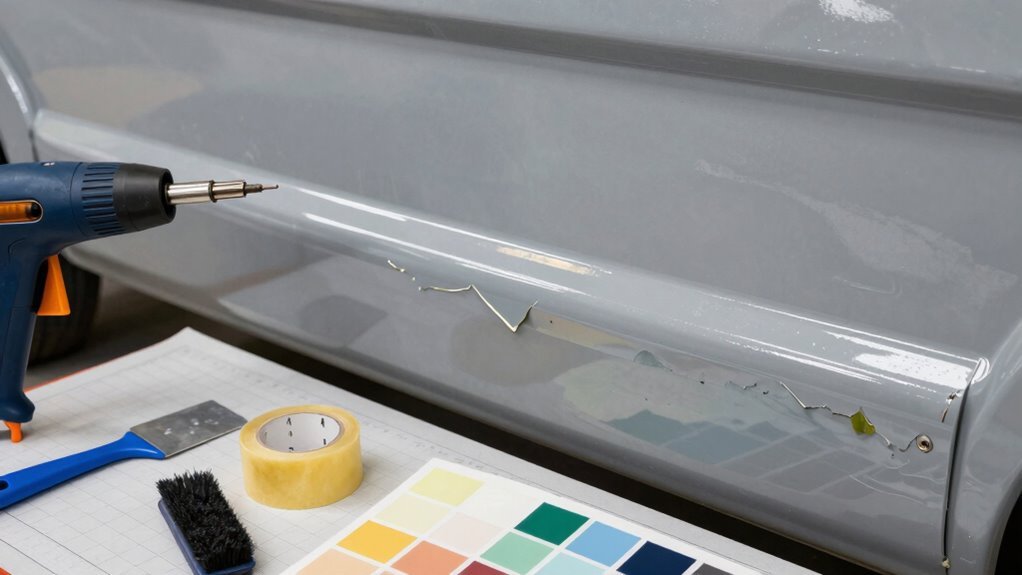
Removing Old Decals and Adhesive Residue
Peeling off old decals can feel like uncovering your RV’s true identity after years of bad tattoos and questionable branding.
Start by warming the vinyl with a heat gun or hair dryer—it loosens the glue without frying your finish.
Pull slowly at a low angle, and let the sticker come off in sheets, not frustrating chunks.
Use a plastic scraper or hive tool to lift edges; save the metal blades for butter, not your RV.
For leftover goo, hit it with Goo Gone, Rapid Remover, or citrus spray, let it sit, then wipe and scrape.
Stubborn spots? Try a Wonder Wheel or reapply solvent—just don’t go wild with harsh abrasives.
Finish with isopropyl alcohol to zap any oily traces.
Your surfaces will be clean, happy, and ready for their glow-up—no more sticky regrets!
Painting Techniques for a Smooth Finish
While your RV’s surface waits for its moment in the spotlight, now’s the time to get smart about painting techniques that’ll leave it looking fresh, not faded.
Skip the rookie mistake of one thick coat—go thin and build it up.
You’ll avoid runs and get that glass-smooth finish you’re after.
Use a spray gun if you can; hold it 6–8 inches away and overlap each pass like you’re laying down a welcome mat.
Can’t rent a sprayer? No sweat—foam rollers with a 3/8-inch nap work great, especially with a dash of Penetrol to smooth things out.
- Spray in thin, even layers to prevent drips and orange peel
- Sand lightly between coats with 320+ grit paper for a flawless base
- Finish with clear coats and a buff for that jaw-dropping shine
Your RV’s about to turn heads again!
Applying New Decals Like a Pro
You’ve given your RV a paint job so smooth it practically winks in the sunlight—now let’s make it pop with some sharp new decals.
First, clean the surface with soapy water, then wipe it down with rubbing alcohol—because nobody wants their fancy decal sliding off like a greasy pancake.
Spray a little soapy water on the area to help position it just right.
Measure twice, stick once: use painter’s tape to map out the spot and pencil lines to stay on track.
Pick air-release vinyl—it’s like cheat mode for avoiding bubbles.
With the hinge method, tape one edge, peel slowly, and squeegee from the center out.
Use a plastic spreader, not your keys (we’ve all learned that lesson the hard way).
Smooth firmly, let it set for 15 minutes, and admire your handiwork—you just made your RV look like it rolled off the showroom floor.
Protecting Your Work With a Clear Coat
Seal that stunning finish and give your RV’s new look some serious staying power with a high-quality clear coat.
You’ve put in the work—don’t let sun, grime, or time ruin your ride’s glow. Keep it shiny and strong with a few smart moves:
- Shoot for ceramic like RV Shine & Shield 2.0—it lasts months and laughs at water, bugs, and UV rays.
- Reapply UV sprays every few months, especially after washes, to block fading and keep that “just-decorated” charm.
- Buff wax like a pro every 3–6 months for a glossy shield that fights oxidation and makes your neighbors jealous.
Work in small sections, stay out of direct sun, and always let coatings cure.
With a little love (and maybe a dance break while you buff), your RV won’t just turn heads—it’ll dodge damage like a boss. Who knew protection could look this good?
Frequently Asked Questions
Can I Paint Over Faded Decals Instead of Removing Them?
Yeah, you can paint over faded decals, but you’ve gotta prep right.
Clean ’em well, give ’em a light scuff with sandpaper, and use a vinyl-bonding primer.
Skip the prep and you’ll risk peeling—nobody wants flaky decals!
It’s cheaper than replacing, but don’t expect magic.
Think of it as a fun, temporary facelift, not a forever fix—your RV will still look way better, though!
How Often Should I Repaint My RV Exterior?
You should repaint your RV exterior every 10 to 15 years, depending on how much sun, rain, and road time it gets.
If you’re seeing lots of fading, cracks, or chalky spots, it’s probably time.
Dark colors fade faster, so don’t ignore those UV zaps!
Keep it washed, waxed, and shaded when possible—your RV will thank you with a longer, happier paint life.
Is It Safe to Pressure Wash My RV Before Painting?
Yeah, you can pressure wash your RV before painting, but you’ve gotta be careful.
Start low—around 1,300 PSI—and keep the nozzle moving to avoid gouging the surface.
Too much oomph and you’ll strip paint or wreck seals, turning “restoration” into “regret.”
Stick to cool water, avoid hot spots, and never blast decals like they’re monster trucks.
Treat it like a spa day, not a demolition derby!
Do I Need to Repaint the Entire RV for a Uniform Look?
No, you don’t have to repaint the whole RV to keep it looking sharp—think of it like patching a favorite jacket instead of tossing it.
If damage is small or isolated, spot repairs, touch-ups, or new decals work great.
You’ll save time and cash, and, hey, your wallet will thank you with a high-five.
Just match the color well, blend carefully, and you’re golden!
Can I Use Car Paint Instead of Rv-Specific Paint?
You *can* use car paint, but it’s like putting sneakers on a mountain goat—you’re asking for trouble. RVs flex, vibrate, and sunbathe harder than cars, so regular paint might crack or fade fast. You’ll save cash upfront, sure, but you’ll fight chips and UV damage like an overzealous mosquito. For a road warrior rig, skip the shortcuts—go for RV-grade or marine paint. Your future self (and your eyes) will thank you when it still looks rad after five cross-country trips.
Conclusion
You did it—give yourself a high five! Your RV’s new look shines like a superstar on Main Street. With a little elbow grease and big dreams, you turned faded into fabulous. Now hit the road with pride, knowing every brushstroke and decal screams “you.” Wrap it in a clear coat hug, keep it clean, and let the compliments roll in like summer thunder—loud and fast!
References
- https://calrvspecialists.com/a-mandatory-checklist-for-exterior-rv-maintenance-inspections/
- https://myrvworks.com/wp-content/uploads/2019/04/RV-Inspection-Checklist.pdf
- https://blog.campersinn.com/blog/used-rv-inspection-list
- https://rvhelp.com/blog/rv-inspection-checklist
- https://thepewterpalace.com/wp-content/uploads/2022/10/avion-rv-inspection-checklist-suggestions-thepewterpalace.pdf
- https://www.rvtravel.com/a-mandatory-checklist-for-exterior-rv-maintenance-inspections-2528/
- https://vansairforce.net/threads/condition-inspection-checklists.36093/
- https://roomfortuesday.com/how-to-paint-a-camper-rv-or-travel-trailer-exterior/
- https://ophalenadventures.com/rv-exterior-paint-how-to-guide/
- https://www.mygrandrv.com/threads/high-gloss-gel-coated-vs-high-gloss.53193/